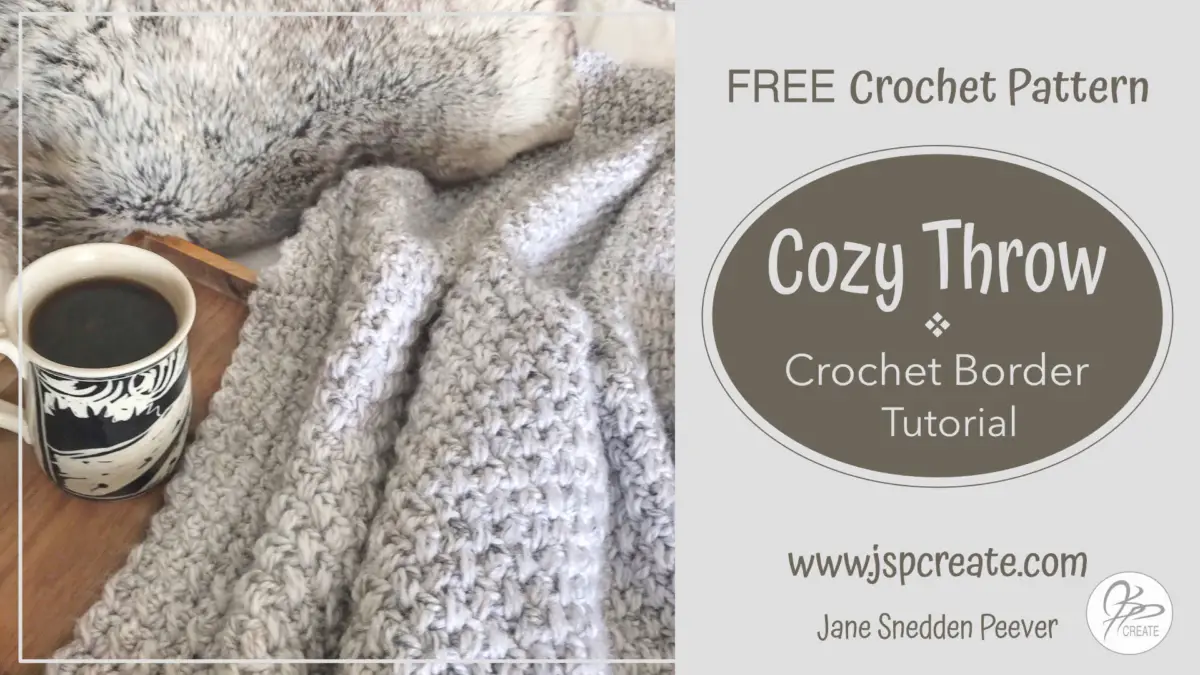
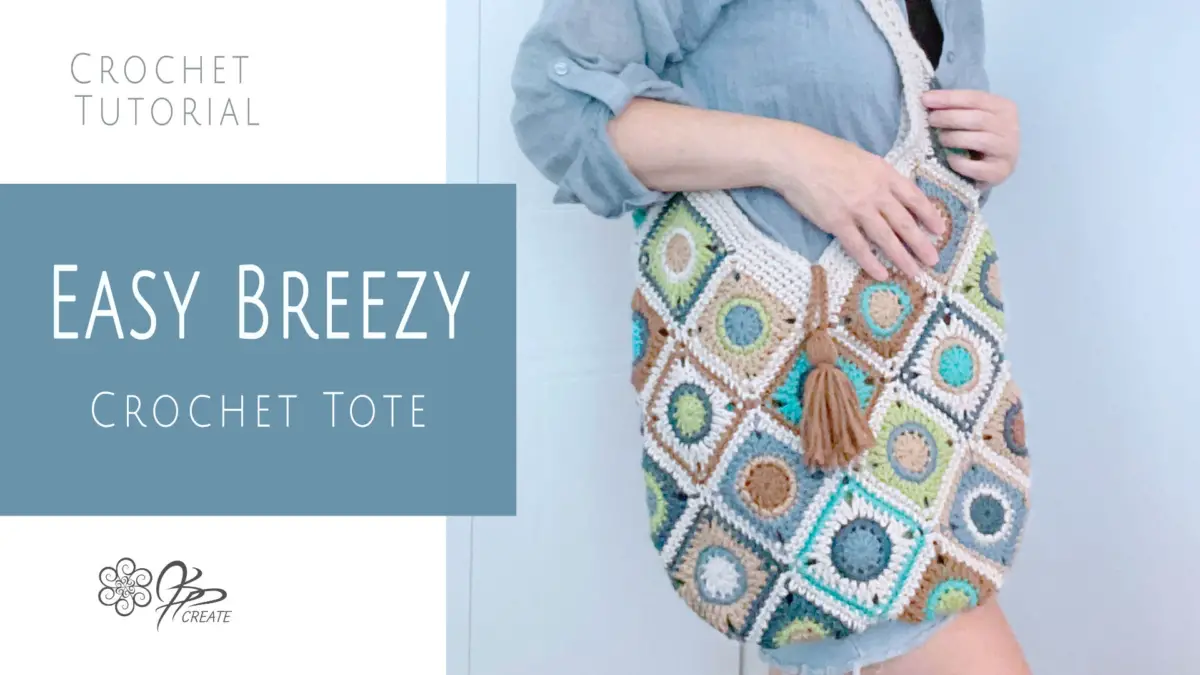
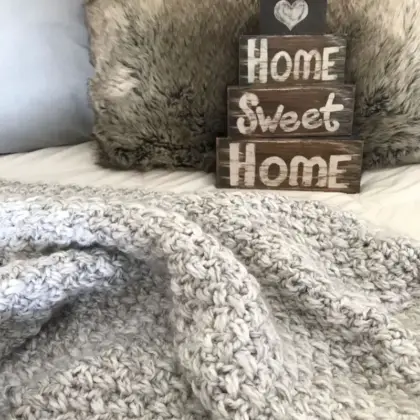
One of those simple pleasures in life, that I enjoy, is snuggling up by the fire with a warm beverage and a cozy throw, and of course my crocheting Join me while we explore how to create this beautiful and snuggly throw for your home with this free crochet cozy throw pattern.
Just How Easy is This Cozy Throw Pattern?
So you may be asking, Can I really make this cozy throw? But doesn’t it look intricate? I label this pattern as EASY for the level of difficulty. Now, I wouldn’t suggest it be the first crochet throw that you make. However if you have some familiarity with basic crochet terms and simple techniques then you are good to go.
The main pattern stitch is a simple one row repeat, which makes it easy to remember and you get the feel for it quickly. I would even say it is a relaxing pattern to work, and you can work it anywhere, anytime, knowing you don’t have to keep referring to a long or complex pattern.
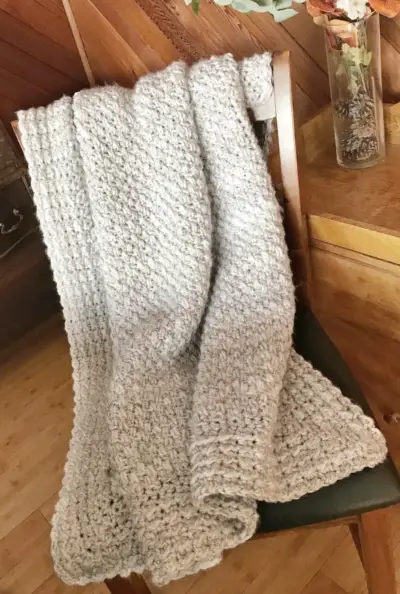
A Few Helpful Tutorials
Would you like to practice the stitches first to get a feel for this project?
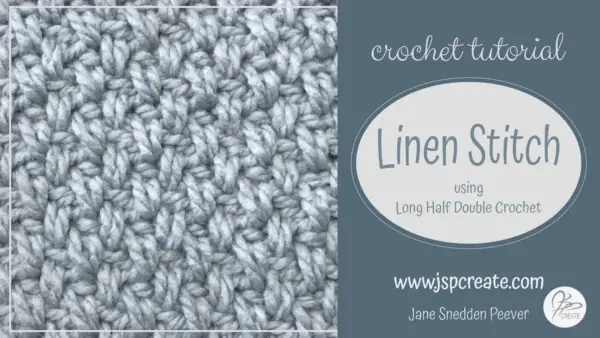
I have provided a detailed walk through of the main pattern stitch, the linen stitch, HERE if you would like some help with it.
The most intricate part of this pattern will be the Edging. I will be explaining it a little further down, in this post and I will be providing a video tutorial walk through for it (COMING SOON)
So join me in the walk throughs and you may surprise yourself how easy this pattern really is. And, you will totally impress all your friends and family!
Soft and Cozy and Reversible
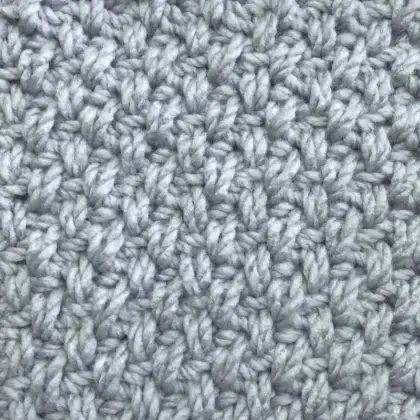
This Cozy Throw Pattern uses the linen stitch. By using a bulky weight yarn and a large crochet hook it creates a thick and cozy throw. It helps of course if you use a soft yarn, but the combination of this stitch with a large hook, creates an airy space between the stitches.
Since the Pattern Stitch is a simple one row repeat you will also end up with a reversible fabric, which is awesome when you want to use the throw in your home decor and struggle with keeping the “pretty” side facing out. Both sides of this cozy throw are pretty, including the edging. Yep, even the edging is reversible.
Linen Stitch – Cozy and Reversible
Works up Quickly in Any Size
This pattern works up quick and easy, with only one row to remember, you can sit down and work on it anytime, anywhere. The pattern is easily adapted to other weights of yarn, however I love the thickness that comes from working with a bulky weight.
If you change up the yarn weight, be sure to work a swatch in the pattern stitch, to make sure you like how it feels and looks. Swatching is your friend, and saves you time in the long run. You would hate to get halfway through your project and decide you don’t like the feel of your new throw.
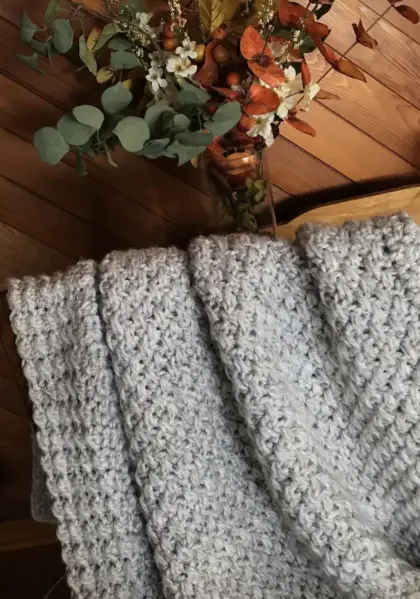
Let’s Get Started on Our Cozy Throw
Finished Measurements:
38” x 48”
Skill Level: Advanced Beginner
Materials:
Bulky Weight Yarn: 10 skeins 100g /3.5 oz.
In these project pics I used the following yarn:
Charisma by Loops and Threads – colour# J77 – Cloud – 100g / 100m – 3.5 oz / 109yds
- Crochet Hook size K-2 / 7.00 mm or size needed to obtain gauge
- Yarn needle for darning in ends
Gauge
9 sts and 9 rows = 4 inches In Main Pattern – Long HDC Linen Stitch:
9 sts and 10 rows = 4 inches In Edging Pattern – Even Moss Stitch:
More Information on Hooks Sizes, Yarn Weights and Crochet Language
Hook Sizes see the Craft Yarn Council’s Page Here
For Standard Yarn Weight Information See this Page
A Handy PDF from Annie’s on the difference between UK and US Crochet Terms
A Nice Explanation from LoveCraft’s on The UK and US differences
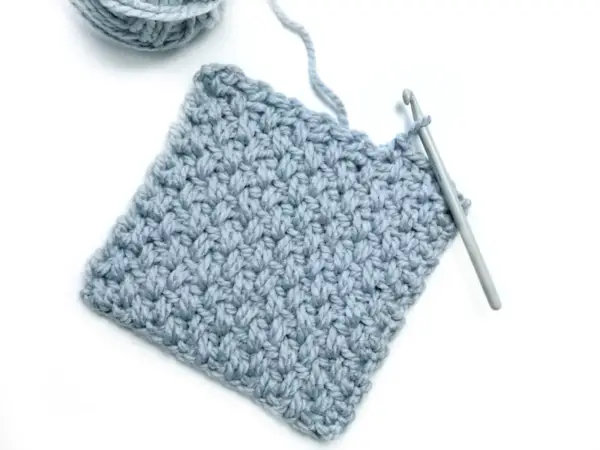
Work your test swatch to be sure you are comfortable with the hook size and to help you get a feel for the stitch.
Since your cozy throw doesn’t have to “fit” like a sweater does, the gauge in this instance is not as crucial. But, the test swatch gives you a chance to see if the suggested hook size works for you and gives you a chance to get familiar with the stitch.
For this swatch, just work a small square of 16sts and 16 rows. The nice thing with this linen stitch is it works easily into a square with sts and rows being equal.
Special Instructions:
Abbreviations:
st = stitch
ch = chain
sc = single crochet
sp = space
sl st = slip stitch
hdc = half double crochet
Lhdc = long half double crochet
yo = yarn over
rep = repeat
Special Stitches
In this pattern we skip stitches and then work them in the next row, so here is a little help understanding the terms I use in the pattern instructions.
the row below = the row before the one you just finished – also know as – 2 rows below the one you are currently working
Previous row = the row you just finished – also know as – 1 row below the one you are currently working
The linen stitch pattern is often worked with a long sc or a double crochet. In this one I use a Lhdc, here is an explanation of how I use this stitch.
Long hdc (Lhdc) in skipped st from row below: working over top of ch1 from previous row, yo hook, insert hook into the stitch from the row below that you skipped in the previous row, yo pull yarn through and up to current row (that is the “long” part), yo hook again, pull yarn through all 3 loops on hook.
Why is it called “LONG” half double crochet
The reason for calling it long is that, since you are working into 2 rows below, you will need to pull the loop up “long” in order that the fabric does not bunch or get too dense. This will create the airiness that makes the finished cozy throw so soft and cozy.
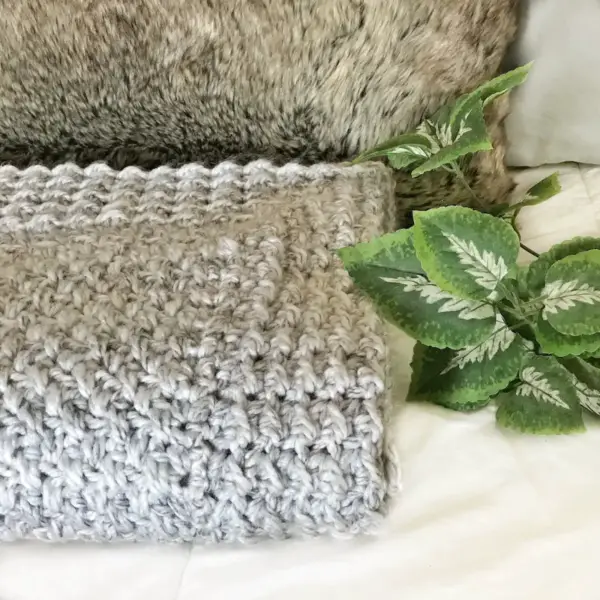
The Cozy Throw Pattern Stitches
There are two different pattern stitches used in this project. The Main Stitch is used for the Throw Main Section, and the Edging is worked on afterwards in a different stitch. I have set them out below so that you can test your gauge and practice up a bit before you tackle the big project.
The Main Cozy Throw Directions, further down, will explain how to use them in your actual project.
Main Pattern Stitch: Long hdc Linen Stitch ( multiple of 2 sts )
Ch an even number, ( I use 16 in my sample swatch)
Row 1 (foundation row): ch 1, sc in second ch from hook, ✻ ch 1, skip next ch, sc in next ch, rep from ✻ across to last ch, sc in last ch, ch1, turn.
Row 2: sc in first st, ✻ ch1, skip next st, long hdc in skipped st from row below, repeat from ✻ to last st, sc in last st, ch 1, turn
Repeat Row 2 for Main Pattern Stitch.
Edging Pattern Stitch: Even Moss Stitch ( multiple of 2 + 1 sts )
Row 1 (foundation row): sc in second ch from hook, and in each ch across, ch1, turn.
Row 2: sc in first st, ✻ sl st in next st, hdc in next st, repeat from ✻ to last 2 st, sl st in next st, sc in last st, ch 1, turn
Repeat Row 2 for Pattern Edging Stitch.
Special Note: The Even Moss Stitch is usually worked over an odd number of stitches as I have written it out above. For this particular pattern I am working it over an even number of sts, (due to the linen stitch being worked over an even number). This essentially changes the stitch into a 2 row pattern repeat. No worries, I have made the adjustments in the written instructions for the edging, so all you have to do is follow the way I have it written in the pattern directions below.
Cozy Throw Directions for Main Section:
Ch 68
Row 1 (foundation row): ch 1, sc in second ch from hook, ✻ ch 1, skip next ch, sc in next ch, rep from ✻ across to last ch, sc in last ch, ch1, turn.
Row 2: sc in first st, ✻ ch1, skip next st, Lhdc in row below , repeat from ✻ to last st, sc in last st, ch 1, turn
Repeat Row 2 until piece measures 40” from beginning, do not finish off, ch 1, turn and proceed to edging.
Close up of Cozy Throw Edging Seam
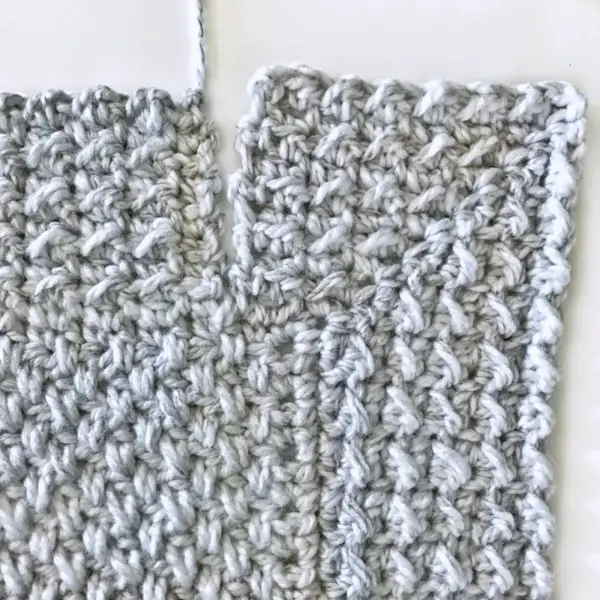
The Cozy Throw Edging Corner Close Up
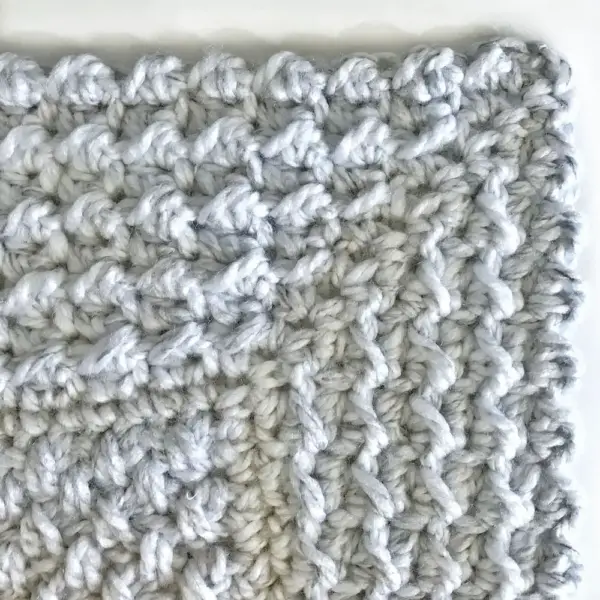
The edging is the trickier part of the pattern. So I suggest you try a sample swatch of it. Below you will see how I made a sample square of 16sts and 16 rows and then created an edging around it. I did the full 10 rows, but you can try just a row or two to get the feel for it.
Cozy Throw Directions for the Edging
Foundation row: Sc in first st, ✻ sc in next st, Lhdc in skipped st from row below, rep from ✻ across to last st, sc in last st, rotate work to the right,
ch 2, sc in same st as last, working into row ends across long edge, work 89 sc more sts evenly to next corner, rotate work to the right,
ch 2, sc in same st as last, working into bottom loops of foundation chain, work 67 sc across to next corner, rotate work to the right,
ch 2, sc in same st as last, working into row ends across opposite long edge, sc 89 sts evenly to next corner, ch 2, sl st into first sc of round, finish off.
Join yarn in 4th st from ch 2 corner space,
Place stitch marker, to mark beginning and end of rows. Edging will be worked back and forth around your main piece, DO NOT Join at end of rows, the seam will be sewn up at the end.
Row 1: sc, ** ✻ sl st, hdc, rep from ✻ to next ch 2 space, [ sc, ch 2, sc ] in corner ch 2 space, rep from ** 3 more times, then ✻ sl st, hdc, rep from ✻ to last st, sc, ch 1, turn
Row 2: sc, hdc, ** ✻ sl st, hdc, rep from ✻ to next ch2 space, [ sc, ch 2, sc ] in corner ch 2 space, rep from ** 3 more times, then ✻ sl st, hdc, rep from ✻ to last 2 sts, sl st, sc, ch 1, turn
Rows 3 thru 10: Rep Rows 1 – 2 for 4 more times. Finish off
The Big Finish
Sew the short seam of the Edging, whip stitching row ends together.
Weave in any ends on your throw, and your good to go.
Find the Linen Stitch Tutorial For The Cozy Throw Here
AD-FREE PDF Version of this pattern is available – CLICK HERE
Thanks for joining me and getting creative.
~ Jane ~
“I found I could say things with color and shapes that I couldn’t say any other way – things I had no words for.” – Georgia O’Keeffe

