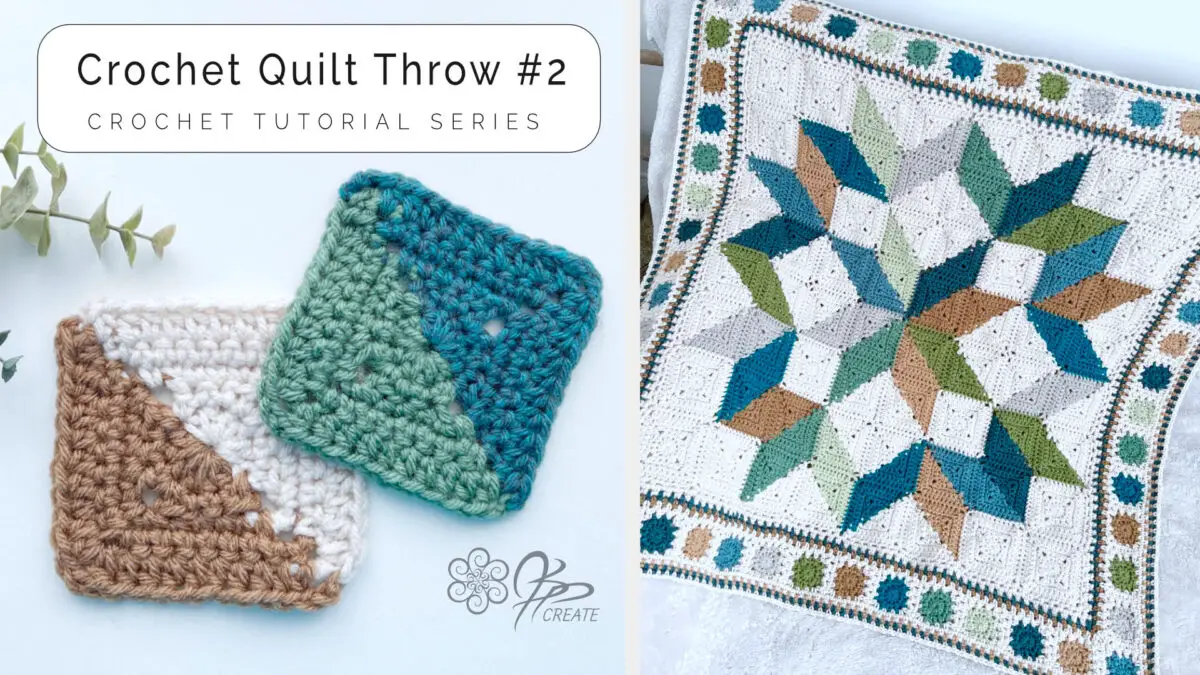
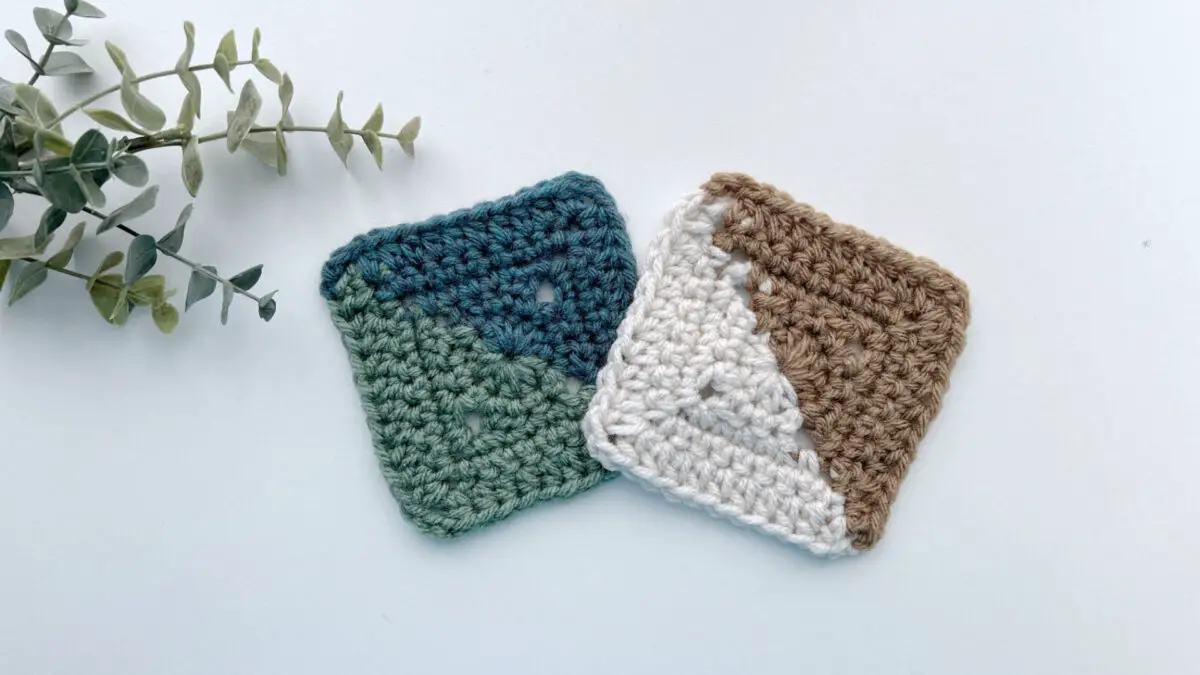
Last week, we explored how to crochet a single-colour square using a back-and-forth technique. This week, we’re taking it up a notch and we are going to explore crocheting a two-tone square! The stitch pattern remains the same, but this time, I’ll show you how to incorporate two colours seamlessly.
This two-tone square is a key component in my Crochet Quilt Throw Series where I use both the solid and two-tone square versions. The back-and-forth technique is especially useful here because it eliminates the need to carry yarn across the back of your work, ensuring a neat and polished look.
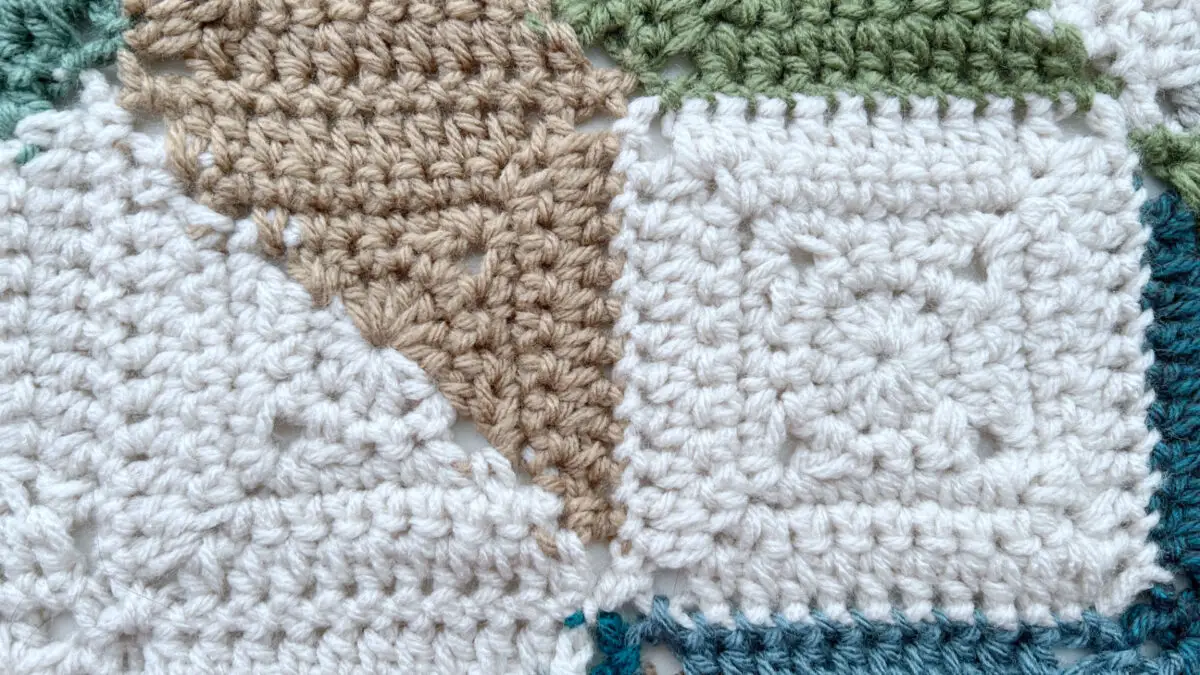
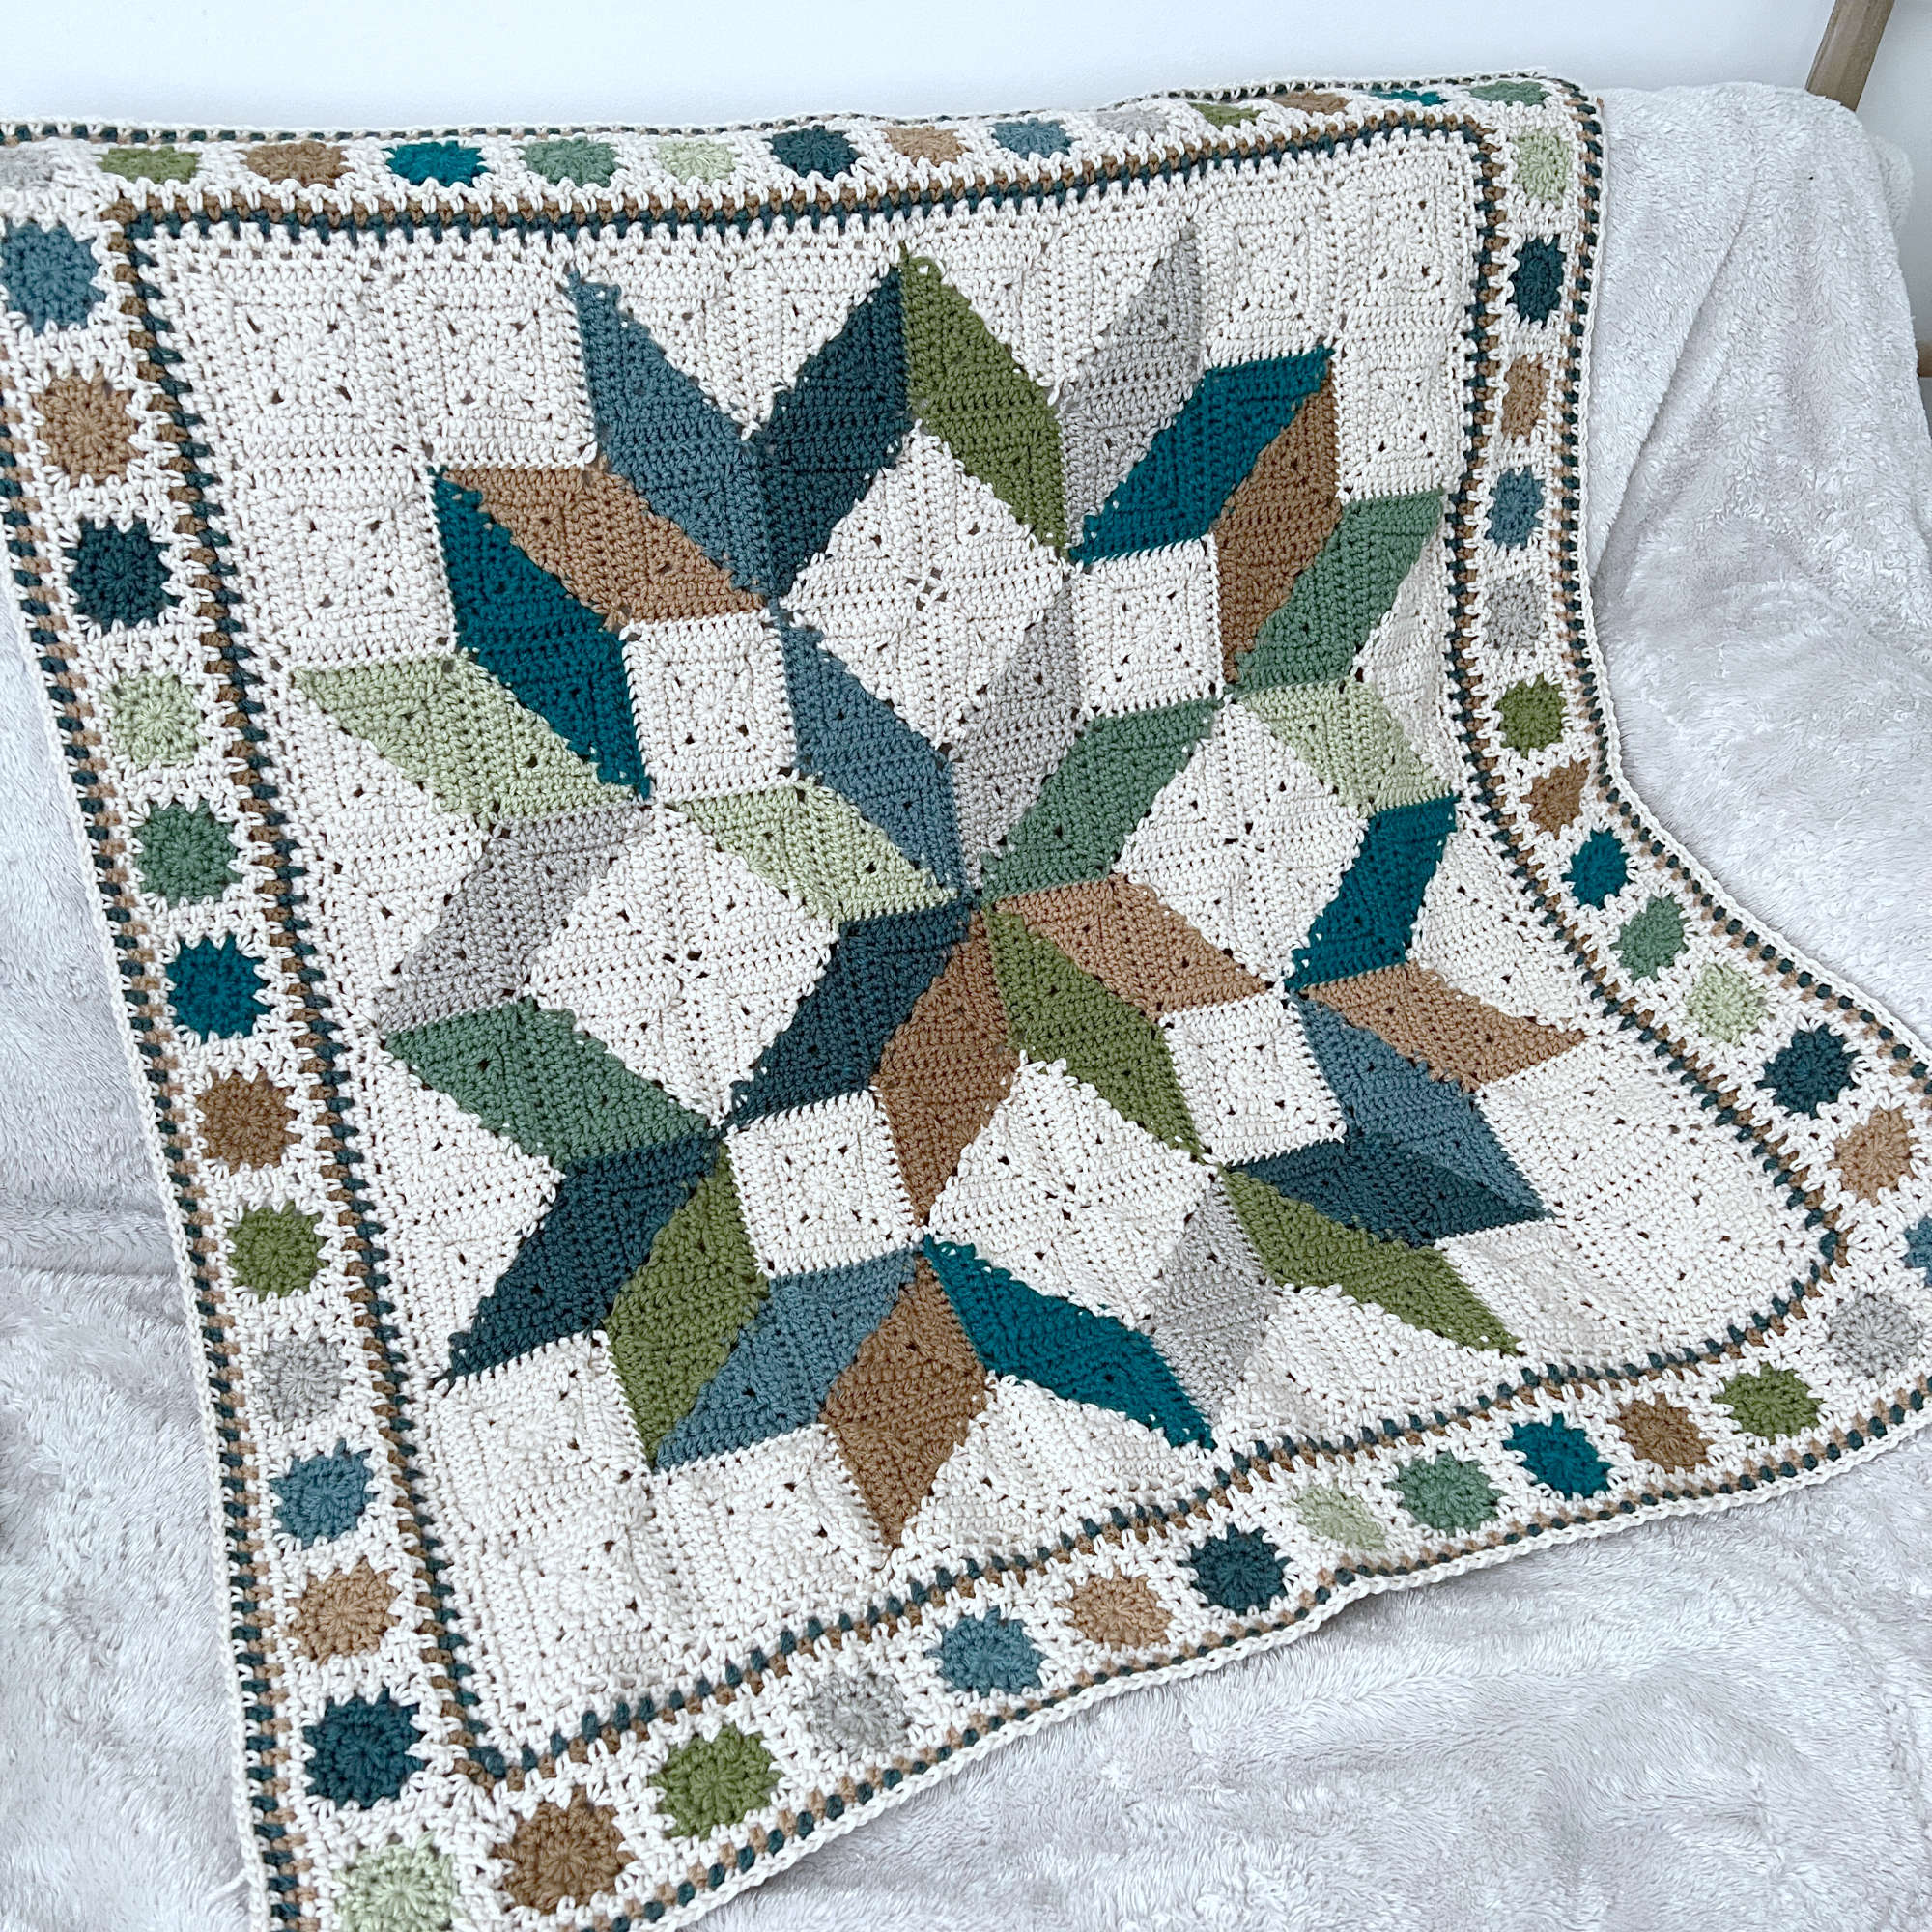
This versatile two-tone square is perfect for geometric patterns like blankets or home decor. I’ve used it in my Crochet Quilt Throw to create the timeless Carpenter’s Star design. This project blends my passion for quilting and crocheting, resulting in a throw that captures the charm of a quilt in crochet form.
If you’d like to follow the Crochet Quilt Throw Series, where I send you each step by email along with helpful tips, including some as downloadable PDFs, you can crochet along with me by signing up HERE!
Tools and Supplies
One of my Favourite Places to order yarn online is Mary Maxim Yarns – they carry a nice variety of colours and brands at affordable prices, and they also offer great coupons to inspire you to keep coming back for more, because can you really have too much yarn?
For this tutorial, I’ve chosen two contrasting colours so you can easily follow along. Both are worsted weight yarns.
Each Square takes approx 6- 8 g total ~ 3 -4g of each colour
- Red Wood Heather – Bernat Super Value
- Putty – Impeccable ( Michaels )
Hooks:
Demo Square: 5.00 mm US 8 / H
Crochet Quilt Square: 5.50 mm US 9 / I
While the size difference is slight, it can become noticeable when working with a large number of squares. I generally use a 5.0 mm hook for my blankets. This square, however, is a good solid stitch, so I opted to use a 5.50 mm hook to achieve a softer, more flowing feel to my finished piece. Be sure to check your gauge to ensure your squares are consistent.
My Favourite Hook is the Susan Bates Ergonomic Silvalume
Other Supplies:
- Scissors
- Yarn needle for darning in ends
Gauge and Finished Sizes
- 3.75 inches / 9.5 cm ~ with a 5.00 mm hook
- 4.0 inches / 10 cm ~ with a 5.50 mm hook
Join the FREE Crochet Quilt Throw Series and get the Free Supply List Here
Abbreviations:
ch – chain
st(s)– stitch(es)
sl st – slip stitch
sc – single crochet
hdc – half double crochet
dc – double crochet
lp(s) – loop(s)
yo– yarn over
rnd – round
beg – beginning
prev – previous
sp – space
sk – skip
rep – repeat
dec – decrease
Cont – continue
Col – Colour
More Information on Hooks Sizes, Yarn Weights and Crochet Language
Hook Sizes see the Craft Yarn Council’s Page Here
For Standard Yarn Weight Information See this Page
A Handy PDF from Annie’s on the difference between UK and US Crochet Terms
A Nice Explanation from LoveCraft’s on The UK and US differences
Getting Started With The Two-Tone Square
This two-tone square square follows the same pattern as the single-colour square from last week’s tutorial. In this session, I’ll focus specifically on how to change colours. If you’re new to this technique, I suggest starting with the single-colour square tutorial, as it covers foundational techniques like using stitch markers and finding the correct stitches when turning your work.
Understanding Right Side (RS) and Wrong Side (WS)
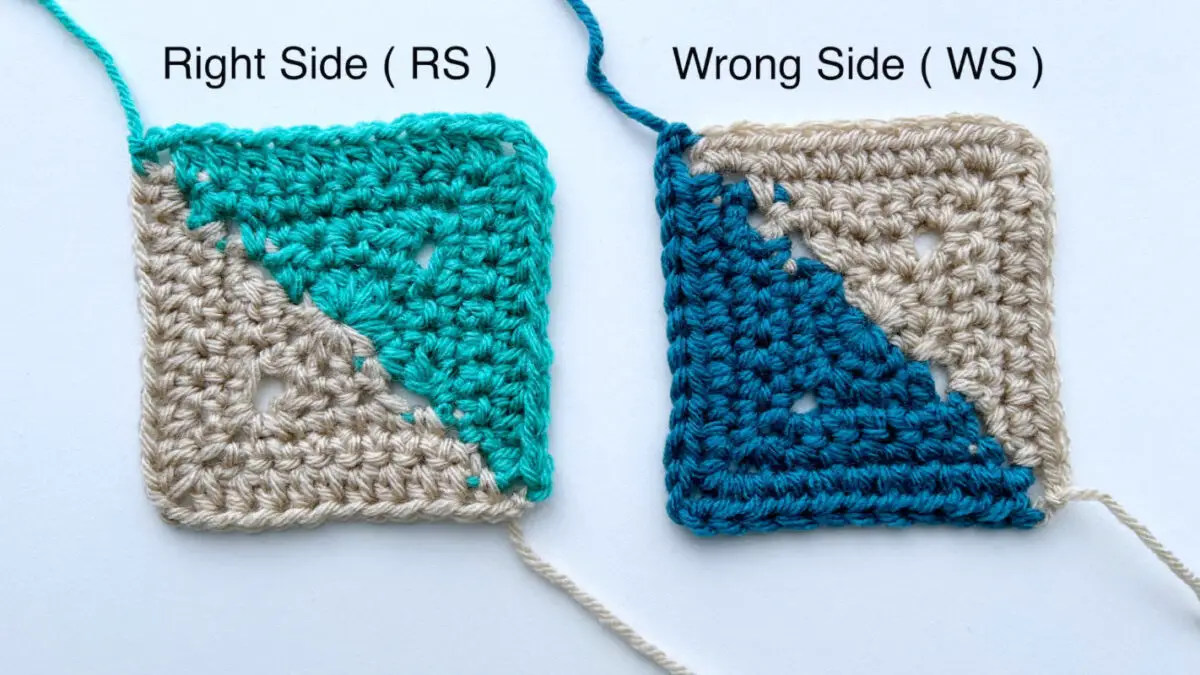
In the instructions for this square you will find each round referred to as “Right Side” (RS) and “Wrong Side” (WS) to help you stay oriented as we continually turn the work. While the square is fully reversible, and both sides look VERY much alike, you can notice below that each side has a slightly different texture. Keeping track of RS and WS is especially important when assembling the final throw, ensuring a consistent and cohesive look with aligned textures on both sides.
Tips for Colour Changes and Square Rotation
When working a two-tone square, the direction of the rotation of the square becomes more important than the single colour version. Here’s my approach:
- Avoiding Yarn Across the Front: Rotating the work counterclockwise can cause the working yarn to cross the front of your work, where it might stand out against the contrast colour. To avoid this, I rotate my work clockwise.
- Neat Turns: Rotating clockwise ensures the working yarn wraps neatly around the back of the stitch on the hook. This keeps the yarn positioned behind the work in a position that it is ready to use, and prevents it from crossing over the other colour’s stitches.
- Cleaner Lines: This method creates a cleaner turn and results in a more polished diagonal line for the colour changes in your finished square.
Let’s Get Crocheting!
Grab your materials, and let’s dive into the two-tone square! Remember to keep the RS and WS in mind as we work.
Directions for the Two-Tone Square
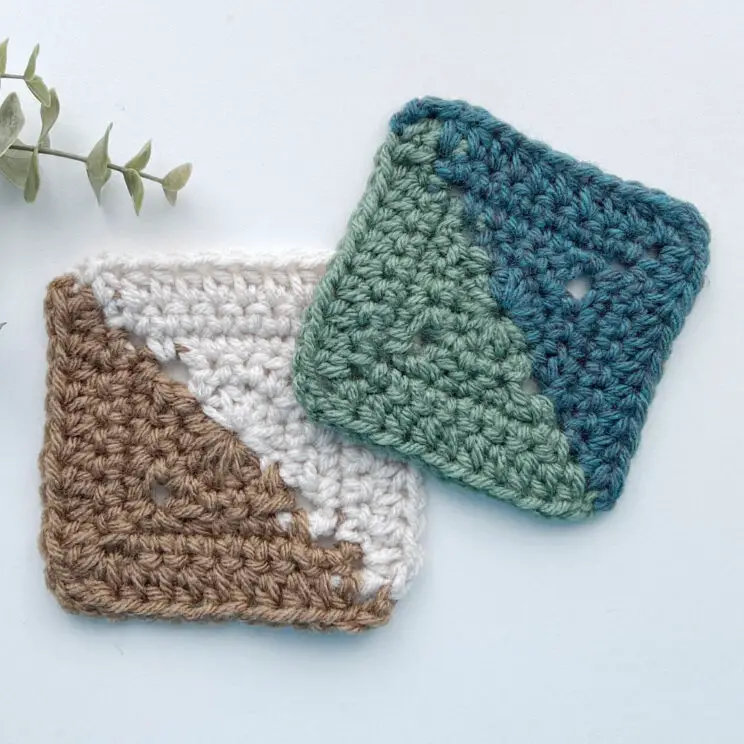
Foundation: With Col 1, Make a Magic Ring
alternative to a Magic Ring: Ch 4, sl st in first ch, to form a ring.
Rnd 1 ( RS ): Continue with Col 1, Ch 2 { counts as first hdc }, work 5 more hdc into ring, changing to Col 2 in last part of final hdc, leave Col 1 to back of work, with Col 2 work 6 more hdc into ring, pull up ring, sl st in 2nd ch of beg ch 2, ch 1 and turn work clockwise.
{ 12 hdc }
Rnd 2 ( WS ): Continue with Col 2, hdc in the same 2nd ch of the beg ch 2 from prev rnd that the sl st was worked into, sc into the next 2 sts, ( hdc, ch 2, hdc ) in next st, sc in each of next 2 sts, hdc in next st, ch 2, change to Col 1 with a sl st, leave Col 2 to back of work, cont with Col 1, ch 1, hdc in same st as last hdc, sc in each of next 2 sts, ( hdc, ch 2, hdc ) in next st, sc in each of next 2 sts, hdc in same st as first hdc of rnd, ch 2, sl st in first hdc of rnd, turn work clockwise.
{ 8 sc, 8 hdc, 4 ch-2 sp }
Rnd 3 ( RS ) : Continue with Col 1, sl st into ch 2 corner sp from prev rnd, ch 1,sc in same ch 2 corner sp, sc in each of next 4 sts, ( sc, ch 2, sc ) in next ch 2 corner sp, sc in each of next 4 sts, sc in next ch 2 sp, ch 2, change to Col 2 with a sl st, leave Col 1 to back of work, cont with Col 2, ch 1, sc in same ch 2 sp, sc in each of next 4 sts, ( sc, ch 2, sc ) in next ch 2 sp, sc in each of next 4 sts, sc in same ch 2 sp as first sc of rnd, ch 2, sl st in first sc of rnd, turn work clockwise.
{ 24 sc, 4 ch-2 sp }
Rnd 4 ( WS ): Continue with Col 2, sl st into ch 2 corner sp from prev rnd, ch 1,sc in same ch 2 corner sp, sc in each of next 6 sts, ( sc, ch 2, sc ) in next ch 2 corner sp, sc in each of next 6 sts, sc in next ch 2 sp, ch 2, change to Col 1 with a sl st, leave Col 2 to back of work, cont with Col 1, ch 1, sc in same ch 2 sp, sc in each of next 6 sts, ( sc, ch 2, sc ) in next ch 2 sp, sc in each of next 6 sts, sc in same ch 2 sp as first sc of rnd, ch 2, sl st in first sc of rnd, turn work clockwise.
{ 32 sc, 4 ch-2 sp }
Rnd 5 ( RS ): Continue with Col 1, sl st into ch 2 sp from prev rnd, ch 1,hdc in same ch 2 sp, hdc in each of next 8 sts, ( hdc, ch 2, hdc ) in next ch 2 sp, hdc in each of next 8 sts, hdc in next ch 2 sp, ch 2, change to Col 2 with a sl st, leave Col 1 to back of work, cont with Col 2, ch 1, hdc in same ch 2 sp, hdc in each of next 8 sts, ( hdc, ch 2, hdc ) in next ch 2 sp, hdc in each of next 8 sts, hdc in same ch 2 sp as first hdc of rnd, ch 2, sl st in first hdc of rnd, fasten off both Colours leaving long tails for sewing if needed.
{ 40 hdc, 4 ch-2 sp }
Crochet Quilt Series Information
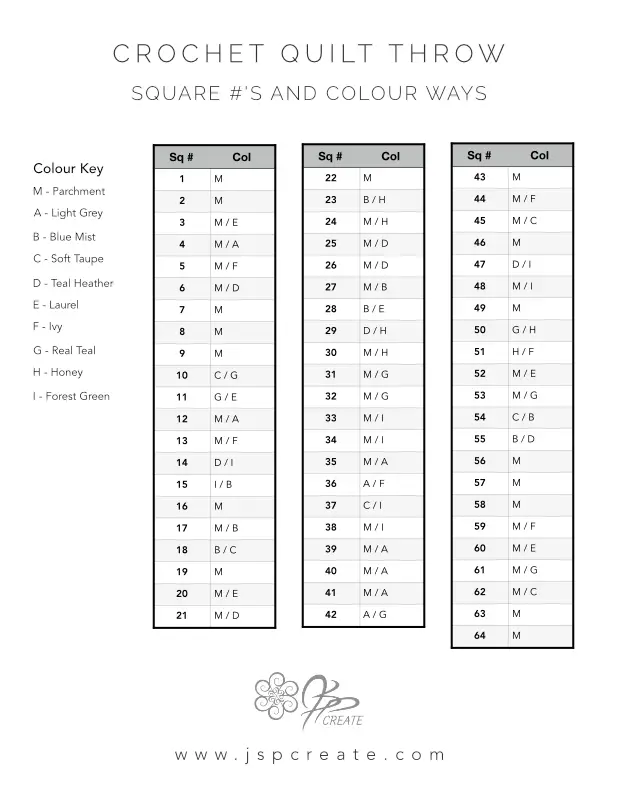
For this step of the series, you’ll need to make 48 two-colour squares. The Square Colour Ways are in a chart below
Check your Supply List for details on hook sizes, yarn quantities, colours, and brands. If you haven’t joined the Series List yet and received your Free Supply List PDF, Grab it HERE
Tip: To match my throw size (approximately 42 inches/106 cm square), ensure your squares measure 4 inches (10 cm) each by using the correct hook size and yarn.
Additional Resources
Each Step in the Crochet Quilt Throw Series has a video tutorial and a blog post, however I have tried to make these tutorials so they are not just limited to the throw project—they’re versatile and can be used in a variety of crochet projects like blankets, scarves, and more.
I’m passionate about helping you unleash your creativity and try new things with crochet. My goal is to provide you with the skills and confidence to bring your crochet ideas to life, one stitch at a time. Happy crocheting!
Watch the Full Two-Tone Square Tutorial Below
Check out my Shop where I regularly release new patterns using all my squares.
All shop patterns include a symbol chart version of the square as well as various colour way diagrams
Thanks for joining me and getting creative. ~ Jane ~
“I found I could say things with colour and shapes that I couldn’t say any other way – things I had no words for.” – Georgia O’Keeffe

