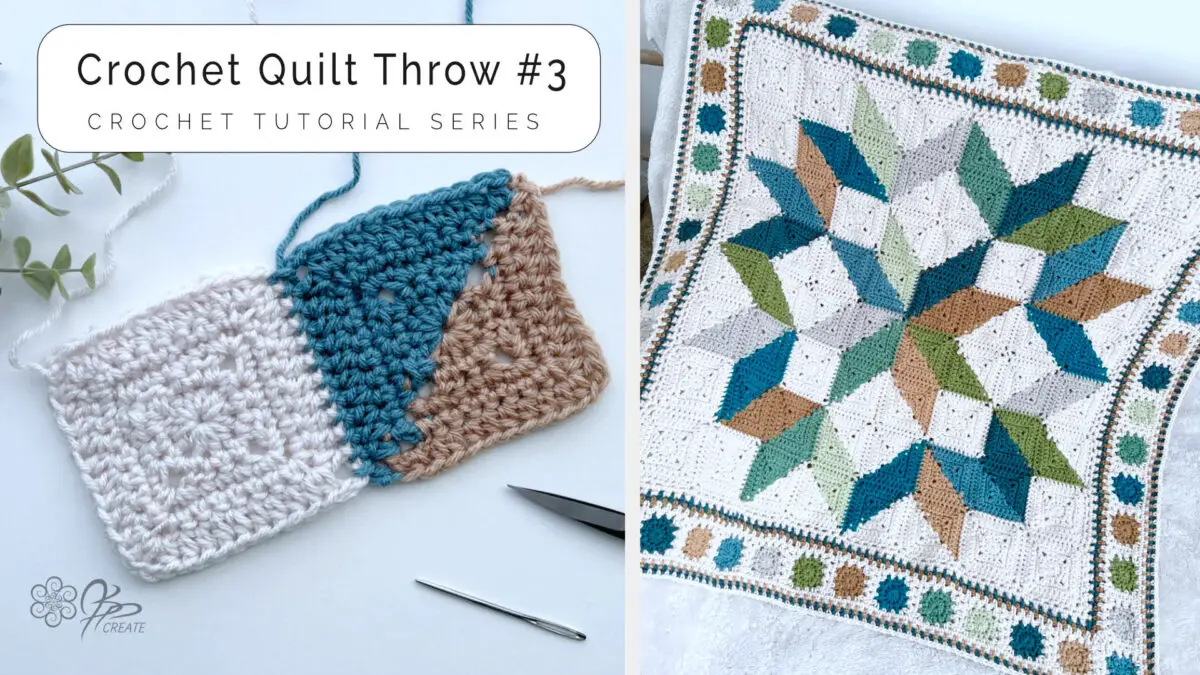
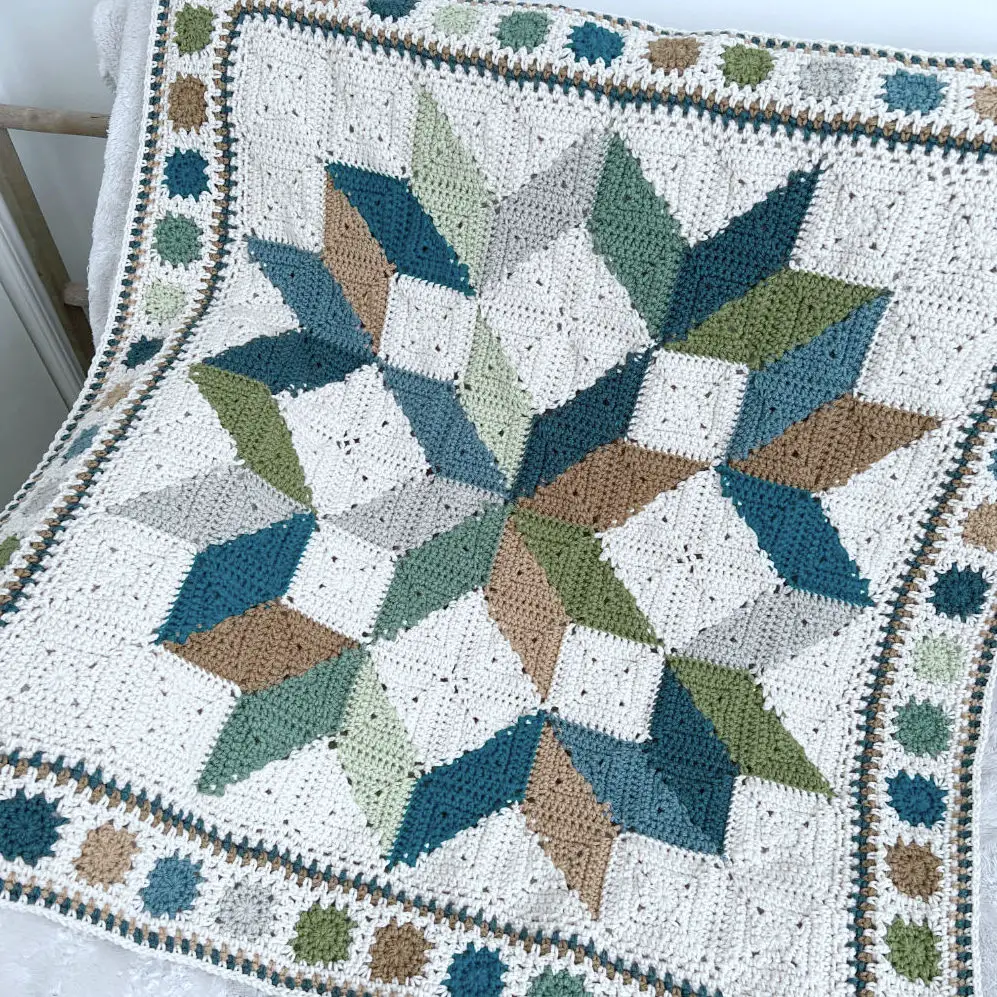
In Today’s Post we take the next step in our Crochet Quilt Throw project by assembling our throw. I’ll show you how to position your completed squares and attach them using a simple whip stitch. With a total of 64 squares in this center piece, organization is key for assembling our throw, so I’ve got some handy tips to make the process smoother.
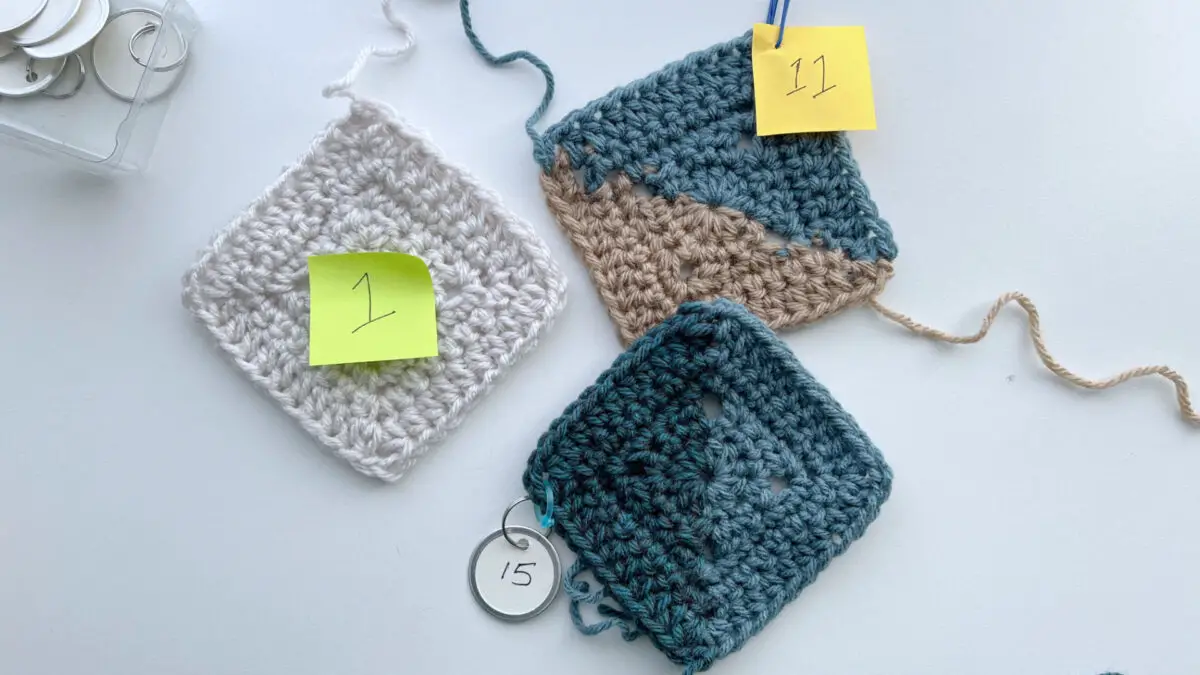
In the previous tutorial, I introduced the two-tone version of the square. You’ll find a chart detailing the exact colours for all 64 squares, each numbered accordingly HERE. When dealing with this many squares, I find tagging them essential for keeping things orderly. I personally use metal ring tags secured with yarn, stitch markers, or even paper clips, though string tags or sticky notes work just as well.
If you would like The Full PDF version of this Pattern with Diagrams, Charts and More you can find it in my Shop HERE
Check Out the Other Videos In the Series:
Easy Back-and-Forth Square: Crochet Quilt Throw #1
Crochet a Two-Tone Square | Quilt Throw #2
Tools and Supplies
One of my Favourite Places to order yarn online is Mary Maxim Yarns – they carry a nice variety of colours and brands at affordable prices, and they also offer great coupons to inspire you to keep coming back for more, because can you really have too much yarn?
Supplies For Assembling Our Throw:
- Scissors
- Yarn needle for darning in ends
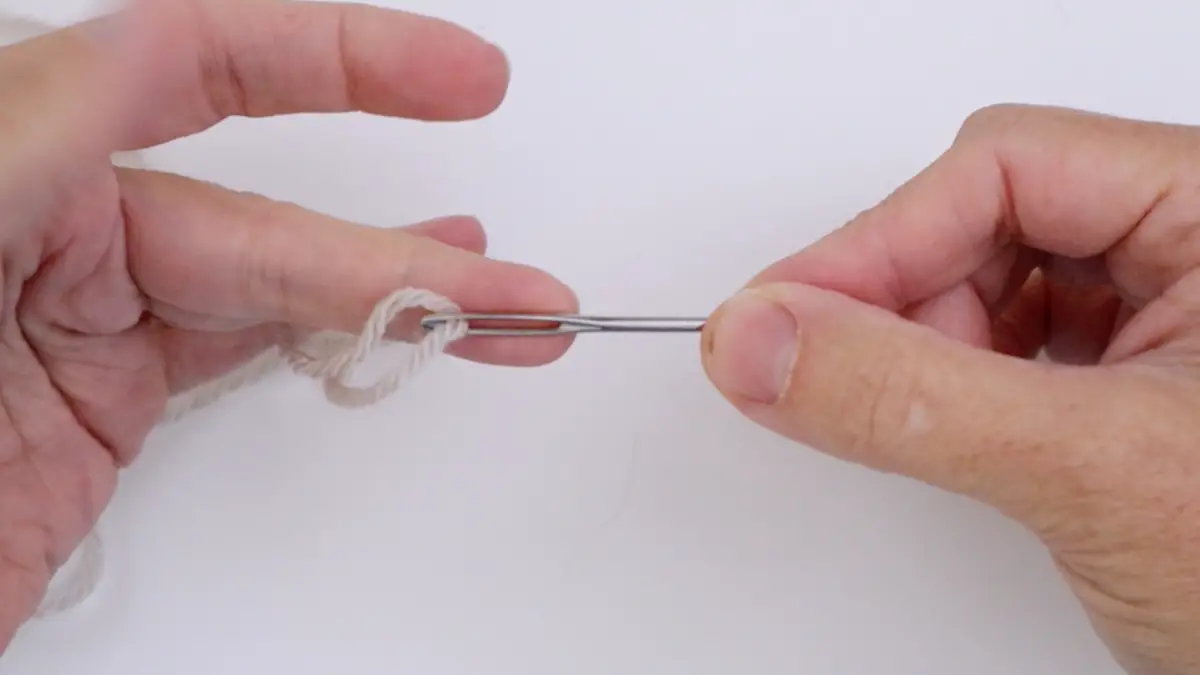
I choose a darning needle with a large eye, to accommodate larger thicknesses of yarn. I also like the ones with a dull point, so I don’t stab myself as well as I don’t split the yarn when I am sewing through my squares.
Abbreviations:
ch – chain
st(s)– stitch(es)
sl st – slip stitch
sc – single crochet
hdc – half double crochet
dc – double crochet
lp(s) – loop(s)
yo– yarn over
rnd – round
beg – beginning
prev – previous
sp – space
sk – skip
rep – repeat
dec – decrease
Cont – continue
Col – Colour
More Information on Hooks Sizes, Yarn Weights and Crochet Language
Hook Sizes see the Craft Yarn Council’s Page Here
For Standard Yarn Weight Information See this Page
A Handy PDF from Annie’s on the difference between UK and US Crochet Terms
A Nice Explanation from LoveCraft’s on The UK and US differences
Let’s Get Assembling Our Throw
For this step of the series, you’ll need all 64 squares both solid and two-colour squares with their numbers. The Square Colour Ways chart can be found in the previous tutorial here
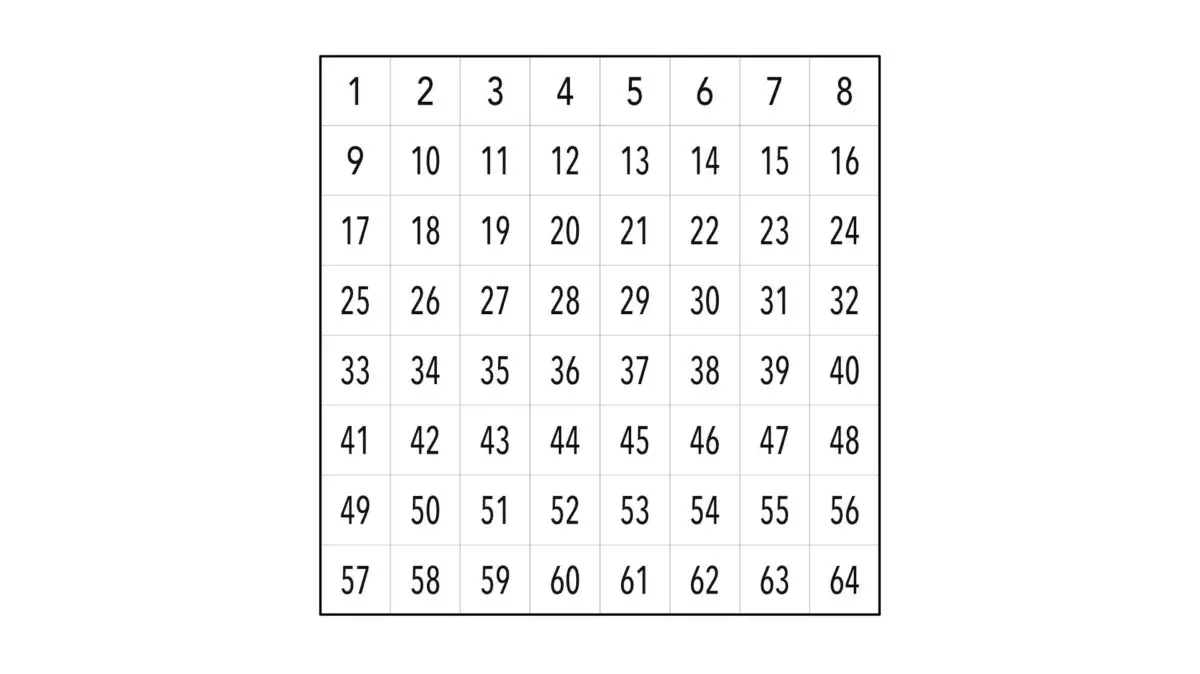
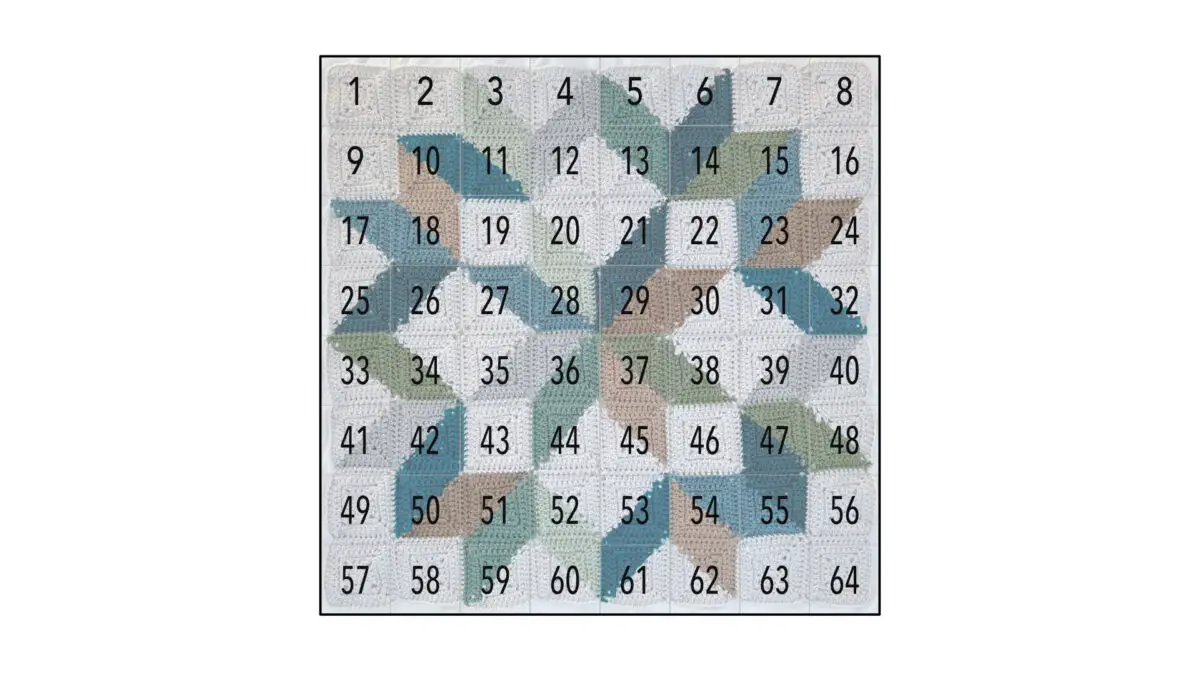
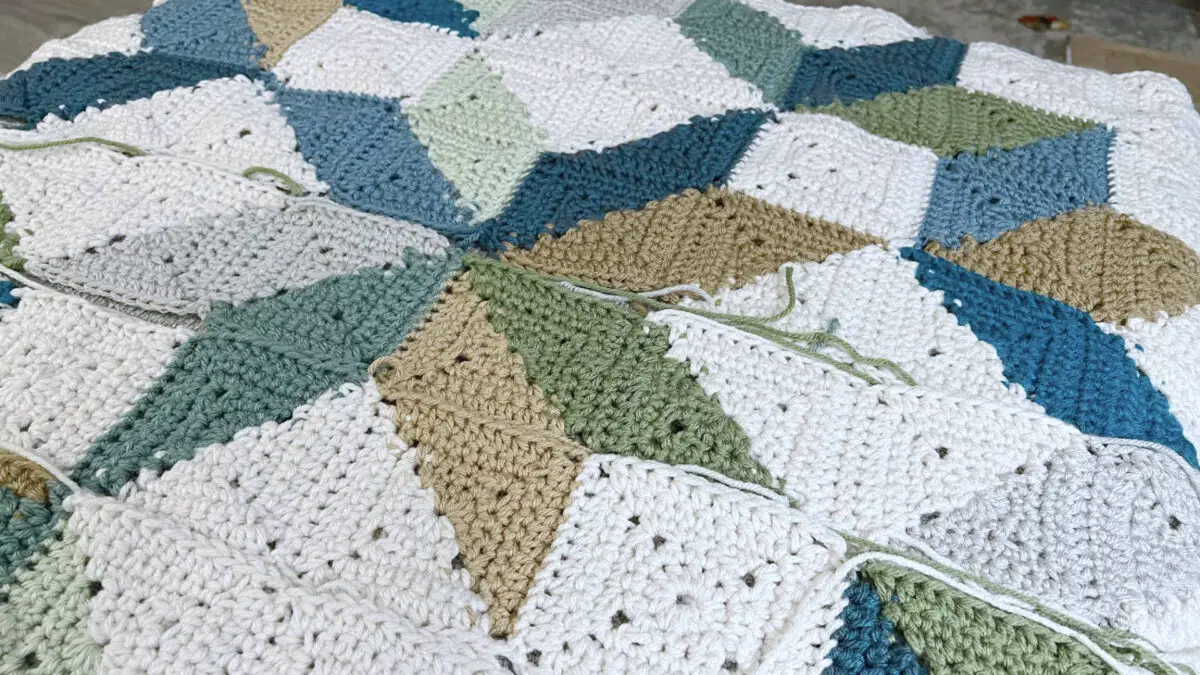
Here’s the grid layout for the 64 squares, arranged in an 8×8 formation. When overlaid on the finished image, you can see how each square should be oriented. Due to the geometric pattern, some squares slant left while others slant right, so referring to the finished piece helps with proper orientation.
If you would like more detailed guidance, the full downloadable PDF pattern is available in my shop, complete with comprehensive colour charts HERE
In the previous tutorial, I also emphasized leaving long ends when fastening off colours to facilitate sewing the squares together when assembling our throw. With plenty of ends to weave in, minimizing them speeds up the process.
If space allows, lay out all your squares as desired before sewing and assembling our throw. This helps in planning how to utilize yarn ends effectively, especially with solid squares.
Joining Individual Squares
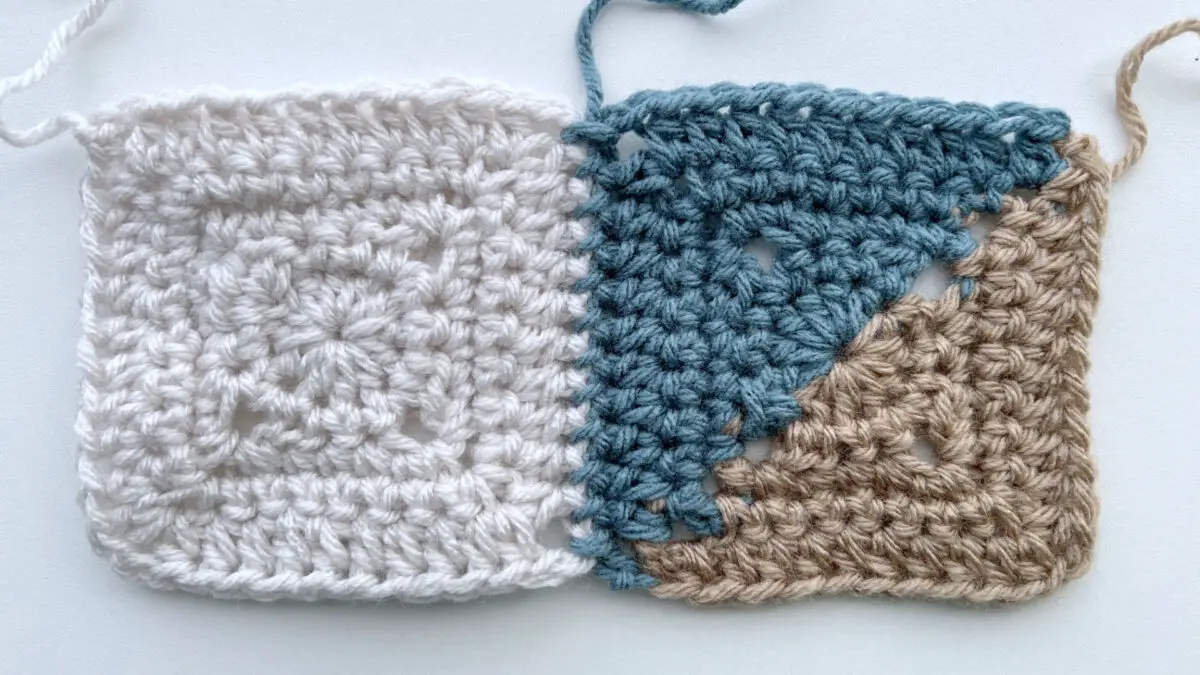
Placing Two Squares Side by Side, work them together using a simple whip stitch seam, stitch for stitch from one corner to the next
See Video Tutorial Below for Step By Step Demonstration
During assembly, you may need to add extra pieces of yarn for sewing seams, as the ends from you finished squares don’t always fall where you need them to sew a seam. This is when you will use a new piece. I like to add an extra long piece so then I can use it for more than just one seam, saving more ends to work in latter. The direction of sewing isn’t critical, as the yarn blends with the square’s colour and won’t stand out in the finished piece.
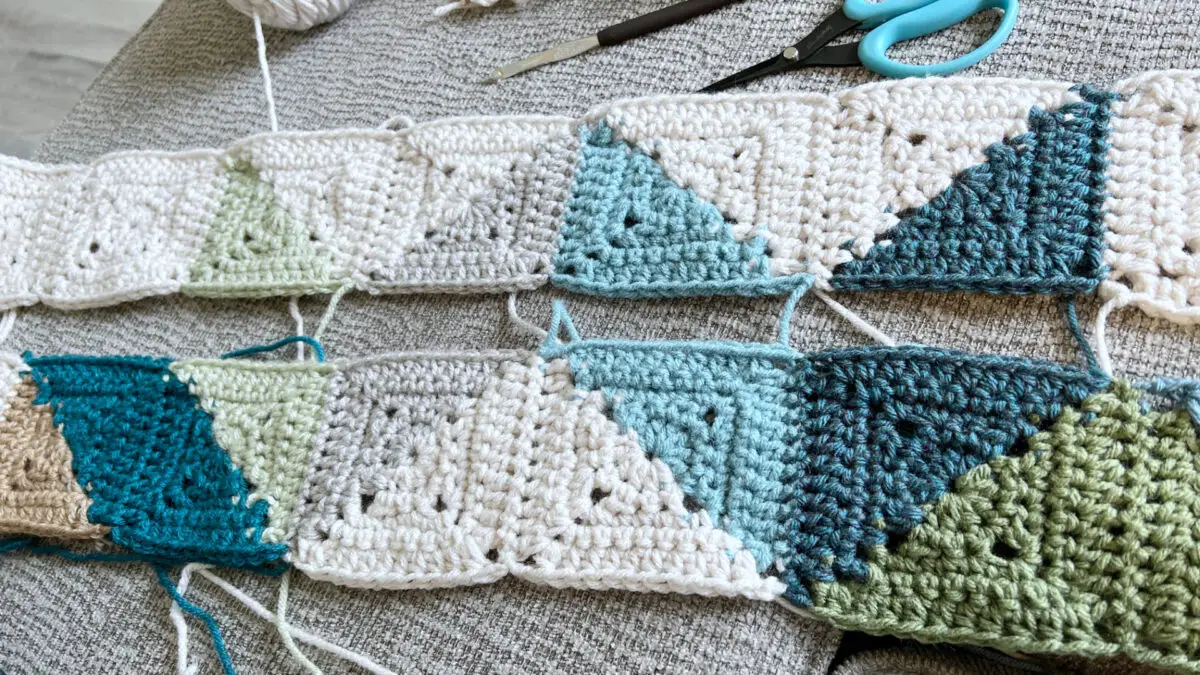
Personally, I prefer attaching squares row by row before joining the rows together—it’s just how my brain processes it. You might find it easier to attach squares sequentially or in blocks—choose whatever method suits you best.
As you work through joining the rows, you may find the necessary yarn at the opposite end of the seam—simply start sewing from where the yarn is located and continue to the next square.
If you would like The Full PDF version of this Pattern with Diagrams, Charts and More you can find it in my Shop HERE
Additional Resources
Each Step in the Crochet Quilt Throw Series has a video tutorial and a blog post, however I have tried to make these tutorials so they are not just limited to the throw project—they’re versatile and can be used in a variety of crochet projects like blankets, scarves, and more.
I’m passionate about helping you unleash your creativity and try new things with crochet. My goal is to provide you with the skills and confidence to bring your crochet ideas to life, one stitch at a time. Happy crocheting!
Watch the Full Tutorial Below
Check out my Shop where I regularly release new patterns using all my squares.
All shop patterns include a symbol chart version of the square as well as various colour way diagrams
Thanks for joining me and getting creative. ~ Jane ~
“I found I could say things with colour and shapes that I couldn’t say any other way – things I had no words for.” – Georgia O’Keeffe