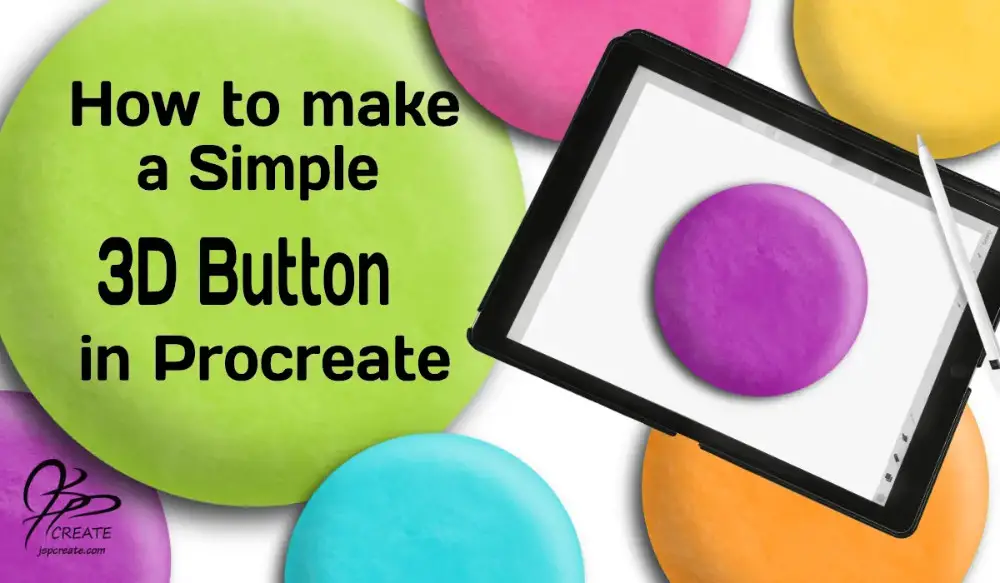
Would you like to give your ipad digital art some dimension? This can be done by adding in light and shadow. In this tutorial I will show you some simple techniques to help you keep your shadows symmetrical and realistic. Read on to learn my tricks and then watch the full video of the process below.
Digital Art – Shape and Light Source
Let’s start with just a simple shape. This method can work on almost any shape, but the best way to learn the technique is on a circle. Next you will want to decide what direction your light source will be coming from. It isn’t a real light source of course, but we need to choose one so we can determine how our highlights and shadows will appear on our shape. For this demo I am assuming my light source is coming from the upper right.
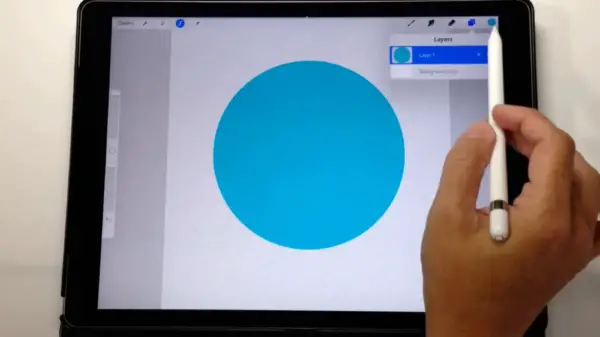
Adding the Light and Shadow
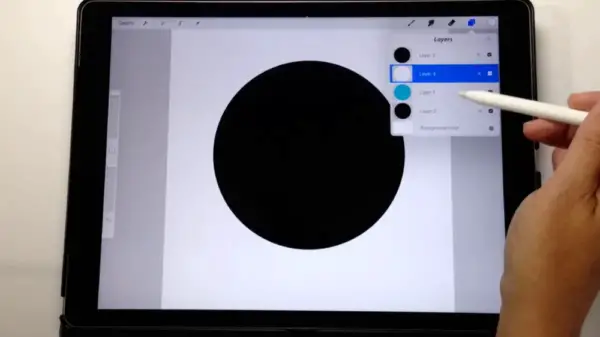
Now I need to add three more layers. A white filled version of my shape for the highlight layer and a black filled version for the shadow. These layers will both lie on top of my original shape layer. Then I will need another black filled version of my shape to lie underneath my original shape for my drop shadow.
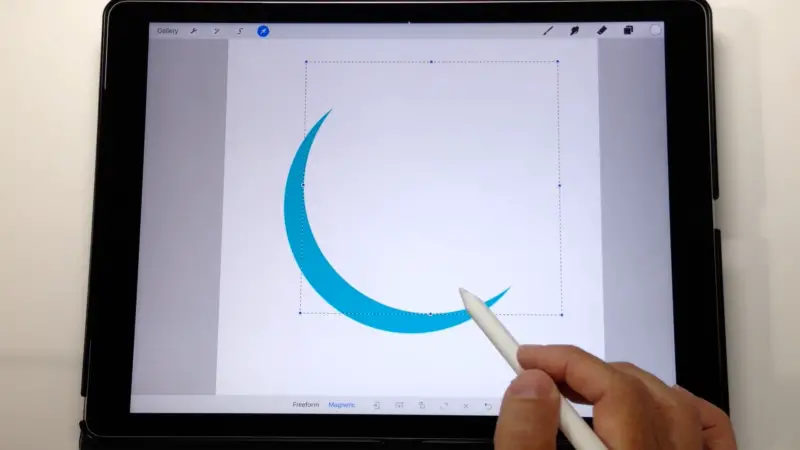
Once I have my layers in place I will then use the transform tool and move the white circle up and to the right diagonally. If you use the “magnetic” function you can use the guide to move the shape on the diagonal axis. Just shift it enough to uncover a small crescent shape of blue on the bottom left. Now go back to the blue circle layer and “select” the contents of this layer. Only the blue circle will be selected. Now back to the white circle layer and choose “clear”. This leaves a small white crescent in the upper right. You may not see it due to the white background, but it is there if you look at the layer itself. Using the transform tool, move this white crescent back on top of the blue circle so it lines up with the edges.
 |
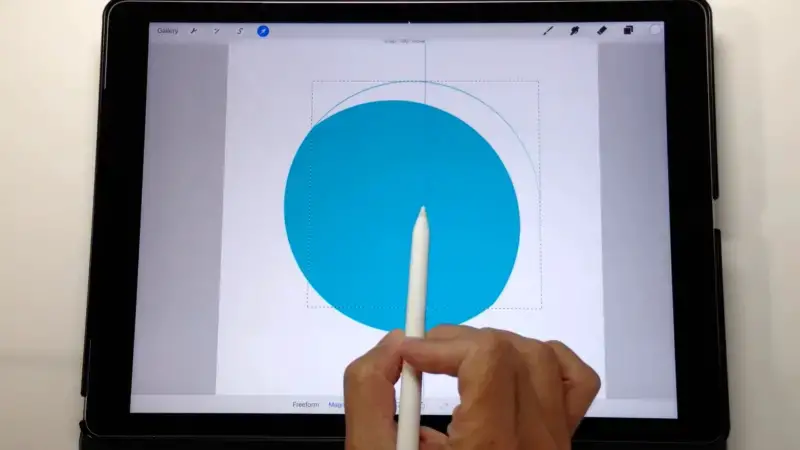 |
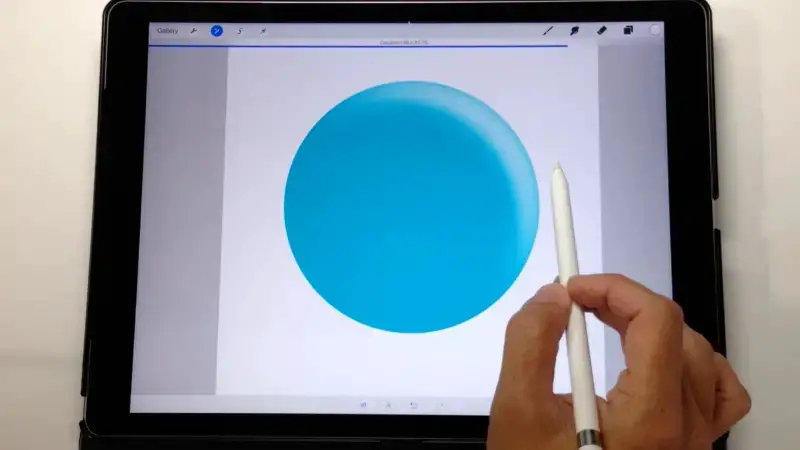
Once it is lined up, you can go to “adjustments” and choose “gaussian blur”. Blur the white until you feel it looks like a highlight. You can refine this by lowering the opacity of the layer as well. Now you have a highlight on your shape.
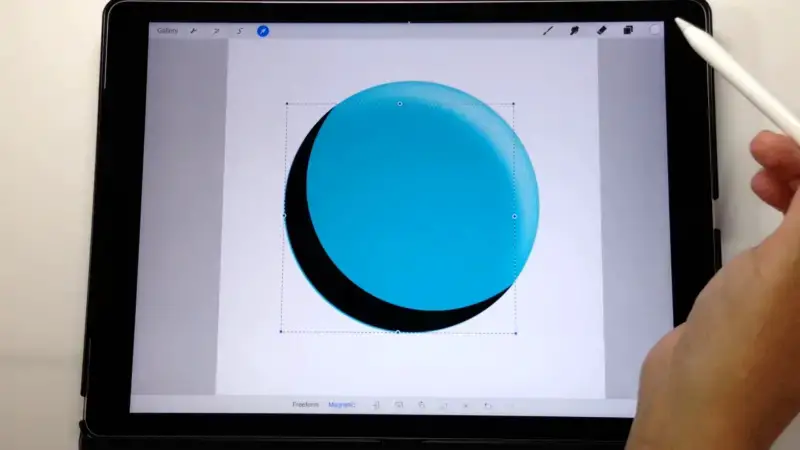
You will now repeat this whole process for the shadow. The shadow will be on the lower left, opposite the highlight. To achieve this you will start by moving the black circle down and to the left. For a more detailed description and demo you can watch the video below.
 |
 |
Add a Drop Shadow
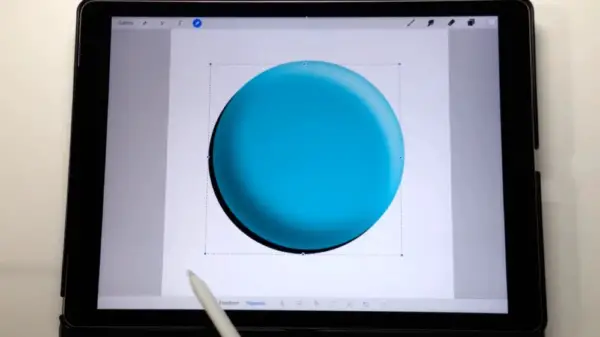
When you have both the light and shadow on top of the shape, you can now create the drop shadow that will lie underneath the shape. This is done by using the “transform” tool to shift the remaining black circle in the direction of your shadow side, lower left in this case. Use gaussian blur again to create your shadow, but this time only enough to blur the edges leaving a bit more of a crisp black edge where it meets the blue circle.
A Little Texture Makes a Big Difference
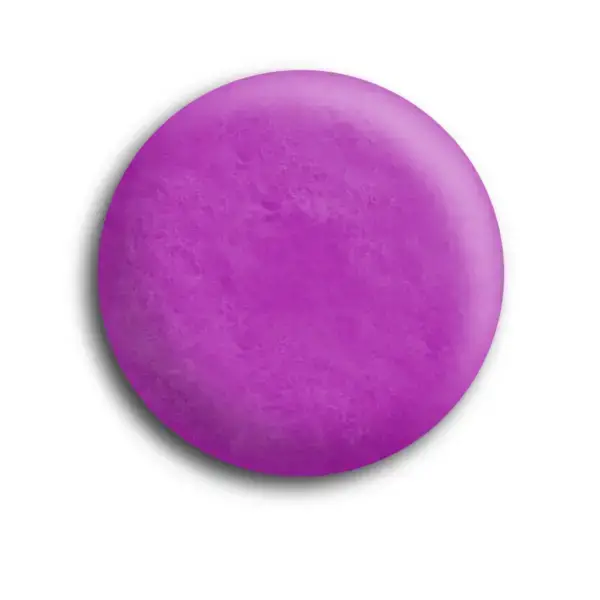
Your shadows and highlights are in place and you may want to leave your shape just like this. If you would like to add a little more interest and depth, you can add another layer on the top of your shape and create some texture. Choose any texture you would like. I keep my opacity down so as not to overpower the design. Then I change the blend mode. Experiment with this depending on what texture and colours you are using. The blend mode Overlay often works well, but others such as Colour Dodge or Soft Light can give some nice effects as well.
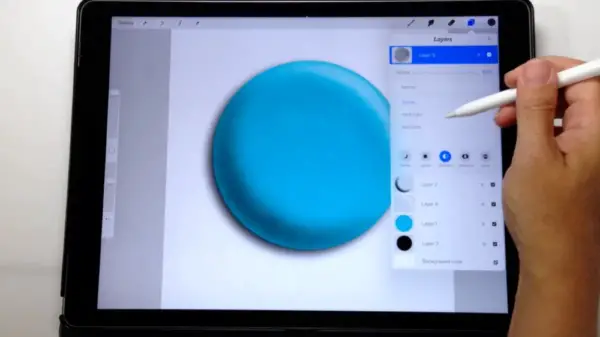
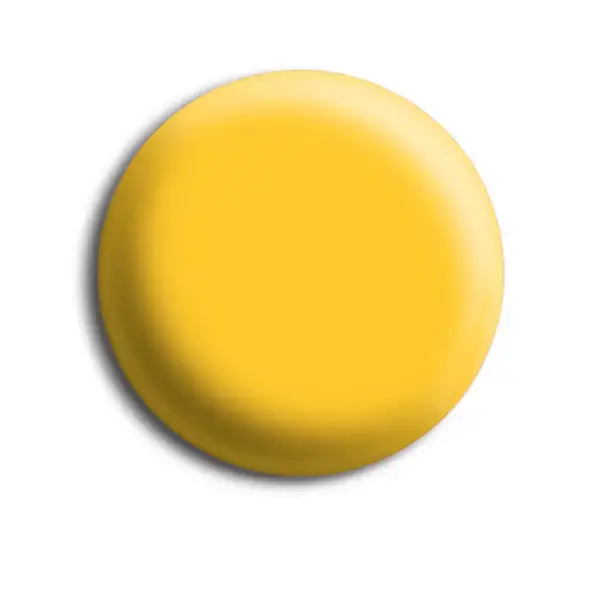
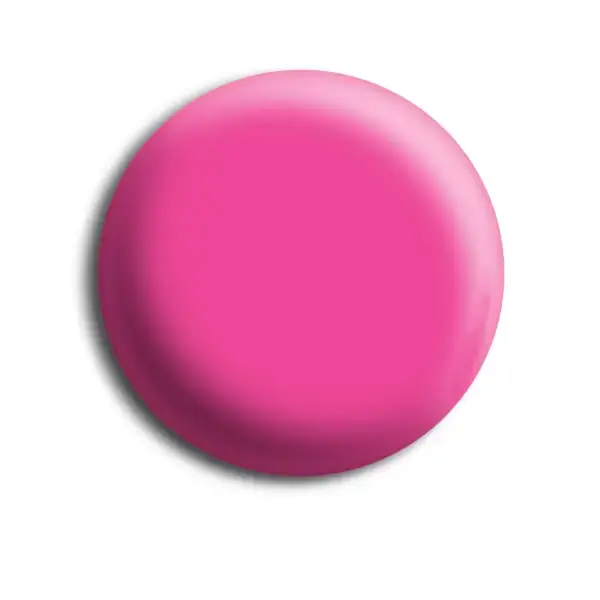
You can also change up the colour of your shape. If you are using a solid filled object, just select it, create a new layer and fill with a different colour.
 |
 |
 |
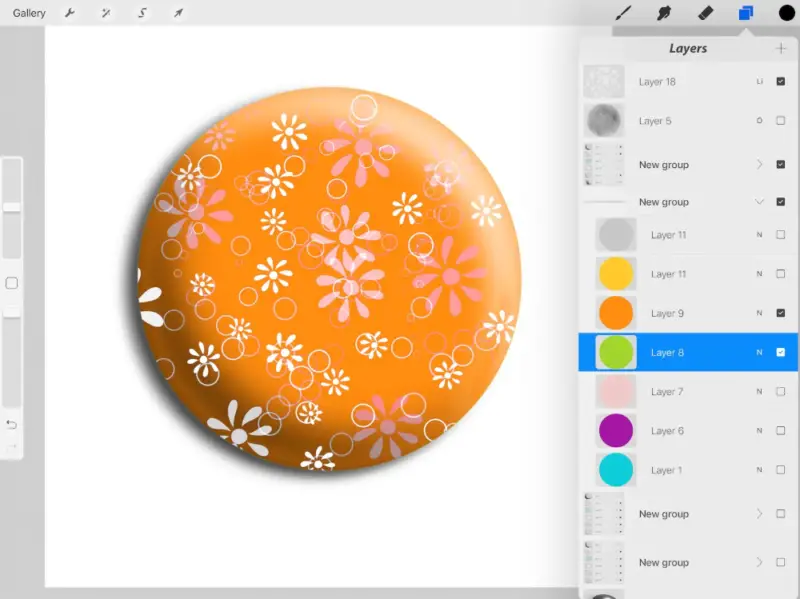
To add even more fun, you can add some design or lettering on top of your new 3D shape and again, use a blend mode Such as Muliply to make the highlights and shadows work with it.
Step by Step Method of Creating a 3D Button in Procreate
Now that you have the idea of how this works you can watch the entire process from beginning to end.
If you would like to learn more techniques subscribe to my youtube channel or hop on over to my course page and sign up for one of my longer more in depth classes on Drawing and Digital Art on the iPad.
Check Out More of My Drawing Classes
Thanks for joining me and getting creative. ~ Jane ~
“I found I could say things with color and shapes that I couldn’t say any other way – things I had no words for.” – Georgia O’Keeffe

