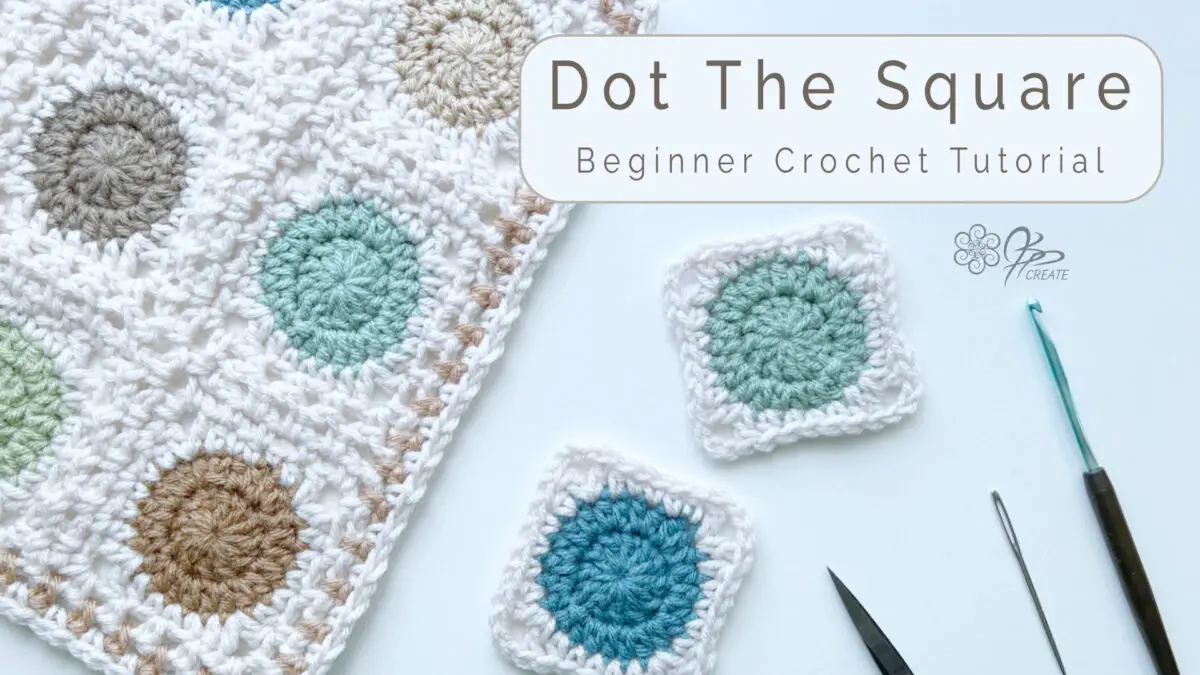
Hey Gang, I’m back today with another super simple, easy crochet granny square tutorial. This one is a perfect one for beginners.
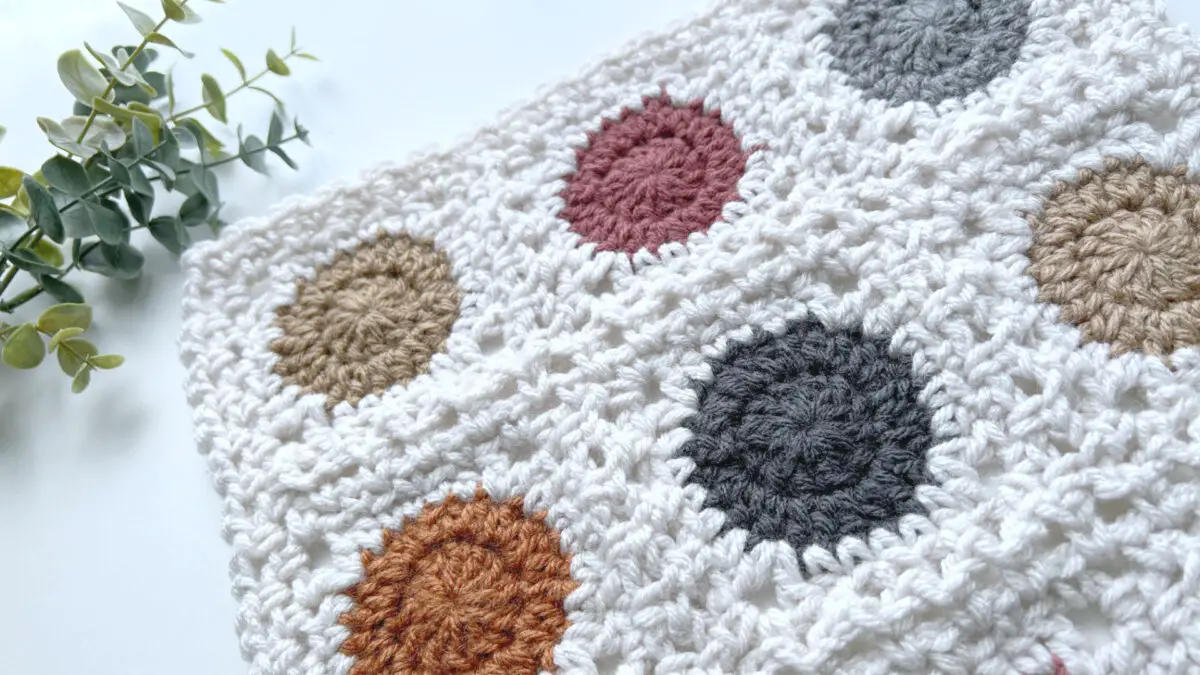
I call this one Dot the Square or Dot for short, because she is small and to the point. 3 rounds total to this square.
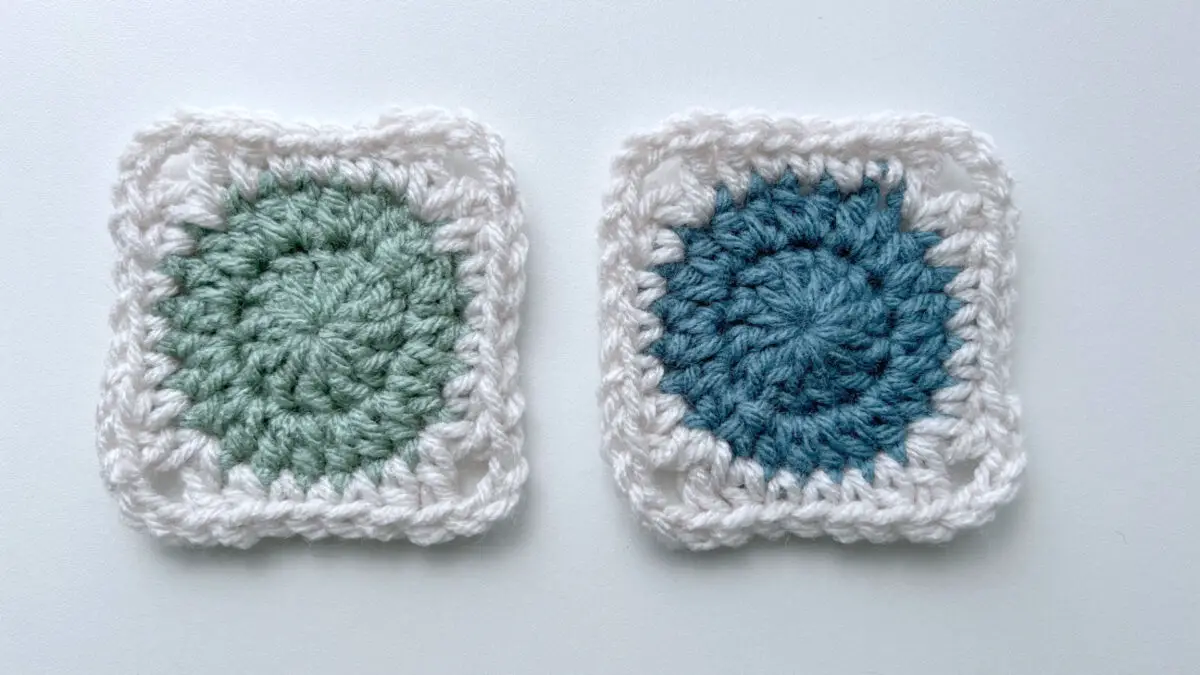
If you are looking for a simple square to start your crochet journey with, this one is the perfect one to learn on. In the video tutorial below, I walk you through how to make this square, step by step, nice and slow, covering lots of basics stitches, how I change colours and once we have completed the square, I will show you how to darn in your ends and give you a few inspirational ideas on projects you can make.
This one is also a great one for scrap busting too. Less than 4g of yarn per square. It’s 3″ x 3″ finished and perfect to join using my Join As You Go Method.
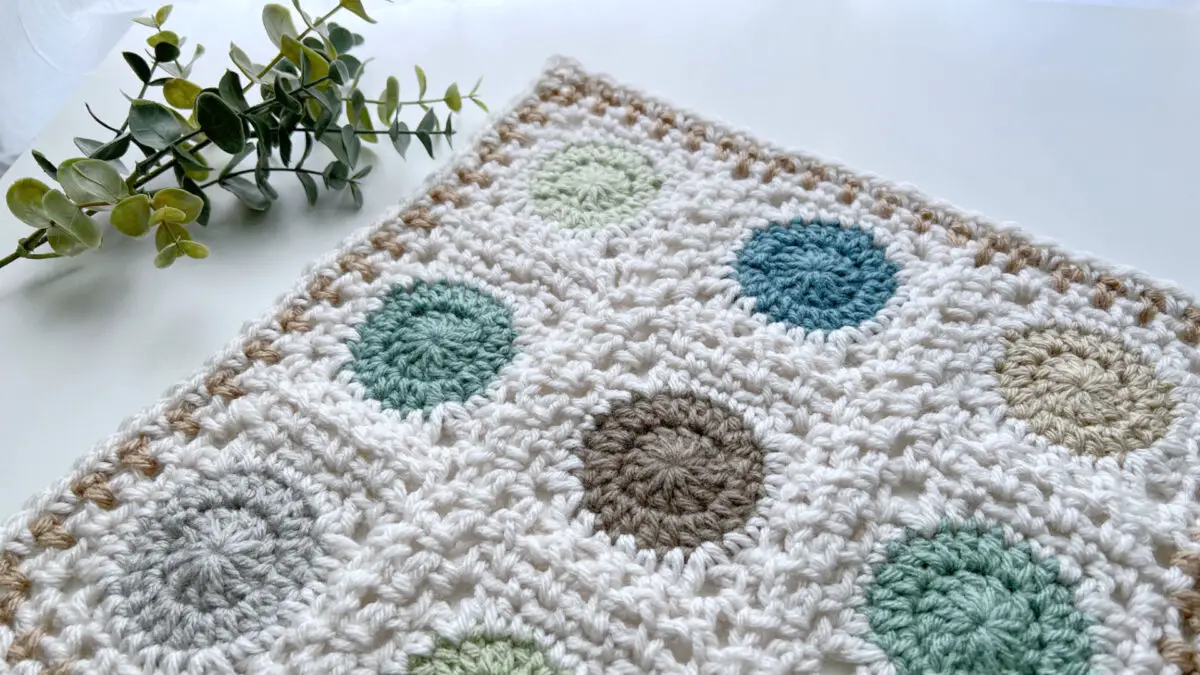
You can find more captivating color combinations for your squares over on my Instagram and Pinterest. I love sharing lots of pics of my colour experiments there!
If you would like the ad-free pattern for Dot The Square as a PDF, with Symbol Charts, Find it in my shop, HERE,
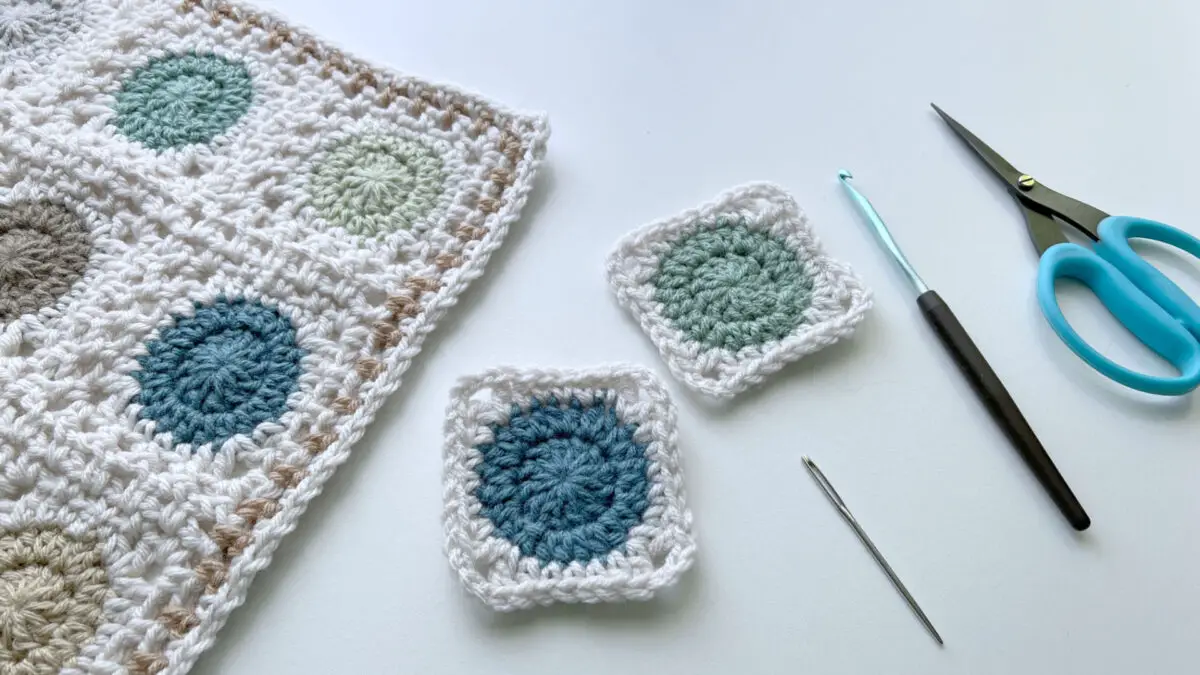
Tools and Supplies for Dot The Square:
The Yarn used in this pattern is a Worsted Weight #4
The Colours I’m using today
small amounts of 2 different colours of yarn
- Parchment – Bernat Premium
- Blue Mist – Impeccable by Loops and Threads
Hook: 5.00 mm US 8 / H
My Favourite Hook is the Susan Bates Ergonomic Silvalume
Other Supplies:
- Scissors
- Yarn needle for darning in ends
Dot The Square Finished Size:
3″ x 3″
More Information on Hooks Sizes, Yarn Weights and Crochet Language
Hook Sizes see the Craft Yarn Council’s Page Here
For Standard Yarn Weight Information See this Page
A Handy PDF from Annie’s on the difference between UK and US Crochet Terms
A Nice Explanation from LoveCraft’s on The UK and US differences
Abbreviations:
ch – chain
st(s)– stitch(es)
sl st – slip stitch
sc – single crochet
sc blo – single crochet back loop only
hdc – half double crochet
dc – double crochet
tr – treble crochet
lp(s) – loop(s)
yo– yarn over
rnd – round
beg – beginning
prev – previous
sp – space
sk – skip
rep – repeat
dec – decrease
Cont – continue
Dot The Square Instructions
Foundation: With Blue, Ch 4, sl st in first ch, to form a ring.
Rnd 1: Continue with Blue Mist, ch 3 ( counts as first dc ), work 11 more dc into ring, sl st in 3rd ch of beg ch 3, { 12 dc }
Rnd 2: Continue with Blue Mist, ch 2 ( counts as first hdc ), hdc in same ch as join, 2 hdc in next st and in each st around, sl st in 2nd ch of beg ch 2, fasten off. { 24 hdc }
Rnd 3: Join Parchment with a sc in any st of prev rnd, sc in each of next 2 sts, hdc in next st, ( dc, ch 3, dc ) in next st, hdc in next st, * sc in each of next 3 sts, hdc in next st, ( dc, ch 3, dc ) in next st, hdc in next st, rep from * two more times, sl st in first sc of rnd, fasten off. { 12 sc, 8 hdc, 8 dc, 4 ch-3 sp }
Watch the Video Tutorial Below
Level Up Your Square:
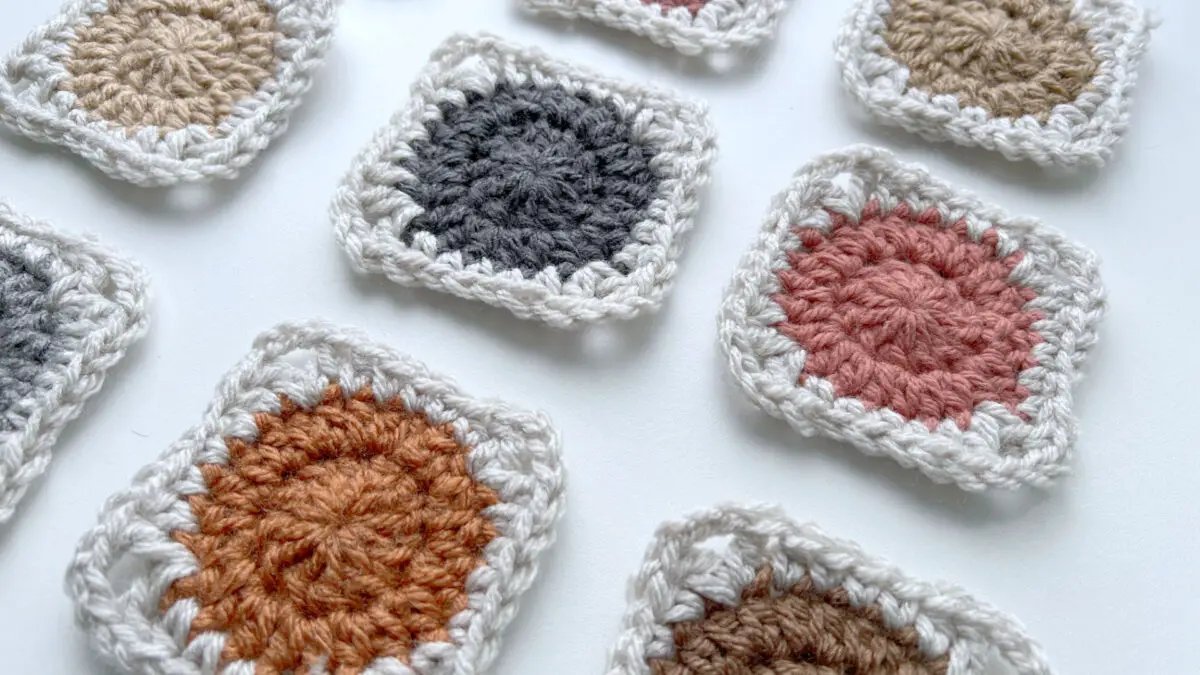
To add even more colour to your square and to make them a bit bigger if you would like, try adding a fourth round. Check out the samples under More Project Ideas to see what this looks like.
Round 4 – Solid Stitch Option
Rnd 4: Join Col of choice with a sc in any ch-3 corner sp, * sc in each of next 7 sts, ( sc, ch 2, sc ) in next ch-3 sp, rep from * two more times, then sc in each of next 7 sts, sc in same ch-3 corner sp as join, ch 2, sl st in first sc, fasten off. { 36 sc, 4 ch-2 sp }
Round 4 – Ch St Option
Rnd 4: Join Col of choice with a sc in any ch-3 corner sp, * ( sk next st, sc in next st ) 3 times, sk next st, ( sc, ch 2, sc ) in next ch-3 sp, rep from * two more times, ( sk next st, sc in next st ) 3 times, sk next st, sc in same ch-3 corner sp as join, ch 2, sl st in first sc, fasten off. { 20 sc, 20 ch-1 sp, 4 ch-2 sp }
Finishing Dot The Square
Darn in your ends and wet block if necessary
Wet blocking is just spritzing your squares with water, laying them on a towel, pinning them to the size you want ( 3″ x 3″ ) and allowing them to dry. This gives them equal size and makes the corners behave while joining.
Now your squares are ready to join
More Project Ideas
These squares are perfect as a portable project, make a bunch of them and then join them using the Join As You Go method.
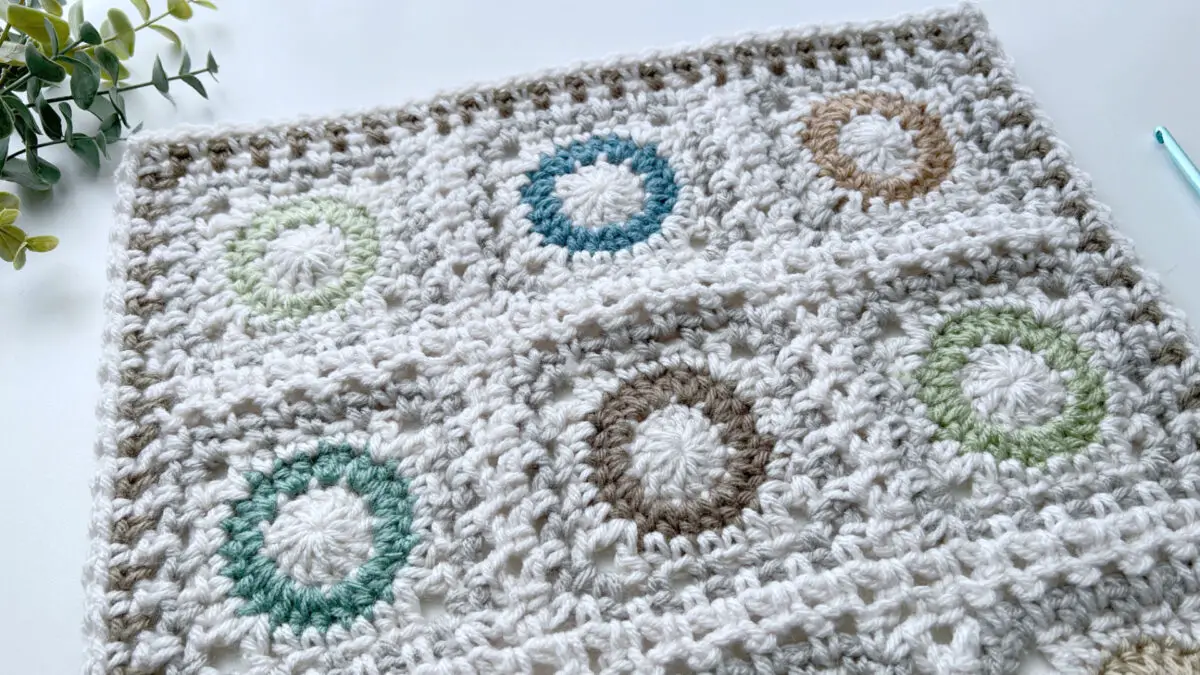
I used 2 colours in my original sample, but you can change up where you work the colours.
Above I have created Rings by doing Rounds 1 and 3 in White and Round 2 in a colour. This Sample I also added the fourth round option to add in more colour. I then can join the squares using my other JAYGO method Here
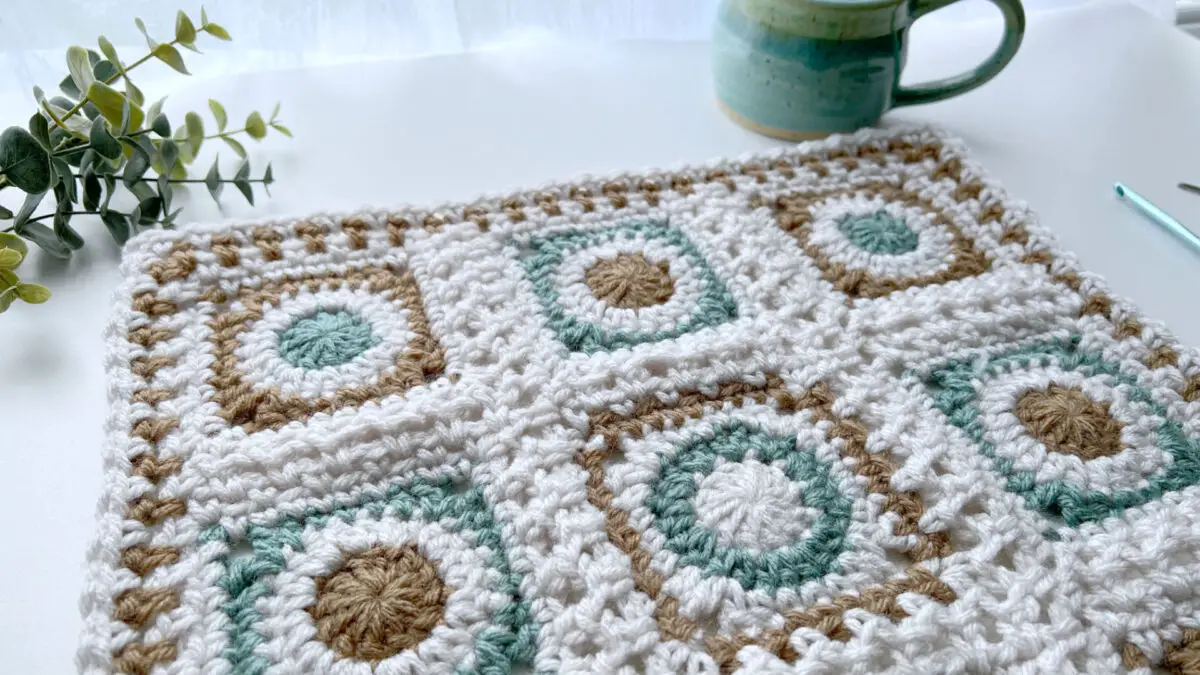
Below I have used three colours and then changed up what Rounds I used them so they would create a fun geometric design when I join them all together. This one also adds a 4th round to give it even more interest
Join Your Squares
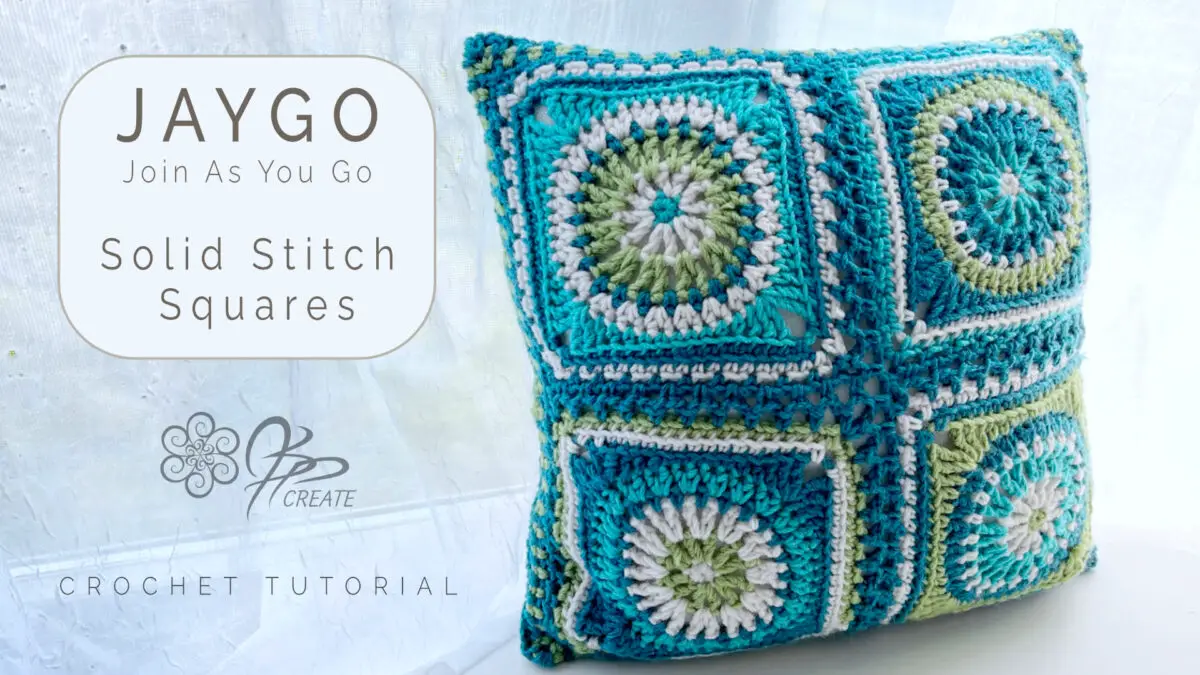
Try Joining your Squares using the Join As You Go or JAYGO method with this tutorial
Check out my Shop where I regularly release new patterns using all my squares.
All shop patterns include a symbol chart version of the square as well as various colour way diagrams
Thanks for joining me and getting creative. ~ Jane ~
“I found I could say things with color and shapes that I couldn’t say any other way – things I had no words for.” – Georgia O’Keeffe

