Ever wanted to give your classic granny squares a little extra something? Well, you’re in for a treat! In this tutorial, we’ll delve into how to embroider on crochet – a simple yet captivating way to elevate your crochet game. Inspired by the charm and stitch textures in crazy quilts, we’ll learn how to incorporate extra stitch work into your crochet projects, giving them a touch of individuality and style. So, join me as jump in and explore the art of embroidering on crochet.
In this post, I’ll give you a quick rundown of the essentials for joining your crochet squares. However, for a comprehensive walkthrough of the entire process, I’ve included a detailed video tutorial below. Don’t forget to take a scroll down and hit play – it’s like crafting alongside me. Let’s dive in and make those squares come together seamlessly!
Supplies I Am Using In The Tutorial
Yarn: Med weight size 4
Other Supplies:
Scissors
Yarn needle for sewing
I choose a darning needle with a large eye, to accommodate larger thicknesses of yarn. I also like the ones with a dull point, so I don’t stab myself as well as I don’t split the yarn when I am sewing through my squares.
More Information on Hooks Sizes, Yarn Weights and Crochet Language
Hook Sizes see the Craft Yarn Council’s Page Here
For Standard Yarn Weight Information See this Page
A Handy PDF from Annie’s on the difference between UK and US Crochet Terms
A Nice Explanation from LoveCraft’s on The UK and US differences
The Summer Side Hexagon
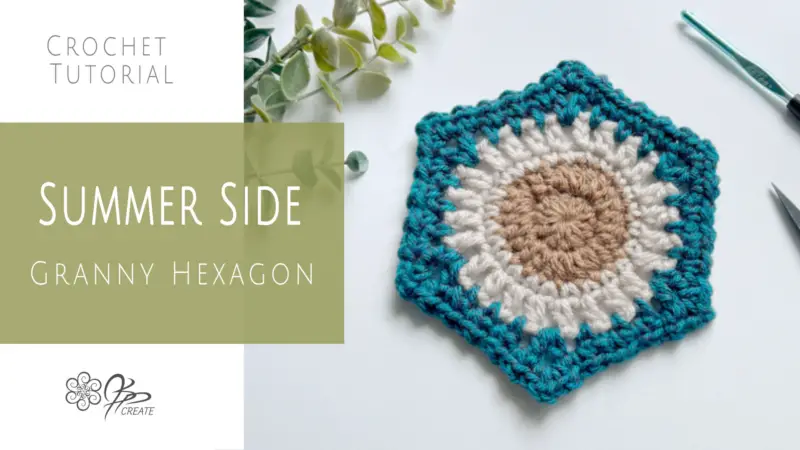
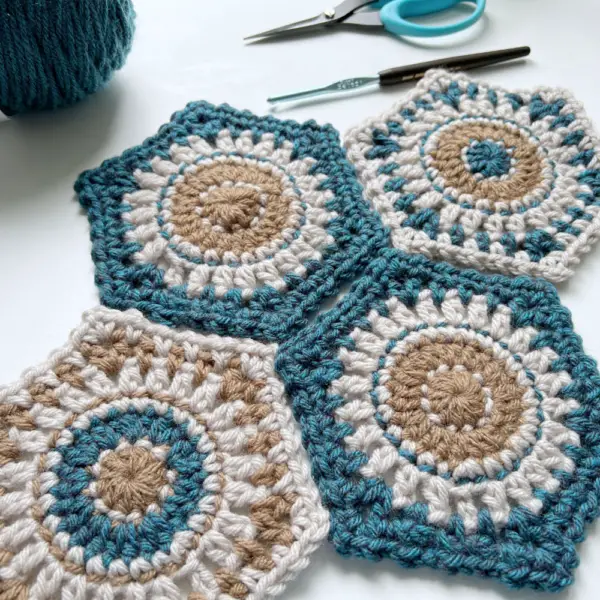
I will be working this embroider on crochet tutorial using the Summer Side Hexagon Square.
You can find the tutorial for this square HERE
Embroider On Crochet – The Back Stitch
- Be sure to leave a 4 inch tail for darning in later
- The first round of stitching will be working around the top of rnd 1. It looks like it is between rnds 1 and 2, but actually it is under the top part of the stitch of rnd 1. With Right Side Facing, Insert needle from Right Side to Wrong Side between any two stitches
- Then insert the needle from Right Side to Wrong Side, one full stitch space before the one you just came up through ( this is the “back” in backstitch
- Pull the needle to the Wrong Side and gently tug the yarn into place, not to tight as you want these stitches to sit up nice and puffy for a beautiful detail.
- Now bring the needle back up from Wrong Side to Right Side again, a full stitch space ahead of where your first pull up was, which will be 2 stitch spaces from where you just went down

Keeping the Wrong Side Neat
When you embroider on crochet, you want the Right Side to be beautiful of course, but you also want the Wrong Side neat for two reasons.
- If it shows at all, you want it to be neat
- It does affect how the stitches on the Right Side will lie, so you want to be as consistent and minimalist as possible.
Try to keep the long stitches that will be lying on the back to the “outside” of the circle. When you bring the needle through, use your finger to feel for the yarn and place the needle on the “inside” of the yarn that is lying there. This will ensure the yarn will always be wrapping to the same side and will create a nice braid at the back of your work. It also keeps the stitches lying consistently on the front of your work.
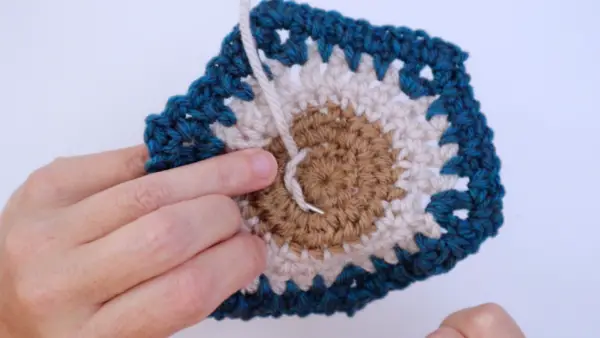
Working Around the Piece
Once you have worked all the way around the piece, leave an end of about 4″ to darn in. You can wait to darn in after the second round is worked. However the loose ends may get in the way as you try to stitch the next section. In this case you may want to go ahead and secure your ends before you go any further. This can be done by knotting or just darning in to the back of the piece. I will discuss this more after the next round is complete.
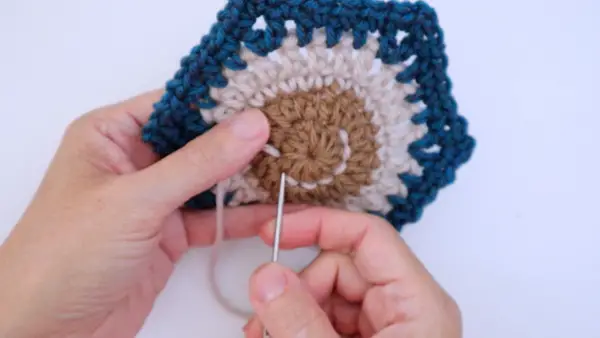
Adding a Second Round of Back Stitch
Once we have completed the first round of stitching, we can add another one. This round is worked through round 4. The needle is inserted in between any two stitches to start, but below the top of the stitch itself. Continue to work as before around the entire piece.
As you continue to practice your embroider on crochet technique, you will start to understand where to “poke” the yarn into the work and where to bring it back up. Then you can start to use a “sew” method which involves inserting the needle down one stitch back and bringing it back up a stitch ahead in one motion.
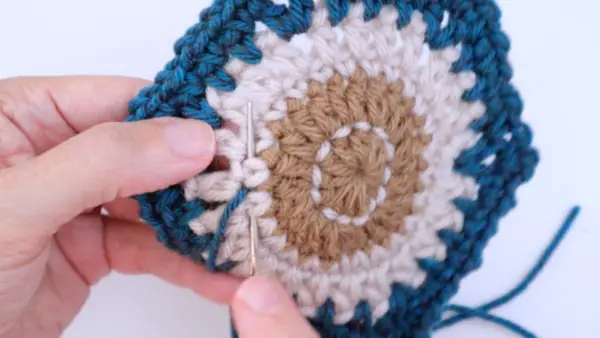
The Completed Wrong Side
Continue to keep the yarn on the back to the “outside” of the stitching. When you are finished both rounds of you will see a nice woven look on the wrong side of your work, as the yarn loops over itself, in the same direction, all the way around. These are the little tricks when you embroider on crochet.
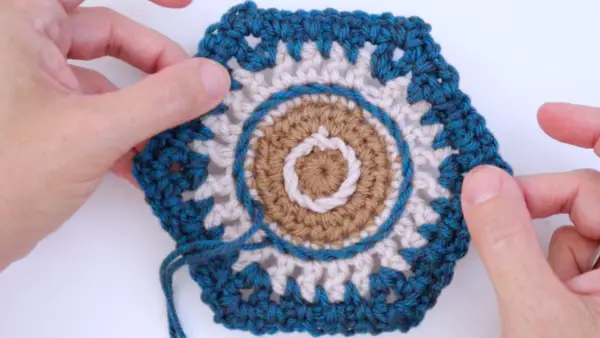
You can knot your ends together and weave them in, or if you are not in favour of knotting ( I prefer not to knot myself ) then just darn the ends around the piece or into the square itself if your colours match one of the rounds. The Back Stitch is a very secure stitch, so your stitching will not fall out, but do darn in the entire 4 inch end, so the first stitch keeps it’s even tension and doesn’t try to wiggle loose. I have attempted to pull out my backstitching when I decided to use a different colour and it is REALLY HARD to get these stitches out. So YES, haha, they are secure!
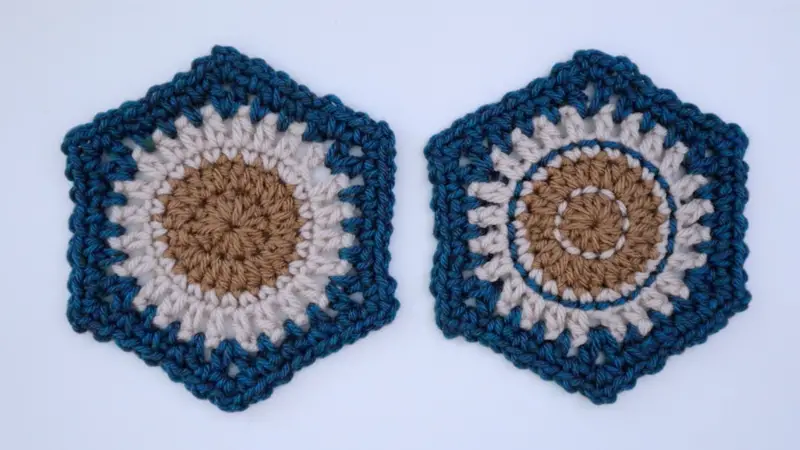
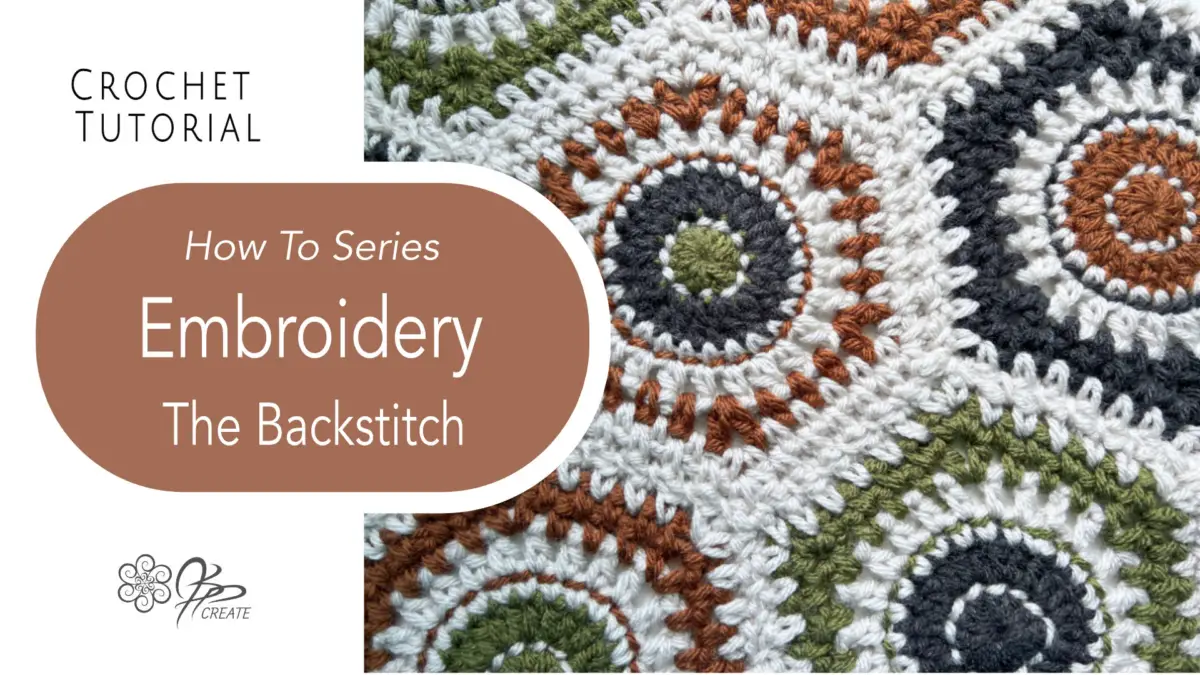
The Completed Embroidery On Crochet
Now you can see how this detail work adds a nice, unique flair to your squares. Today we just did backstitch, but there are sooo many other wonderful embroidery stitches to try. But that is for another day and another tutorial.
Follow along and I will walk you through the Basics, step by step.
Watch The Back Stitch Embroidery Tutorial
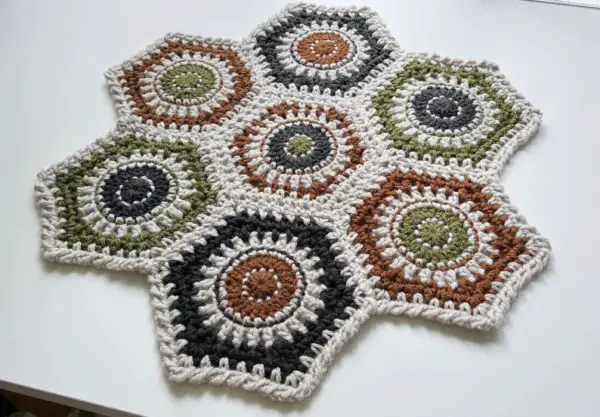
Want to try a fun project with this shape? Then Try my Join-As-You-Go for Hexagons Tutorial and make this fun trivet
Thanks for joining me and getting creative.
“I found I could say things with color and shapes that I couldn’t say any other way – things I had no words for.” – Georgia O’Keeffe

