Hey everyone! Welcome back to another fun crochet granny square tutorial!
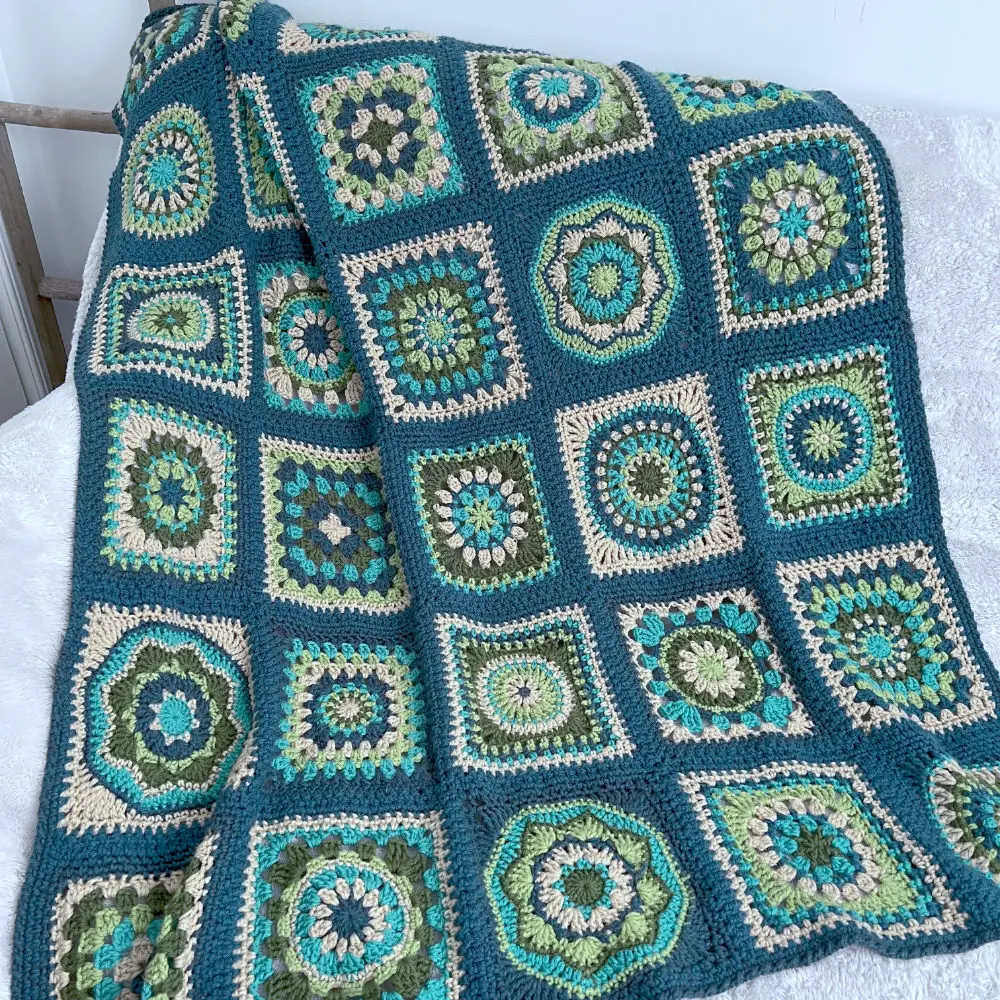
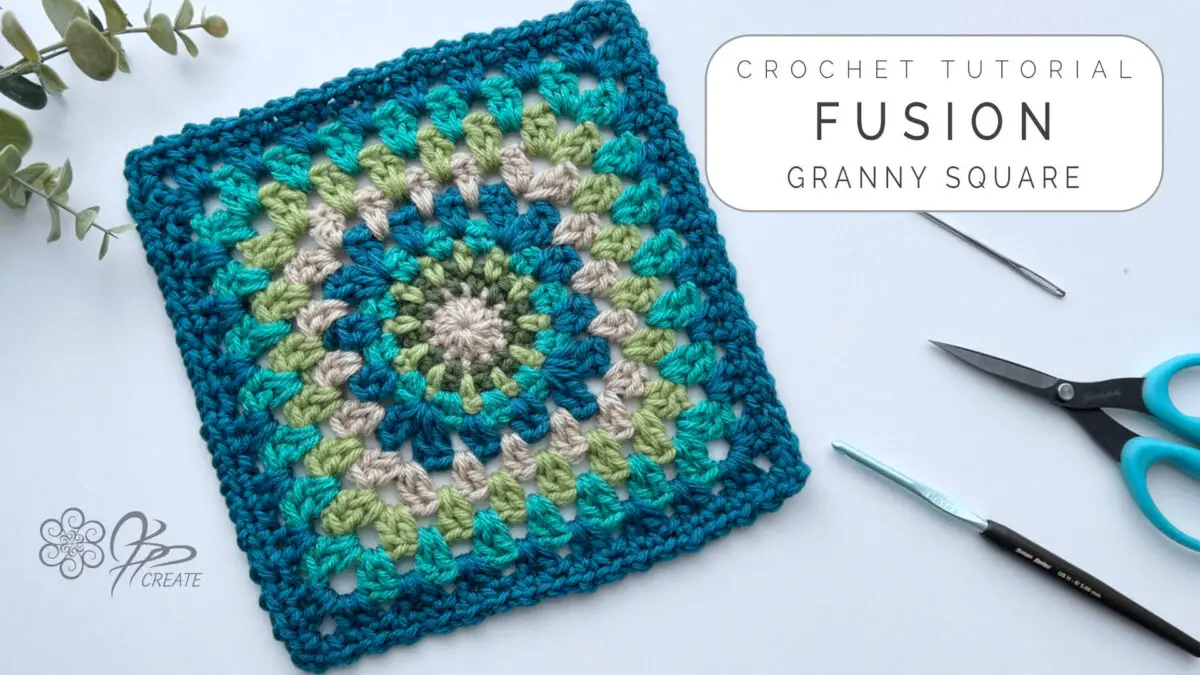
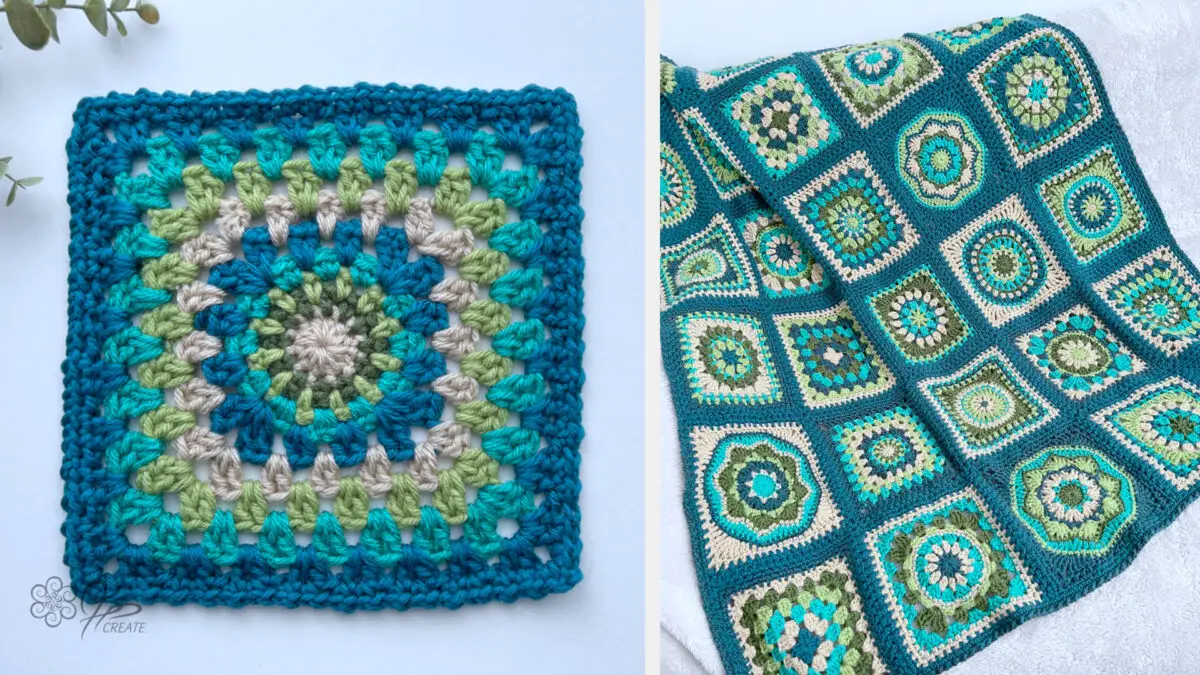
Today, we’re kicking off a brand-new Blanket Series that I’m calling Patchwork Medley, and we’re starting with a fresh Granny Square design—the Fusion Granny Square. This square blends classic and modern crochet by beginning with a circular center and then squaring it off with double crochets in sets of two. It’s truly a fusion of different Granny Square styles!
One of the key things we’ll explore in this tutorial for the Fusion Granny Square, is how the rounds work together to create the final design. Sometimes, I find when making granny squares in general, that the last few rounds can cause a square to flare out or become wonky. Through trial and error, I’ve learned that making small adjustments in earlier rounds can help keep everything balanced.
The Fusion Granny Square is a perfect example of this and I’ll be sharing my tips in this tutorial on how to avoid these issues as we go.
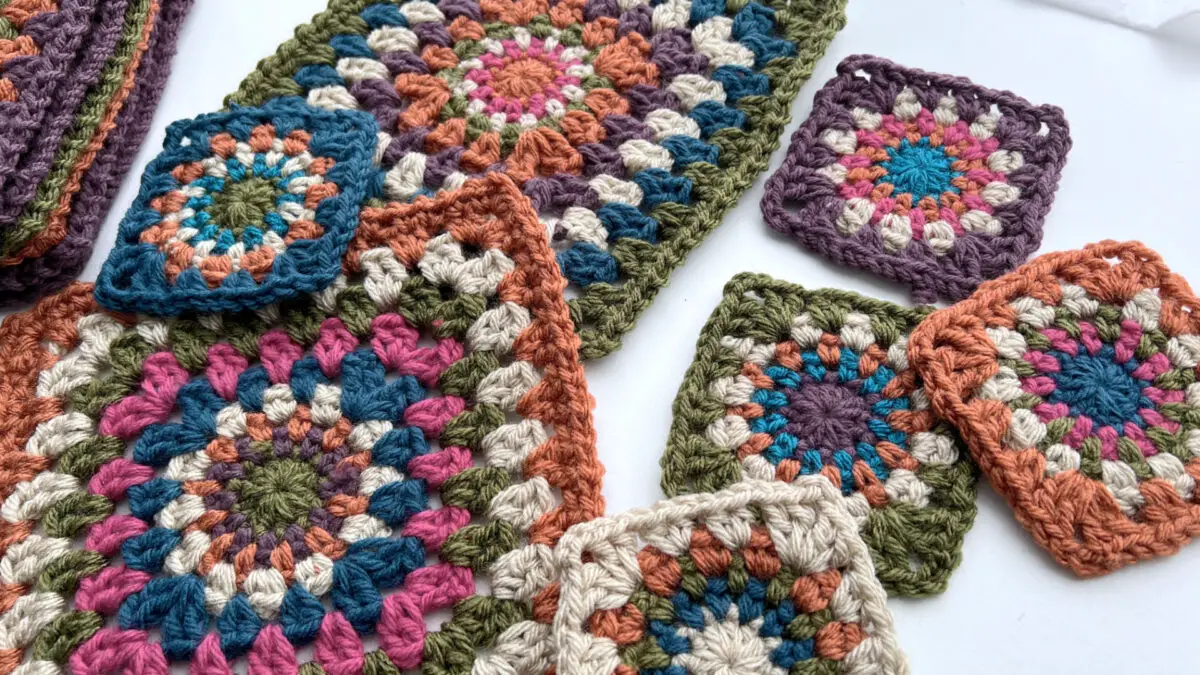
This Patchwork Medley series was inspired by the many requests I’ve received on how to combine my different Granny Square designs into a single blanket. So, I’ve selected six of my favourite squares, reworked them to fit together using the Join As You Go (JAYGO) method, and added a brand-new square to the mix—today’s Fusion Granny Square. That makes a total of seven squares in this series, and we’ll finish it all off by joining them together into a cozy and eye-catching blanket.
So, grab your hook and yarn, and let’s get started!
Pattern Details
This square consists of 10 rounds, with the squaring round taking place at round 4. The final piece measures approximately 8 ½ inches ( 21.5 cm )
Materials You’ll Need
** affiliate links below **
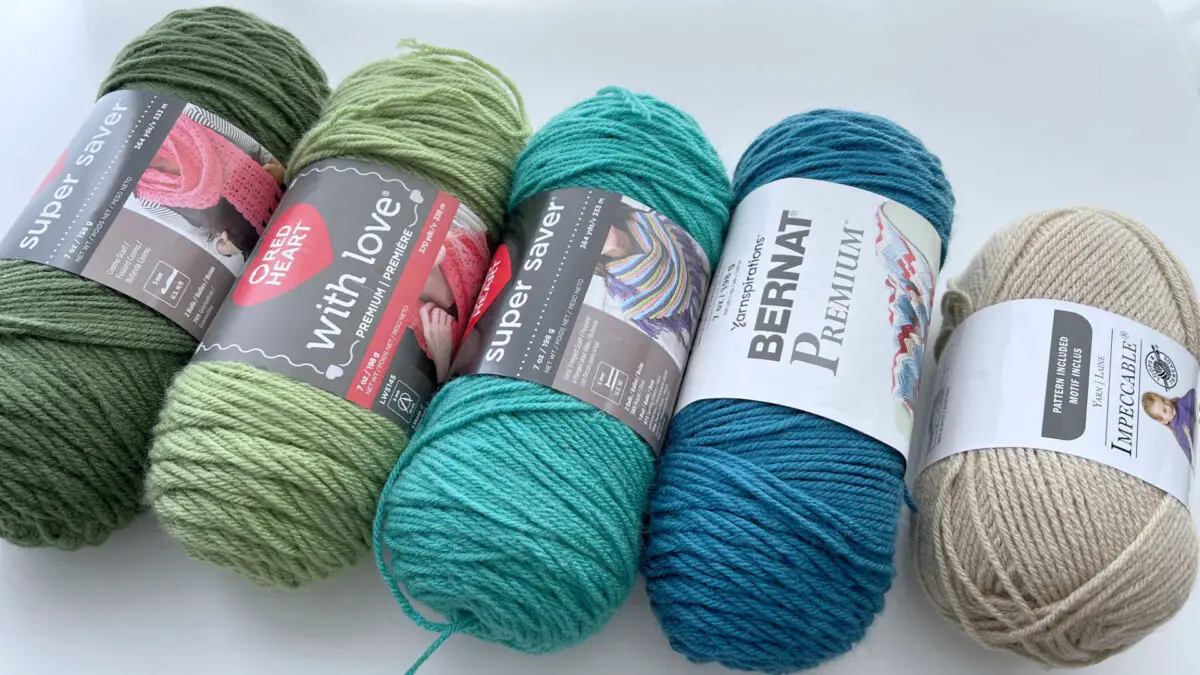
For this project, I’m using worsted weight yarn in five colours, but feel free to choose your own colour palette. Combining different brands or using yarn from your stash is totally fine! Here’s what I used for my version:
The Colours I’m using today for this Fusion Square are the same colours I will use throughout the Patchwork Medley Blanket
small amounts of 5 different colours of yarn
One of my Favourite Places to order yarn online is Mary Maxim Yarns – they carry a nice variety of colours and brands at affordable prices, and they also offer great coupons to inspire you to keep coming back for more, because can you really have too much yarn?
- A – Botany Teal – Bernat Premium – Or a good alternative for this is Teal Heather by Bernat Super Value
- B – Jade – Red Heart Super Saver
- C – Lettuce – Red Heart With Love
- D – Medium Thyme – Red Heart Super Saver
- E – Almond – Impeccable – Loops and Threads
Hook: 5.00 mm US 8 / H
My Favourite Hook is the Susan Bates Ergonomic Silvalume
Other Supplies:
- Scissors
- Yarn needle for darning in ends
Gauge / Finished Size of Fusion Granny Square
8.5 x 8.5 inches / 21.5 x 21.5 cm
Abbreviations:
ch – chain
st(s)– stitch(es)
sl st – slip stitch
sc – single crochet
hdc – half double crochet
dc – double crochet
lp(s) – loop(s)
yo– yarn over
rnd – round
beg – beginning
prev – previous
sp – space
sk – skip
rep – repeat
dec – decrease
Cont – continue
DC CL – double crochet cluster – see special stitches section
Beg DC CL – beginning double crochet cluster – see special stitches section
Col – Colour
Special Stitches:
Double Crochet Cluster -[ DC CL ] : * Yarn over, insert hook into ch-space and pull up a loop, yarn over and pull through two loops on hook, rep from * two more times, yarn over, pull through all four loops on hook
Beginning Double Crochet Cluster – [ Beg DC CL ]: ch 2, * yarn over, insert hook into ch-space, pull up a loop, yarn over, pull through two loops on hook, rep from * one more time, yarn over pull through all three loops on hook
More Information on Hooks Sizes, Yarn Weights and Crochet Language
Hook Sizes see the Craft Yarn Council’s Page Here
For Standard Yarn Weight Information See this Page
A Handy PDF from Annie’s on the difference between UK and US Crochet Terms
A Nice Explanation from LoveCraft’s on The UK and US differences
The Fusion Granny Square Instructions
With First Col, Make a Magic Ring,
Rnd 1: Ch 2 { counts as first hdc }, work 11 more hdc into ring, sl st in 2nd ch of beg ch-2, fasten off { 12 hdc }
Rnd 2: Join Next Col with a sc in any st of prev rnd, ch 1, ( sc in next st, ch 1 ) 11 times, sl st in first sc, fasten off. { 12 sc, 12 ch-1 sp }
Rnd 3: Join Next Col with a sc in any ch-1 sp of prev rnd, ch 2, ( sc in next ch-1 sp, ch 2 ) 11 times, sl st in first sc, fasten off. { 12 sc, 12 ch-2 sp }
Rnd 4: Join Next Col with a sc in any ch-2 sp of prev rnd, sc again in same ch-2 sp, ch 1, ( 2 sc in next ch-2 sp, ch 1 ) 11 times, sl st in first sc, fasten off. { 24 sc, 12 ch-1 sp }
Rnd 5: Join Next Col with a sl st in any ch-1 sp of prev rnd, ch 3 { counts as first dc }, dc in same ch-sp as join, * ( ch 1, 2 hdc in next ch-1 sp, ) twice, ch 1, ** ( 2 dc, ch 3, 2 dc ) in next ch-1 sp, rep from * 2 more times, then from * to ** once more, 2 dc in same ch-sp as join, ch 3, sl st in 3rd ch of beg ch 3, fasten off. { 16 dc, 16 hdc, 12 ch-1 sp, 4 ch-3 sp }
Rnd 6: Join Next Col with a sl st in any corner ch-3 sp of prev rnd, ch 3, { counts as first dc } dc in same ch-sp, * ( 2 dc in next ch-1 sp ) 3 times, ** ( 2 dc, ch 3, 2 dc ) in next ch-3 sp, rep from * 2 more times, then from * to ** once more, 2 dc in same ch-3 sp as join, ch 3, sl st in 3rd ch of beg ch-3, fasten off. { 40 dc, 4 ch-3 sp }
Rnd 7: Join Next Col with a sl st in any corner ch-3 sp of prev rnd, ch 3, { counts as first dc } dc in same ch-sp, * ( 2 dc in the gap between next 2 sets of dc from prev rnd ) 4 times, ** ( 2 dc, ch 3, 2 dc ) in next ch-3 sp, rep from * 2 more times, then from * to ** once more, 2 dc in same ch-3 sp as join, ch 3, sl st in 3rd ch of beg ch-3, fasten off. { 48 dc, 4 ch-3 sp }
Rnd 8: Join Next Col with a sl st in any corner ch-3 sp of prev rnd, ch 3, { counts as first dc } dc in same ch-sp, * ( 2 dc in the gap between next 2 sets of dc from prev rnd ) 5 times, ** ( 2 dc, ch 3, 2 dc ) in next ch-3 sp, rep from * 2 more times, then from * to ** once more, 2 dc in same ch-3 sp as join, ch 3, sl st in 3rd ch of beg ch-3, fasten off. { 56 dc, 4 ch-3 sp }
Rnd 9: Join Next Col with a sl st in any corner ch-3 sp of prev rnd, ch 2, { counts as first hdc } hdc in same ch-sp, * ch 1, ( 2 hdc in the gap between next 2 sets of dc from prev rnd, ch 1 ) 6 times, ** ( 2 hdc, ch 3, 2 hdc ) in next ch-3 sp, rep from * 2 more times, then from * to ** once more, 2 hdc in same ch-3 sp as join, ch 3, sl st in 2nd ch of beg ch-2, DO NOT fasten off. { 64 hdc, 4 ch-3 sp }
Rnd 10: Cont with same Col as prev rnd, sl st into next st, ch 1, sc in same st, proceed working only in sts and sk ch-sps as follows, * ch 1, ( sc in next st, ch 1 ) 14 times, ( sc, ch 2, sc ) in next ch-3 sp, ch 1, ** sk next st, sc in next st, rep from * two more times, then from * to ** once more, sl st in first sc, fasten off. { 68 sc, 64 ch-1 sp, 4 ch-3 sp }
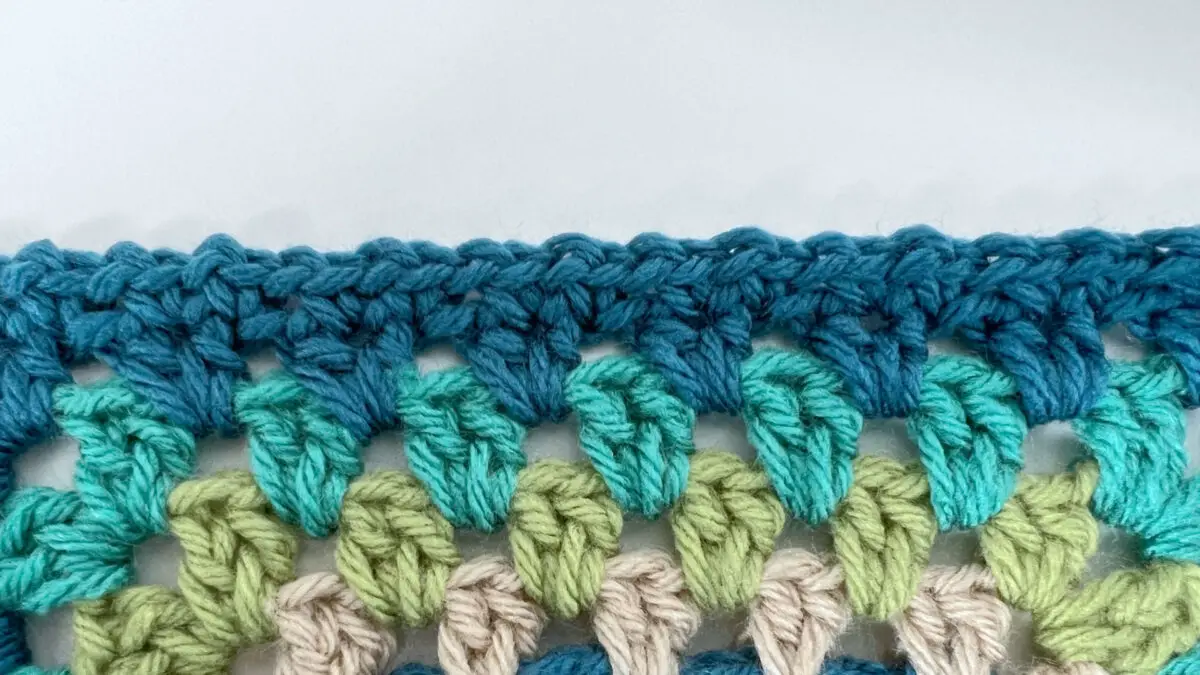
Creating Space And Giving A Final Finish
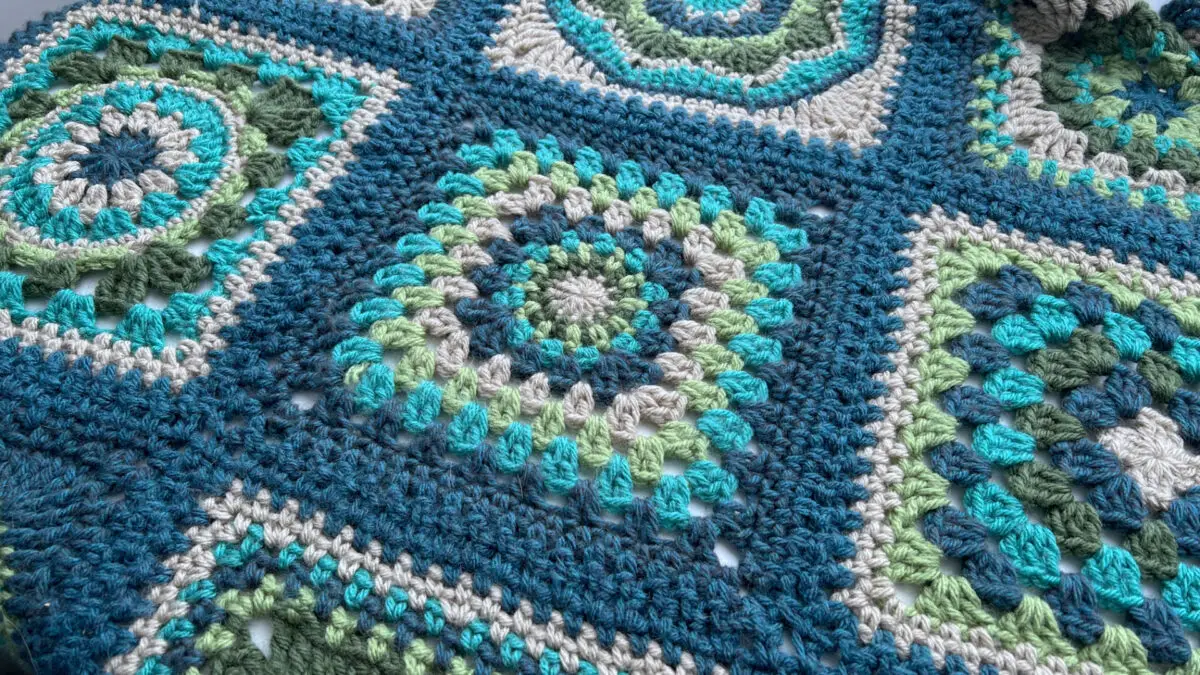
On Round 9 of the Fusion Granny Square, I add the chain-1 back in between the sets. This is to give our square a bit more space. These final two rounds, 9 and 10, will create the necessary room for the square to lie flat. The last round is what unifies this square with the others in the Patchwork Medley blanket, ensuring they all align properly for the joining process.
An alternative approach would be to work into the chain spaces and only one stitch from each set of two, skipping the other—this method works as well. However, in this case, I’ll be working directly into the stitches. This round has a lot of stitches and may appear slightly bunched at first, but once it’s joined to the other squares using the JAYGO method, it will settle in beautifully.
Each square in this series—whether newly designed or reworked—has been adjusted to ensure they all reach the same finished size of 8 ½ inches. Plus, the final round of each square contains the same number of chain spaces, allowing for a seamless join.
Finishing The Fusion Granny Square
- Weave in any loose ends, block gently to size
This video tutorial will walk you through the Basics, step by step of the Fusion Granny Square
Crochet along with me in as I walk you through the Steps of the Fusion Granny Square
Check out my Shop where I regularly release new patterns using all my squares.
All shop patterns include a symbol chart version of the square as well as various colour way diagrams
Thanks for joining me and getting creative. ~ Jane ~
“I found I could say things with colour and shapes that I couldn’t say any other way – things I had no words for.” – Georgia O’Keeffe