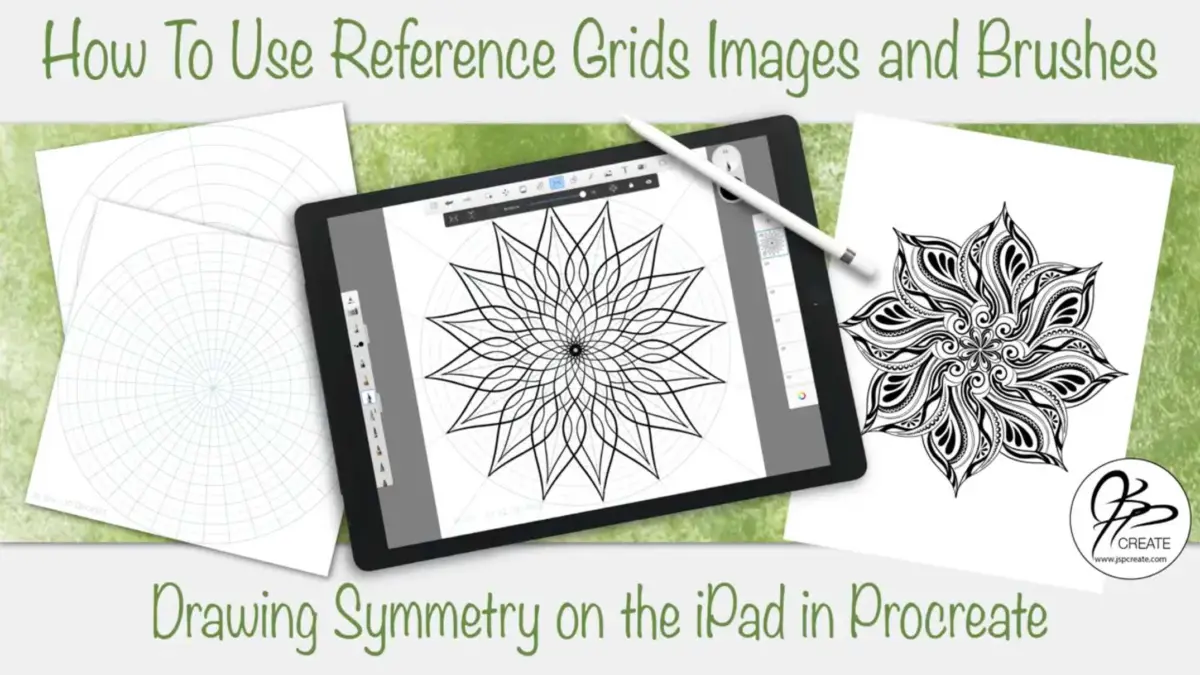
Drawing in Symmetry in Procreate has become so fun and easy to do on the iPad. Drawing apps are adding more and more new and exciting symmetry tools. I have always enjoyed using reference grids when drawing my symmetrical pen and ink drawings. So now I have made these same grids digital and use them as reference guides when creating my digital drawings. In this post I will share how I use my radial grids as references in Procreate on the iPad.
Types of Grids for Symmetry in Procreate
I use a variety of Grids as a reference when I am drawing my designs. They make it easy to add detail into my art and it takes away the guesswork in creating symmetry in my mandalas. I create my own grids a variety of ways. Some I draw by hand with a compass and ruler, then I scan them. Others I will create digitally, using a vector program such as Illustrator or on the iPad in Graphic.
Check out this –> Tutorial <– to learn how to make a simple grid on the iPad
The grids I create for symmetry in Procreate, have divisions ranging from 6 through 24 sections. The ones I make for greater detail are divided into 5 degree sections and 10 degree sections. It all depends on the look I am going for. Often the more guidelines in the grid, the more ideas pop up for me.
more complex grids allow more detail
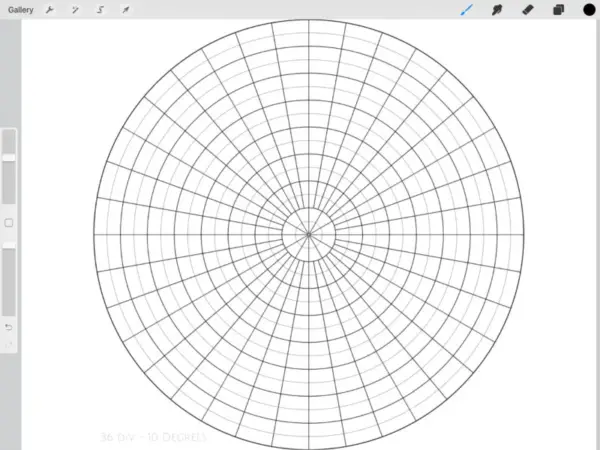
12 simple divisions
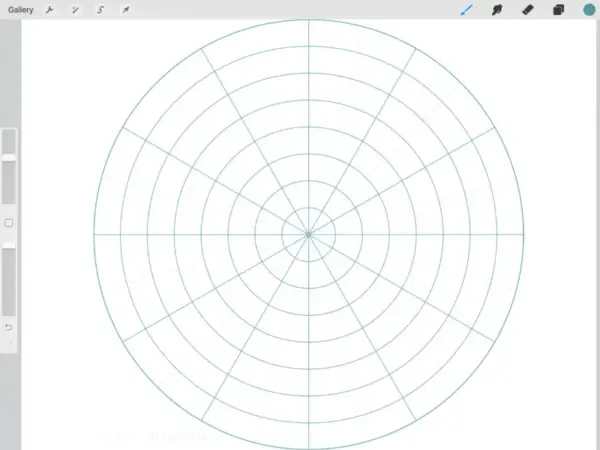
Drawing in Symmetry in Procreate
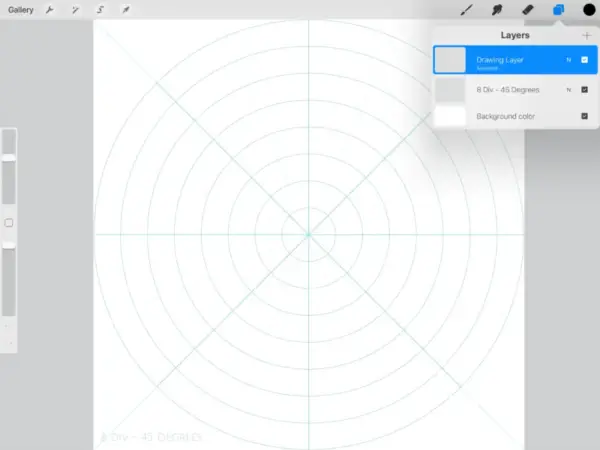
When I am working in the Procreate app, using the Drawing Guide option, I usually work with the 8 and 16 section grids. This is due to Procreate currently working symmetry using a 45 degree rotation. This creates 8 “pie shaped” divisions. I can, however, turn off the Drawing Guide option and use any of the grids to draw my mandalas the same way I create them on paper. Simply hand drawing all the sections. The grids help me repeat the designs myself.
my most popular 10 grids
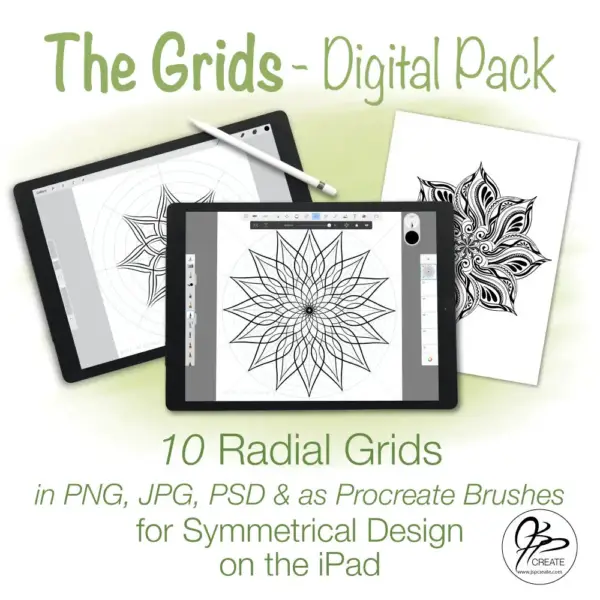
Includes:
30 images,
10 Procreate Brushes
and 2 PSD files
Check Out My Grid Digital Pack which includes my favourite 10 grids that I use in my art.
Learn More HERE
PNG vs JPG images
The grid reference images work in Procreate by “inserting” them in as a photo on a separate layer in my project. I have two versions of each of my basic 10 grids. The JPG version has the grid on a white background which work great as a base layer in my projects. I also have a PNG version with transparent backgrounds. These work well if you don’t want the grid layer as the base layer or if you want a different background colour.
using a coloured background
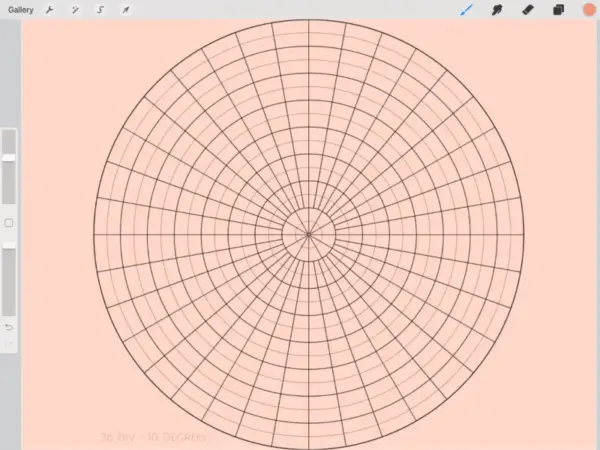
two grids of different colours
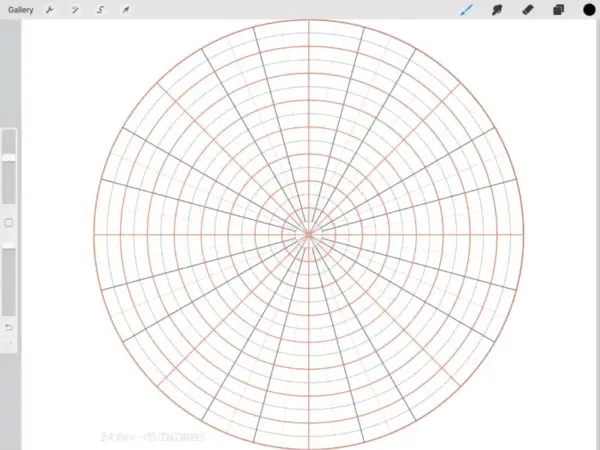
With the PNG image you can easily layer the grids. For example, I can place a simple 8 division grid over top of a more detailed grid and still have both grids visible. This works well when your grids are different colours or opacities, which we will cover more on below.
Procreate Brushes for Symmetry in Procreate
One of my favourite methods of placing grids into a project is with Procreate Brushes. Each of my grids are set up as a Procreate Brush and kept in one folder. All I have to do when I want a grid, is to choose a brush, place it on the canvas and, resize the grid to fit. This can be the quickest and simplest way to add a reference grid in Procreate.
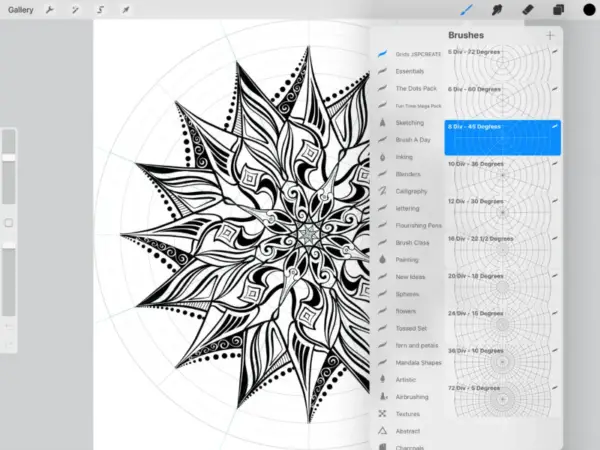
Using Coloured Grids for Symmetry In Procreate
I keep two sets of grid images on my camera roll. One in black and one in blue. These two sets are also available as part of my digital pack. One option to alter the intensity of your grid is to lower the opacity of the layer it is sitting on. The other option is to change the colour of the grid.
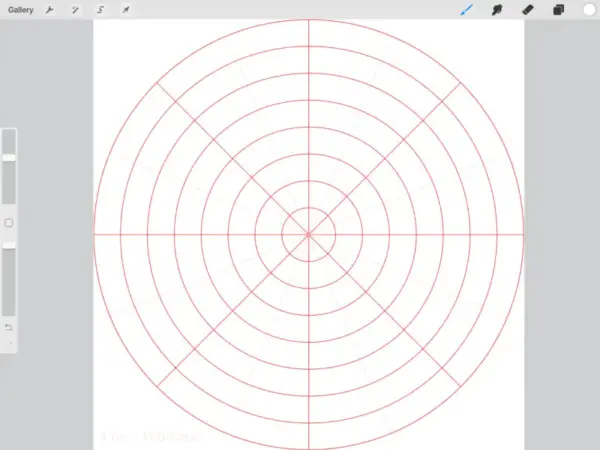
A Red Grid
White Grid on Coloured Background
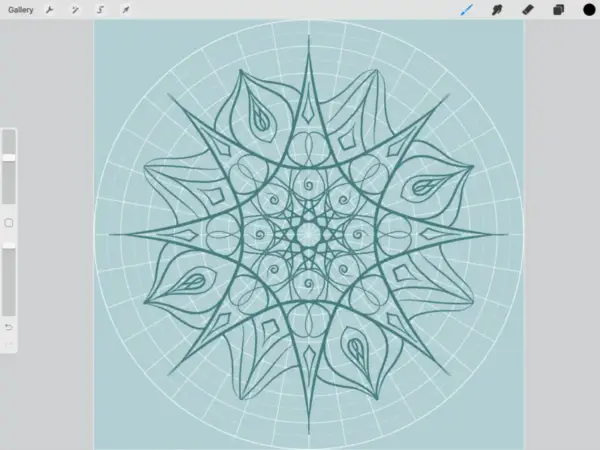
You will find it difficult if your grid is the same colour as your design. There are multiple methods to achieving a coloured grid. I can place a PNG grid image into my project and then use either the recolour tool to change it, or I can “alpha lock” my layer and colour over it. I could simply choose “select” for layer contents, create new layer and then fill on new layer. Another alternate option, and my preferred one, is to use a Procreate Grid Brush. I can just select the colour in the ink palette and then “paint” the grid onto the screen.
PSD Files for Preset Preferences
Finally I like to have a project set up in my gallery that has my favourite grids and settings all ready to go to save time. I create these ahead of time and keep them in a folder in my Procreate Gallery. All I have to do is “duplicate” the file and start drawing. I can have the grids set to my desired colour and opacity, with the grid layer locked down and have the drawing guide set and ready to go. Saves me having to set it up each time.
Keep a Template Project with your Favourite Settings
What I use in this tutorial:
- Apple iPad Pro 12.9″
- JETech Screen Protector for Apple iPad Pro 12.9-Inch
- Apple Pencil
- Procreate App for iPad IOS
Check Out the Video Tutorial Below
Ready Set Draw
So now you have an idea on how I use my reference grids. You can make your own, or you can find my most commonly used set of 10 in my Digital Grid Pack. In my pack you will find all 10 grids in both JPG and PNG formats for the black grids, as well as a set of PNG format blue grids. The pack also includes all 10 of my Procreate Grid Brushes, and 2 PSD files set and with the grids ready to go. Try it out with the Free 8 Division JPG Grid above
Have fun creating symmetrical designs. If you share your creations on social media, be sure to tag me or hashtag #jspcreate. I would love to see what you are up to.
Thanks for joining me and getting creative. ~ Jane ~
“I found I could say things with color and shapes that I couldn’t say any other way – things I had no words for.” – Georgia O’Keeffe
You can find my full Digital Pack of Grids Here

