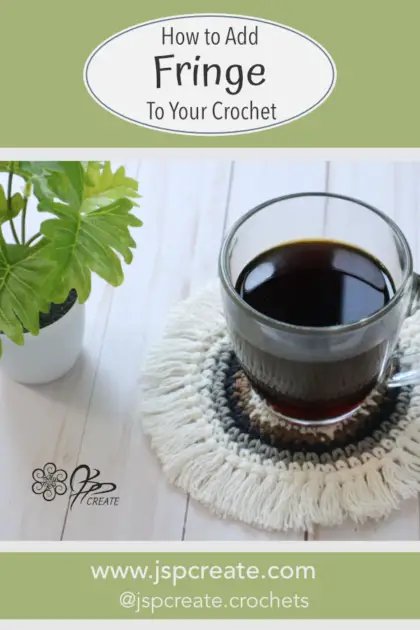
Once you have completed a crochet project you might then want to add that little finishing touch. Yes, the Fringe! Fringe is great on alot of projects, whether it is home decor, or a super cool sweater design, fringe works on almost everything.
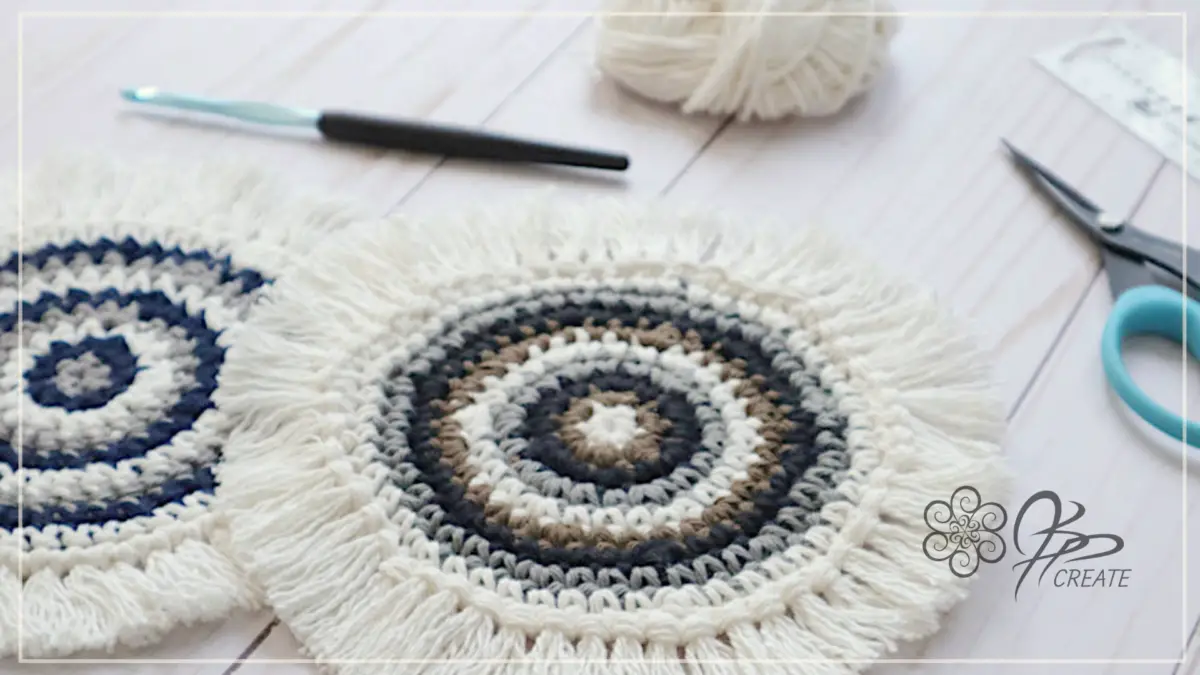
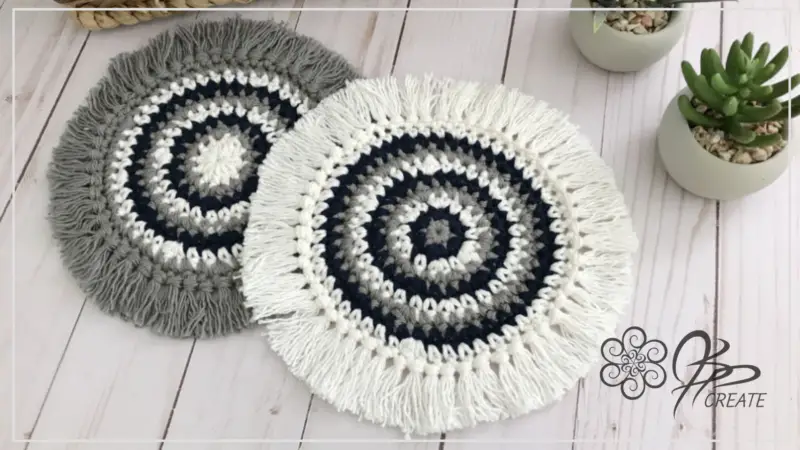
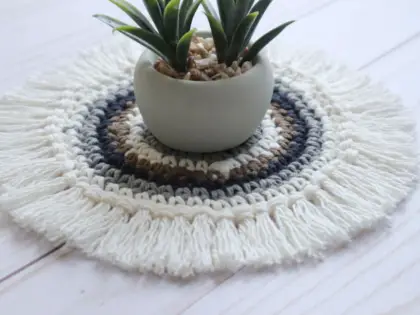
In this tutorial we are going to complete the crocheted coaster , which we did in a previous tutorial, with a nice, simple fringe edging.
So grab your hook and a little bit of yarn and let’s get tying on our fringe.
There are many ways to add fringe but in this tutorial we will be using just a simple two strand method that knots once into an edge stitch.
As with all my tutorials there is a complete step by step video tutorial below which will walk you through the process along with me.
I will briefly go over the basics in this post, but the video tutorial below will walk you through the entire process. So be sure to scroll down and watch it after you have checked out the rest of the instructions. Then you can work through it along with me.
Want to make the coaster?
then click HERE to find that tutorial.
What Do You Need
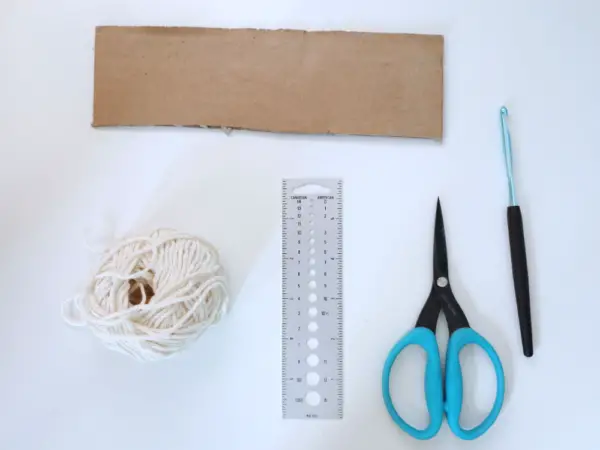
The basics you will need for this tutorial are:
- Yarn of choice for the fringe, this is usually one of the colours you used in the project itself.
- Scissors, sharp are better as you will be cutting through alot of strands of yarn.
- Crochet Hook that is big enough to hold 4 strands of your yarn but small enough to get through the stitch loops on your project. The hook you used for the project is usually sufficient
- Small Ruler because you will be measuring small spaces.
- Piece of cardboard or plastic that measures 2 1/2 ” across to make the fringe.
How to Make the Fringe
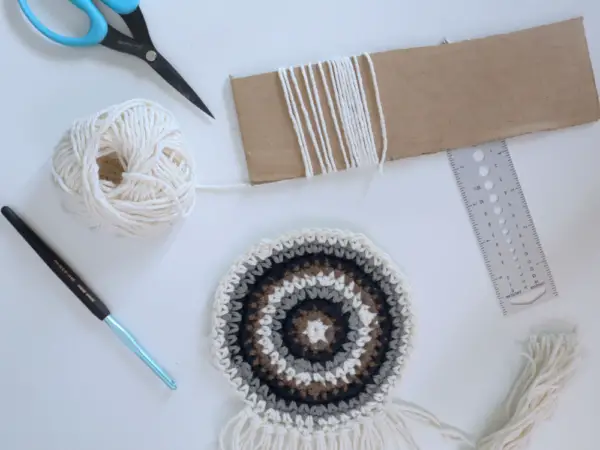
You will need your yarn, scissors and piece of cardboard for this first part
- Make a small notch in your cardboard to hold the yarn, or alternatively just hold it with your thumb
- Wrap the yarn around the 2 1/2″ width of the cardboard about 10 times to start (you can do more, but easier to cut in small batches)
- Stop wrapping on the same side as you started and clip the end of your yarn even with the cardboard edge
- Cut across one edge of cardboard through the loops of yarn
- Yarn pieces will now be basically 5″ in length and we are ready for applying the fringe

Applying the Fringe
You will need your cut yarn pieces from the last step, you crochet hook and your coaster
- take 2 strands of 5″ yarn and hold them together so the ends are even
- fold them in half
- with wrong side of coaster facing you, insert hook into one of the edge stitches
- loop yarn over hook and gently pull a loop through
- now place all four ends over hook and pull through loop just made
- gently pull knot firm while making sure ends are as even as possible
Now continue working the same thing into every edge stitch around the coaster

Trimming The Fringe
- lay coaster flat, right side up
- measure 1″ from knot and trim one piece of fringe
- move a few stitches over and do the same
- now cut the fringe pieces in between these two pieces, equally to the same length, basically using your eye
- continue around entire piece
- If you would like the fringe to be more fluffy, you can comb it out with a fine tooth comb – GENTLY
- Lastly, trim any fuzz or uneven ends

This fringe can be used on any number of projects.
- Scarves
- Cushions
- Blankets
- Vests
- Shawls
- Placemats
- and so much more
Follow along and I will walk you through the Basics, step by step.
Watch The Tutorial
Thanks for joining me and getting creative.
Try something new everyday and life will open new doors for you.
