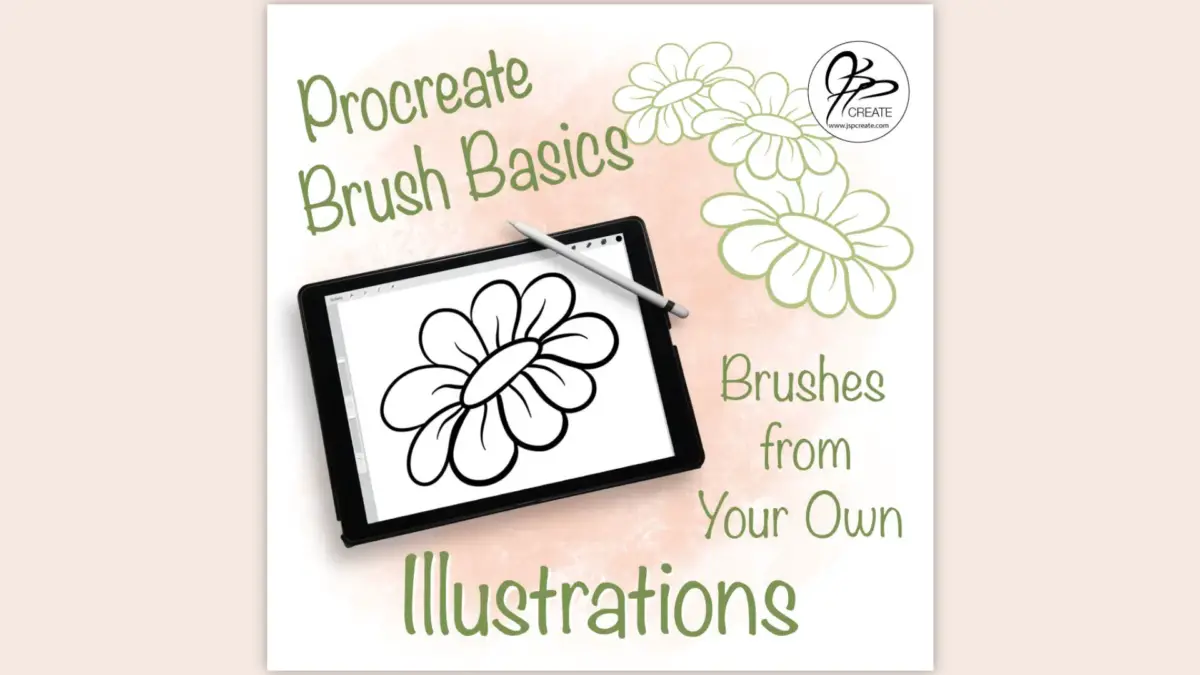
Let’s take a look in this tutorial at some Procreate Brush Basics. Would you like to take one of your own unique doodles and turn it into a Procreate Brush? One that you can use to make your own unique and fun art on the iPad? In this post, I will walk you through the basic steps to make your own first illustration brush.
Start With A Simple Drawing – Procreate Brush Basics
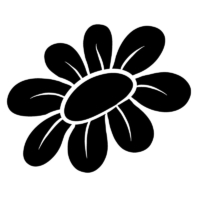
The first thing you will need to do is create your simple drawing. It is best to keep your drawing simple and make your lines thick. I use black lines on a white background. I find this is visually the easiest to work with, simply because I’m used to it. The SOURCE image in Procreate actually uses white on black, similar to a negative image, but I will show you how we can easily invert our images after we import them into the Procreate App. It is also possible to use shades of grey in your drawing, but that is for another day, today we keep it simple.
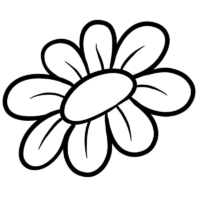 |
Two Different Source Images↔From One Drawing |
 |
The simplest way is to draw your idea right in the Procreate App, as I have done with my flower. However you could also scan a drawing and use that as your source image. The important thing is to make sure your image is saved to your camera roll. In Procreate, we do this by selecting the WRENCH TOOL, then choose SHARE and select JPG. Now you are ready for the next step.
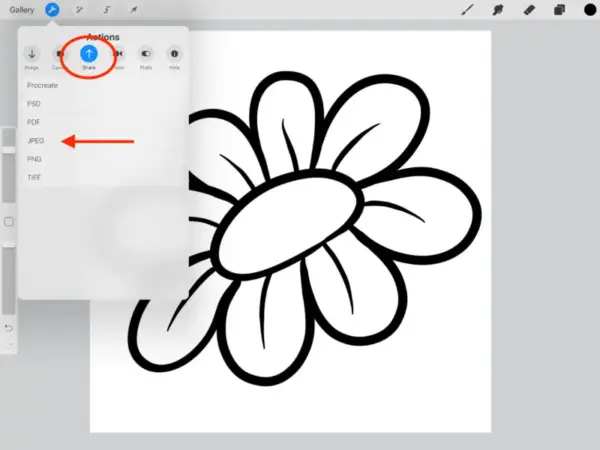
Procreate Brush Basics – The Source Image
Now we create our brush. Under the BRUSH TOOL choose the “+” sign in top right to create a brand new custom brush. A window will pop open for the SOURCE Tab of the brush settings.
Under SHAPE SOURCE choose INSERT PHOTO and your camera roll should open up, where you can select your saved JPG image. It will show as a negative, with a black background and white drawing. That’s Ok. We’ll deal with that in just a minute.
Now choose a GRAIN SOURCE by selecting SWAP FROM PRO LIBRARY. You want the image named “Blank” which is just a black square.
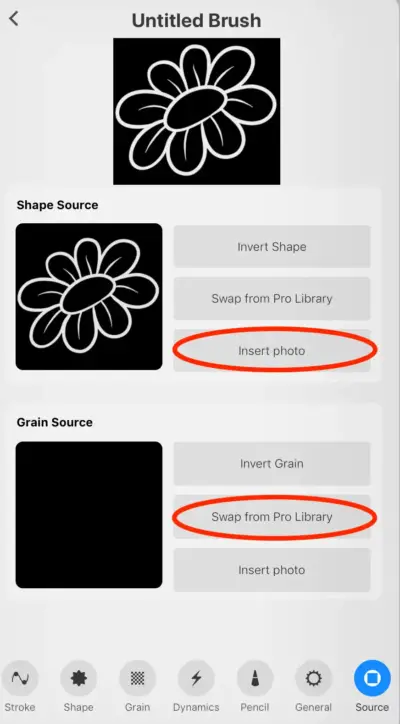
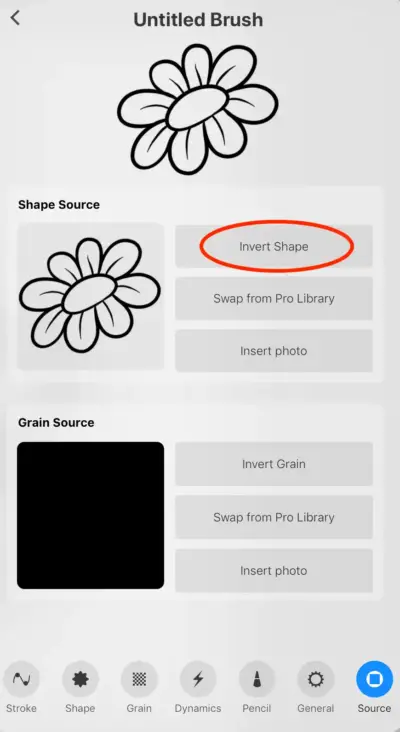
Go back to the SHAPE SOURCE and choose INVERT SHAPE. Your image will invert to a white background and black drawing, see how easy that was. If you did draw your image in white with a black background you can skip this step.
Let’s move on in our Procreate Brush Basics to setting our brush characteristics up.
DRAWING FREEBIES
Procreate Brush Basics Settings
Start with the GENERAL Tab. Here we will turn on the STAMP PREVIEW button option. This only affects how we preview the brush in the settings window at the top. This can be changed at any time depending on how you want to preview the brush.
Then I like to turn on the ORIENT TO SCREEN button, which will make my image stamp in the orientation that I drew it in.
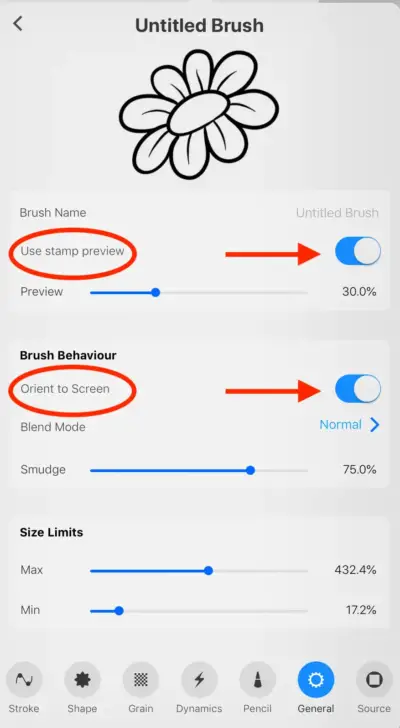
A little further down on this same tab we set the SIZE LIMITS. You can play around with these sliders and change them as they suit your drawing needs.
I like to start with the MAX slider around 500% and the MIN slider around 20%
You Can Find The Step By Step Video of This Tutorial Below
Stamp Or Line
To Complete our Stamp Brush we have one more setting to check out. Go to the STROKE Tab and take the SPACING slider right up to max. Now you have your stamp brush.
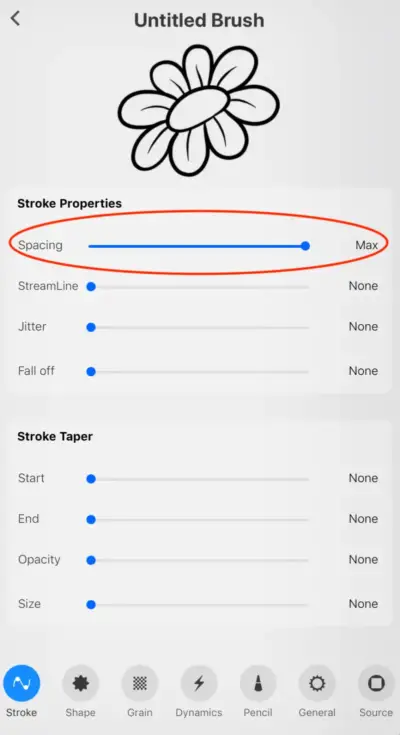
Often our drawing can make a nice line brush as well. I will touch on these settings, but you can experiment with these and come up with alot of variations on your brush just by moving sliders.
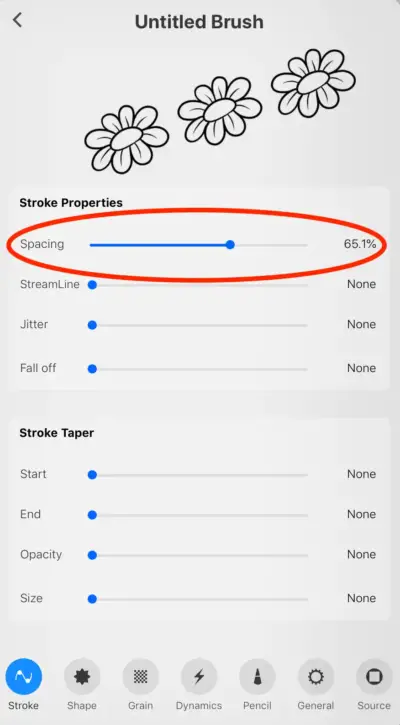
Before we do this go back to the GENERAL Tab and turn the STAMP PREVIEW button off. Now you will be able to see your line brush changes in the preview window.
Under the STROKE Tab the only setting we will be working with here is SPACING. Move this slider back and forth to see the changes in the brush in the preview window. You can space the image out so each one shows up next to each other. You can also overlap them to create an interesting textured brush. Experiment and see what you can come up with.

Duplicate or Varied
The way the brush is set up now it will stamp each brush the same way every time. You can change the size with the brush size slider, but each stamp will be the same orientation. So let’s change this up so we get a random stamp for each flower. This allow us to create a scattered design.
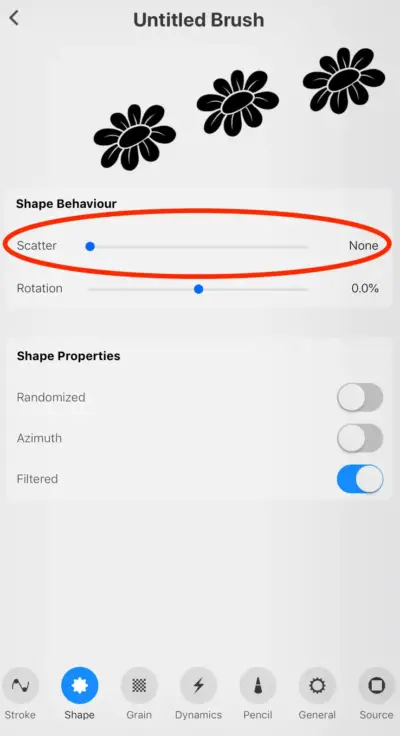
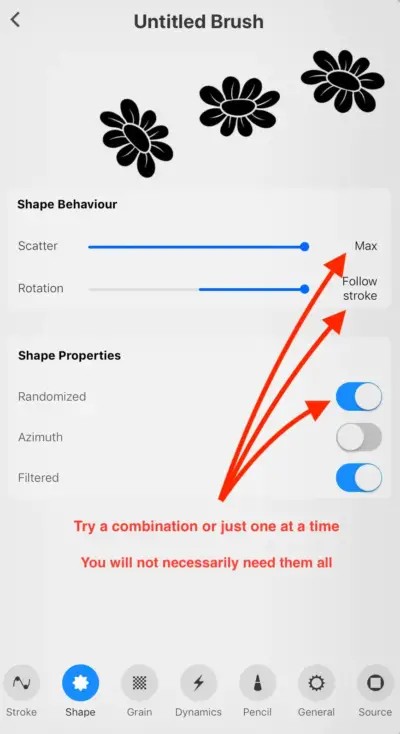
Under SHAPE Tab we can mix this up. The SCATTER setting will give you a random look to each flower. Depending on your brush and the type of illustration you can also play around with the ROTATION setting. If you max this one out the shape will follow the direction of your stroke.
If you use the brush as a line brush, which we will do next, you can also turn on the RANDOM button. Now your brush will create a unique pattern of shape orientations each time you use the brush. This is a good setting to use if you want to avoid getting duplicate scatter patterns in your linework.
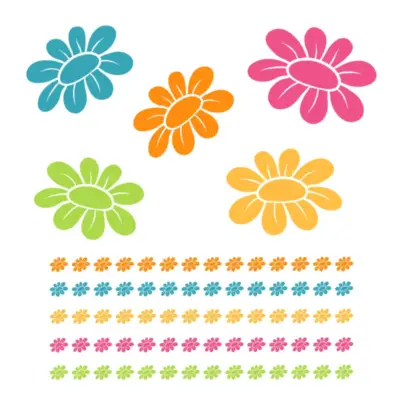
Now You can mix in some colour and let your imagination come up with some fun designs.
Lettering Or Illustration
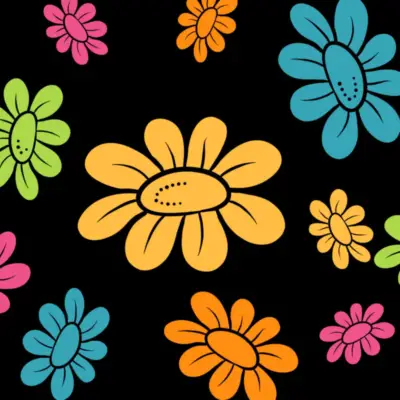
So what will you use your new brush for. So many ideas. Make a whole set of brushes from your drawings. The ideas are limitless.
Watch The Complete Step By Step Process Here
Thanks for joining me and getting creative.
“I found I could say things with color and shapes that I couldn’t say any other way – things I had no words for.” – Georgia O’Keeffe

