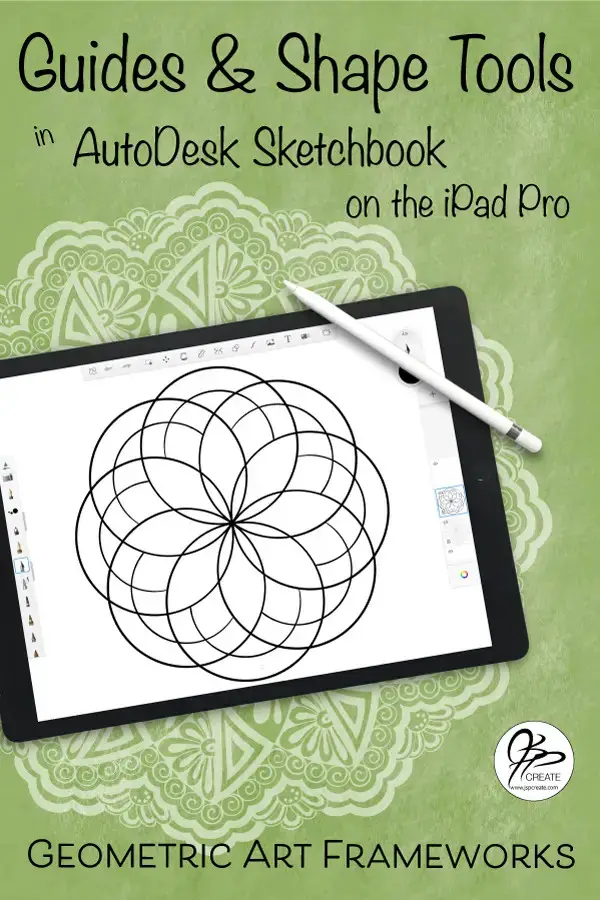
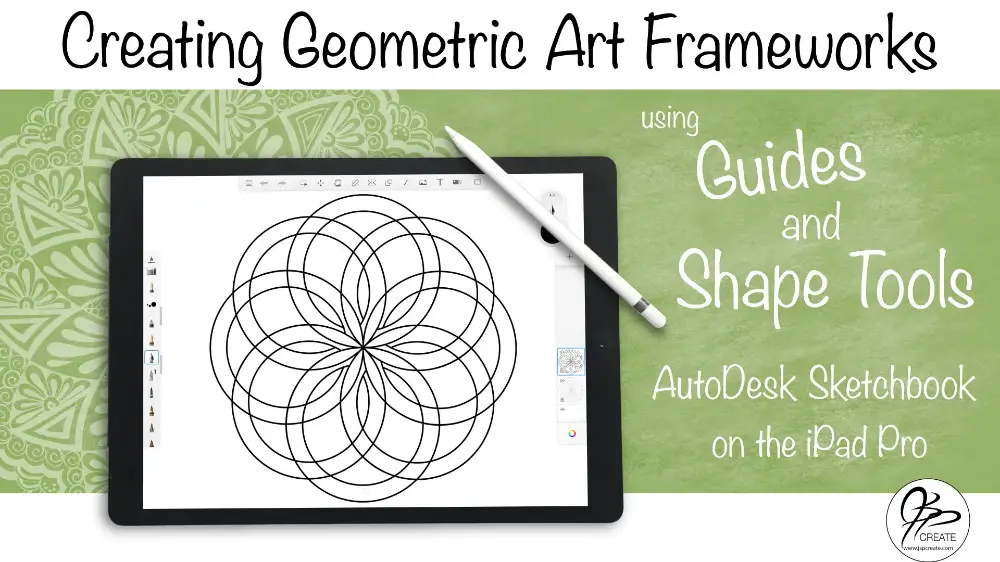
Today we are going to explore some of the tools in AutoDesk Sketchbook on the iPad Pro. If you have been following along with how I create my mandalas, you will know that I LOVE to have a framework as a guide to help break up my page and make the doodling process so much more fun. They help me draw in symmetry and they inspire ideas on how to fill up my page with fun designs.
What We Will Cover:
- How to set up a new canvas in AutoDesk Sketchbook App
- Where the tools are located
- Explaining the Line, Oval and Square Shape Tools
- Explaining the Ruler and Ellipse Guides
- Setting up Hotkeys and Gestures
- Setting up Symmetry
- Creating a symmetrical framework with the Line Shape Tool
- Creating a symmetrical framework with the Ellipse Guide
- Exporting / Sharing your finished project

What I use in this AutoDesk Sketchbook tutorial:
- Apple iPad Pro 12.9″
- JETech Screen Protector for Apple iPad Pro 12.9-Inch
- Apple Pencil
- Auto Desk Sketchbook App – available from Apple App Store
Useful Items I Reference in this tutorial:
Join me in the full step by step tutorial below
Have fun using the shape tools and the guides.
Thanks for joining me and getting creative. ~ Jane ~
“I found I could say things with color and shapes that I couldn’t say any other way – things I had no words for.” – Georgia O’Keeffe


