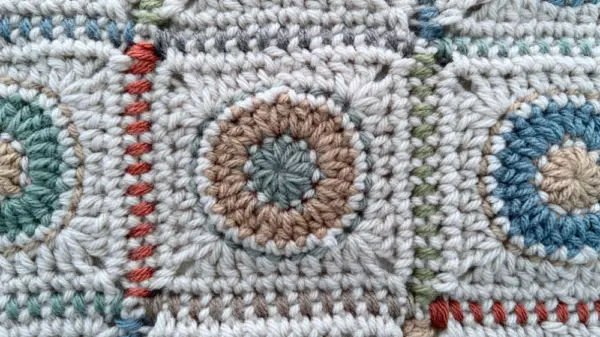
If you are looking for a quick and easy way to join your crocheted squares, then the Single Crochet Seam is a perfect place to start. This “no sew” technique uses a basic single crochet stitch to join your squares.
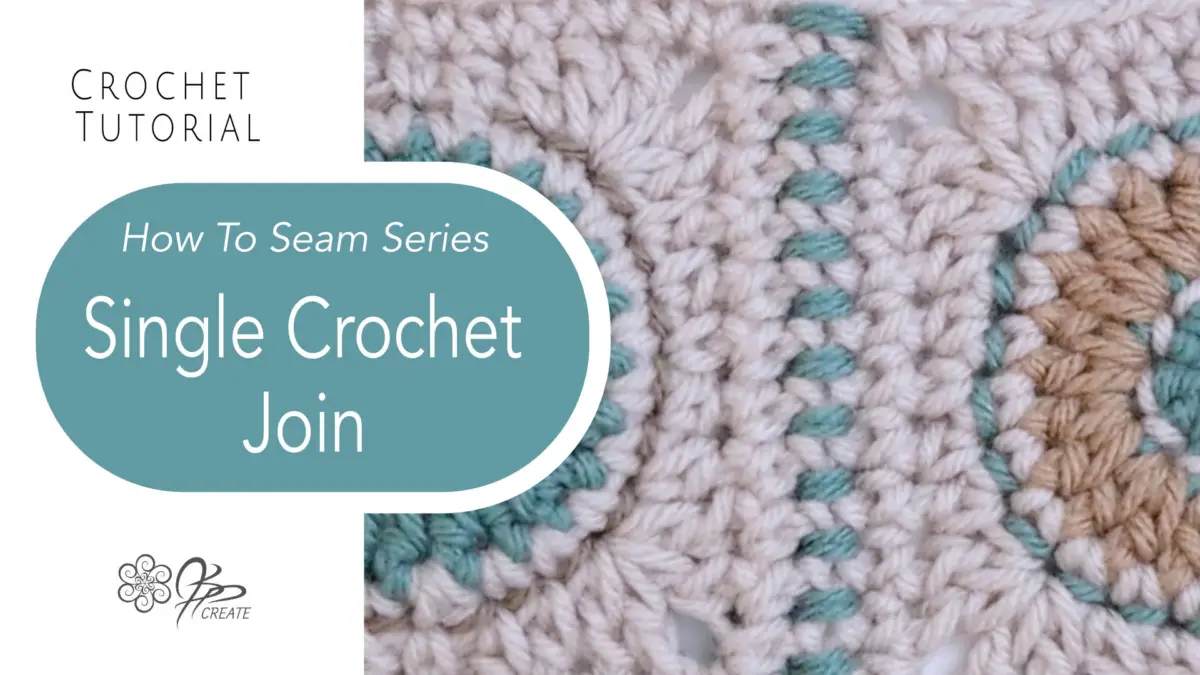
In this tutorial we will be using a simple single crochet working from the wrong side to join our two squares together. From the Right Side of your work this one is a pretty smooth join, and on your wrong side you will have a very slight ridge. It is a great method for most projects, I like to use it for pillow covers, or bags, or anything I’m not worried about having a little extra texture on the Wrong Side of my project
I will briefly go over the basics in this post, but the full video tutorial below will walk you through the entire process. So be sure to scroll down and watch it. Then you can work through it along with me.
Supplies and Materials
Skill Level: Easy
Tools and Supplies Used In Tutorial:
Yarn: Med weight size 4
Hook: 6.00 mm US 8 / H
Other Supplies:
Scissors
Yarn needle for darning in ends
Single Crochet Seam
Join two squares at a time.
Hold your squares together with Right Sides facing
Working along one edge only, join yarn with a slip stitch in corner stitch or chain space, working through both squares at the same time.
Sc in same sts as join. First st is now completed
Continue to work along the edge, working into both squares at once until you reach the opposite corner
Finish off with a single crochet in last stitch or chain space, then fasten off your yarn
Working Up Strips
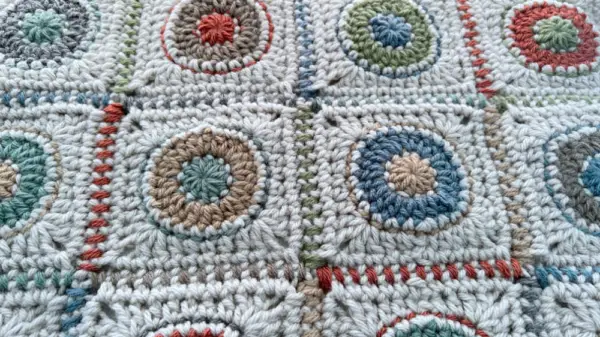
Once you have joined a strip of squares, you can join your strips together using the same method, but not fastening off until you reach the end of the strip.
You can use the same colour throughout, or you can change the colours for each square seam to add an extra interest to your project.
I usually suggest working over your beginning yarn ends as you go, and then darning in the ones at the end of your rows.
This seam is great for items where the wrong side of your work won’t be on show, or as visible. It does create a nice consistent look, but it does have more texture with the ridges and that is something to take into consideration for reversible items such as blankets.
Working Coloured Seams Into Projects
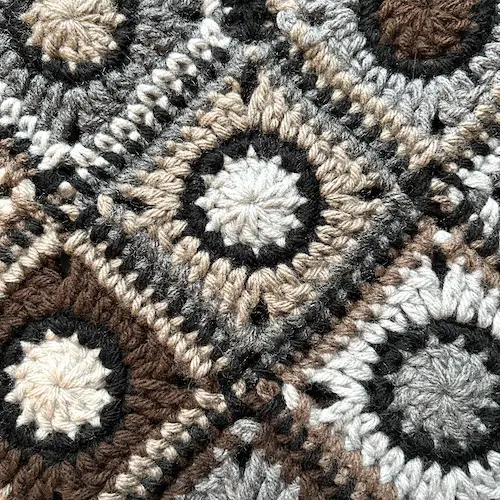
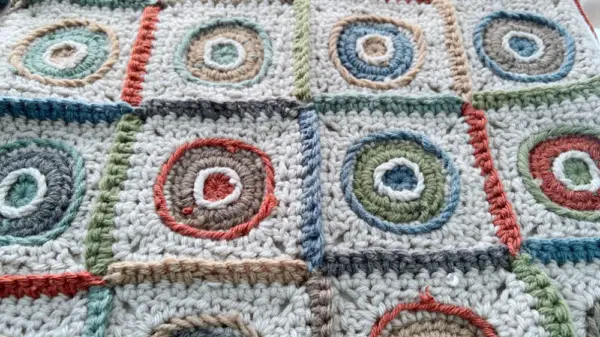
Here are some ways in which I use this seam in my projects with colour. These bags are made using my Easy Breezy Square and I have joined them using this method with contrasting colours. This first bag I joined using just black yarn, because there are already so many colours in the squares, I decided to use the black as a unifying colour.
The other bag I used different colours on each seam, as the off white was already a unifying colour. So the contrasts give it even more interest. I also love quilts, especially crazy patch quilts with their hand stitched look and I often draw inspiration from them.
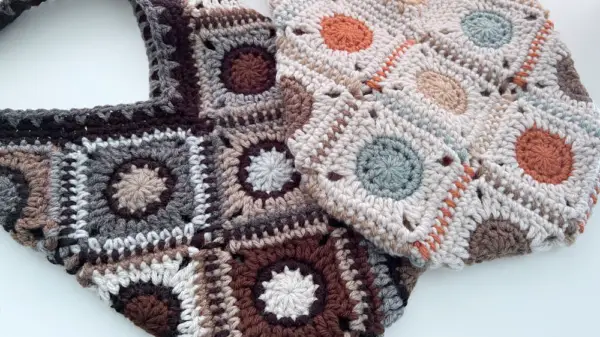
If this bag is turned inside out, you would see the ridge created by the single crochet, but usually I like to line my bags, so in that case you wouldn’t see the Wrong Side at all. That is why this method works well for home decor or accessories where the wrong side is not on display.
Check out my Shop where I regularly release new patterns using all my squares. All shop patterns include a symbol chart version of the square as well as various colour way diagrams
Follow along and I will walk you through the Basics, step by step.
Watch The Single Crochet Seam Tutorial
Thanks for joining me and getting creative.
“I found I could say things with color and shapes that I couldn’t say any other way – things I had no words for.” – Georgia O’Keeffe
