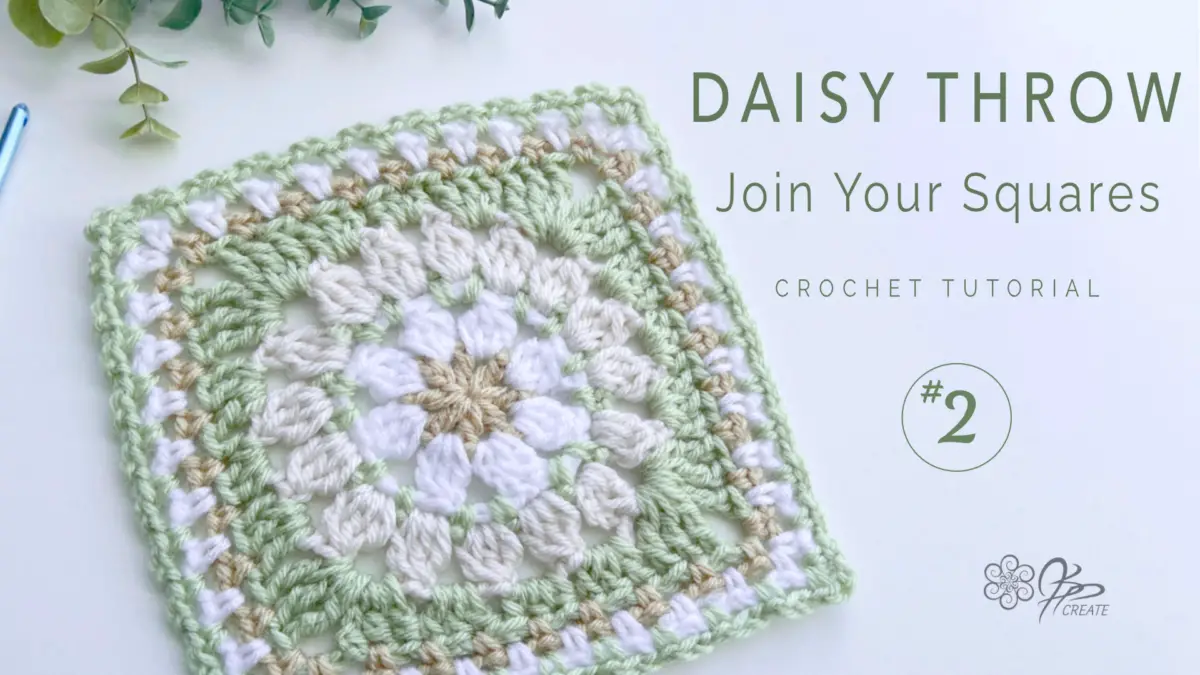
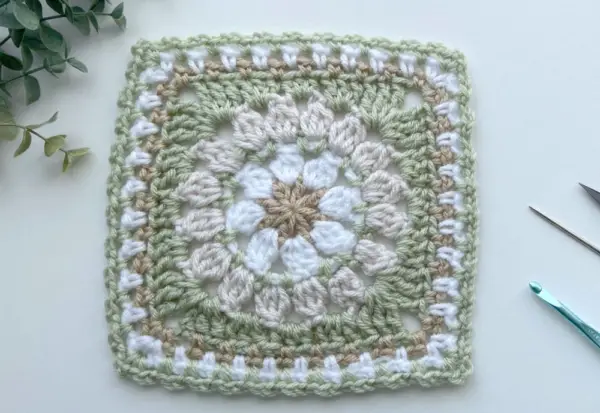
Hey Gang, I’m back with the second part of my 3 part series on working through creating a small crochet throw out of one of my more popular squares, the Daisy Square.
I frequently get asked about how I join my squares and assemble my blankets and crochet throws. So although I am using the Daisy Square as my square of choice for this series, you can apply these techniques to most any granny square.
In today’s tutorial, I will be showing you first how I block my squares and then how I join my squares using my lacey join method.
If you’re looking to explore more captivating color combinations for your squares, hop on over to my Instagram and Pinterest. I love sharing lots of pics of my colour experiments there!
If you would like the pattern for the Daisy Square as a PDF, with Symbol Charts, Find it in my shop, HERE,
If you missed the First Tutorial of this series where I showed you how to create a different border on the Daisy Square to get it ready for this tutorial. You can find it Below
Daisy Crochet Throw Supplies
Skill Level:
Advanced Beginner
Tools and Supplies:
The Yarn used in this pattern is a Worsted Weight #4
5 balls Green ( Laurel ) – Impeccable by Loops and Threads – 4.5 oz / 127.5 g – 285 yds / 260 m
2 ball White – Bernat Super Value – 7 oz / 197 g – 440 yds / 402 m
1 ball Off White ( Parchment ) – Bernat Premium – 7 oz / 198 g – 360 yds / 329 m
1 ball Beige ( Almond ) – Impeccable by Loops and Threads – 4.5 oz / 127.5 g – 285 yds / 260 m
Hook: 5.00 mm US 8 / H
Other Supplies:
- Scissors
- Yarn needle for darning in ends
Finished Size:
Daisy Square: 7″ x 7″
Daisy Crochet Throw: approx 40″ x 50″
More Information on Hooks Sizes, Yarn Weights and Crochet Language
Hook Sizes see the Craft Yarn Council’s Page Here
For Standard Yarn Weight Information See this Page
A Handy PDF from Annie’s on the difference between UK and US Crochet Terms
A Nice Explanation from LoveCraft’s on The UK and US differences
Daisy Crochet Throw – Steam Blocking Your Squares
NOTE: Before I block my squares I work all my loose ends in, this way the ends will be steamed or blocked in place. I do not worry about trimming any stragglers until the very end, as they may peek out while you are working through the next part. Leave those last little peekers until the very last block after the border and then we will clean them up, at this point they will be well blocked into the piece and less likely to try and peek out anymore.
There are many methods to blocking squares. The two I use the most are the wet block on a towel or pin and steam block
The purpose of steaming is to allow the squares to set into shape, with a little room for adjustment from you, and then relax the fibres just enough to allow a nice flow and movement to your piece.
For the Steam method I use the following:
Steamer
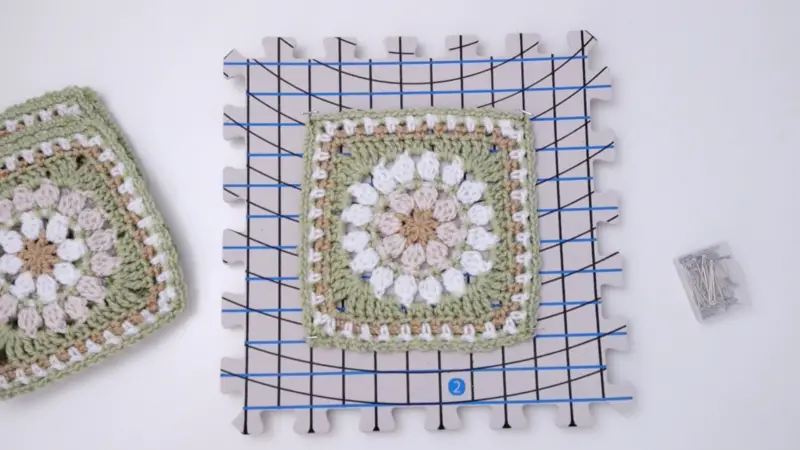
Blocking Boards
T pins
In this method I pin out my blocks to the size I made them to be and lightly steam them with my steamer.
These are the important points to remember:
- Don’t touch the fabric – you don’t want to crush or alter the texture of the yarn
- Gently Coax your pieces into shape with your hands
- Steam lightly
- Allow to sit and fully dry
- Be Careful as steamers are HOT and can burn you and your crochet
Daisy Crochet Throw – Wet Blocking Your Squares
The other method I use, especially if you don’t have a steamer handy, is wet blocking
For the Wet Block method I use the following:
Towel
Spray Bottle
Pins are optional but not necessary
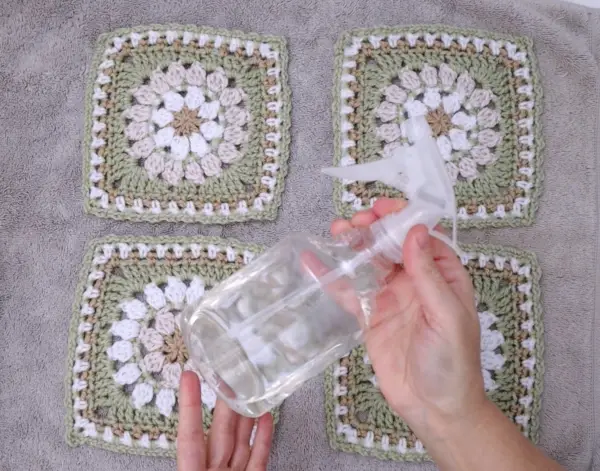
In this method, I lay the blocks out to the size I made them to be, on the towel and then spritz them with water from a spray bottle. Alternatively you could soak the squares and then roll them in a towel to absorb excess water, then lay them out on a dry towel in the desired shape and size.
Allow your squares to dry fully, usually overnight.
Daisy Crochet Throw – Layout Your Squares
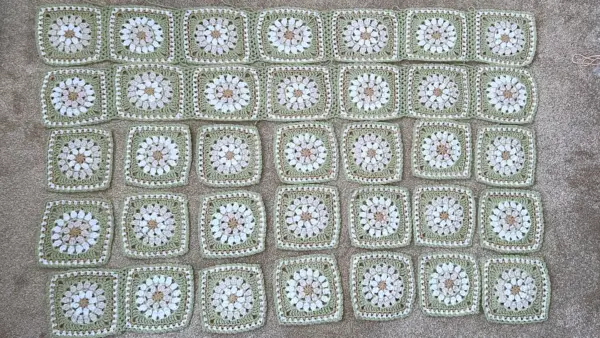
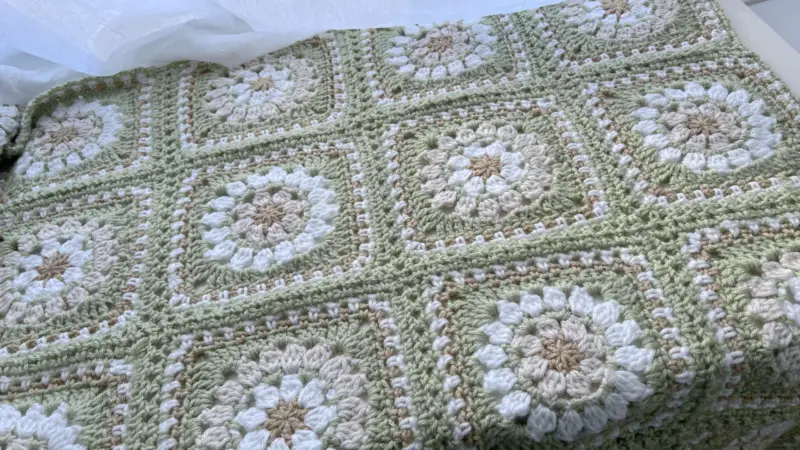
In this crochet throw I will be using 35 squares total. This gives me a layout of 7 squares by 5 squares. I have chosen to make two different colour variations and then lay them out in a checkerboard style
So that I can make sure I have all may squares and that I will be joining them in the right order, I lay them out on a large surface, a floor or a bed. Then I can stack them so that I am pulling them off the pile in the right order.
Daisy Crochet Throw – Joining Individual Squares
Once you have all your squares, they are blocked and you have them in the order you want to join them, we can start to join. The video for this tutorial will walk you through the actual steps for the joining of the individual squares (see below)
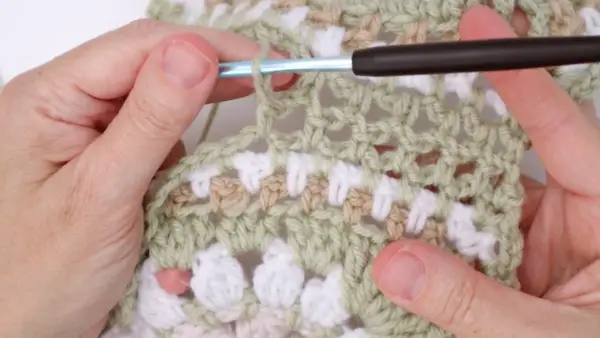
Place your two squares with wrong sides together to work your join.
This is a simple stitch that involves a single crochet in the front square, a chain 1 to bridge, and then a single crochet in the corresponding space in the back square.
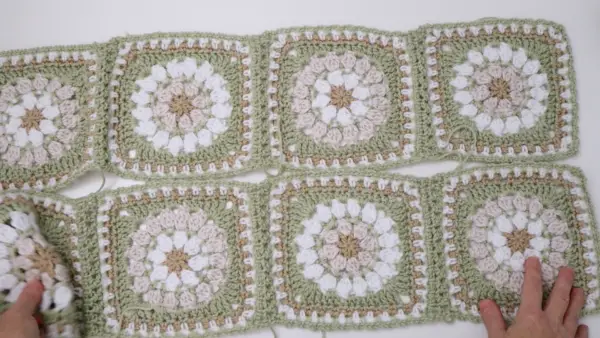
Your goal is to have 5 strips of 7 squares each, then we can move on to joining the strips
Daisy Crochet Throw – Joining Strips
Once you have your 5 strips of 7 squares each we can join the strips in the same manner. Lay them out so you know which strips to join when.
You will be using the same manner as the individual squares, only working all the way across the 7 squares. When you reach the joining seams, you will be working 1 single crochet in each side in the same manner as the rest of the ch space. ( See video tutorial for instructions on this )
Daisy Crochet Throw – The Join
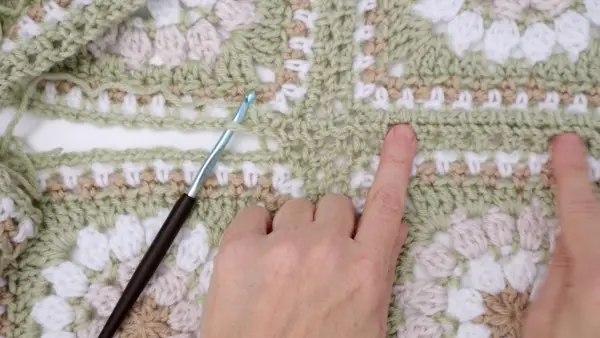
You can see below you need to have an extra single crochet for each strip where the joins meet to keep everything fitting properly. I only work one single crochet in each strip join, with a ch 1 to bridge.
If you want to see how working 2 single crochets look in the join section check out the video where I have a comparison of these two methods.
Daisy Crochet Throw – Getting Ready for the Border
At this point you will now have your main body finished. All 35 squares are joined.
Go ahead and work in any loose ends from your seams so we will be ready to add our border
You may find the work sits up a bit on these seams. This is something I block out after I have added the border and have all my ends worked in. I will then give it a final block to set everything in place and give the final throw a nice finishing touch.
This video tutorial will walk you through the Basics, step by step of the Second Part of the Daisy Throw Series
Blocking, and Joining your Squares and Strips
Check out my Shop where I regularly release new patterns using all my squares.
All shop patterns include a symbol chart version of the square as well as various colour way diagrams
Thanks for joining me and getting creative.
“I found I could say things with color and shapes that I couldn’t say any other way – things I had no words for.” – Georgia O’Keeffe

