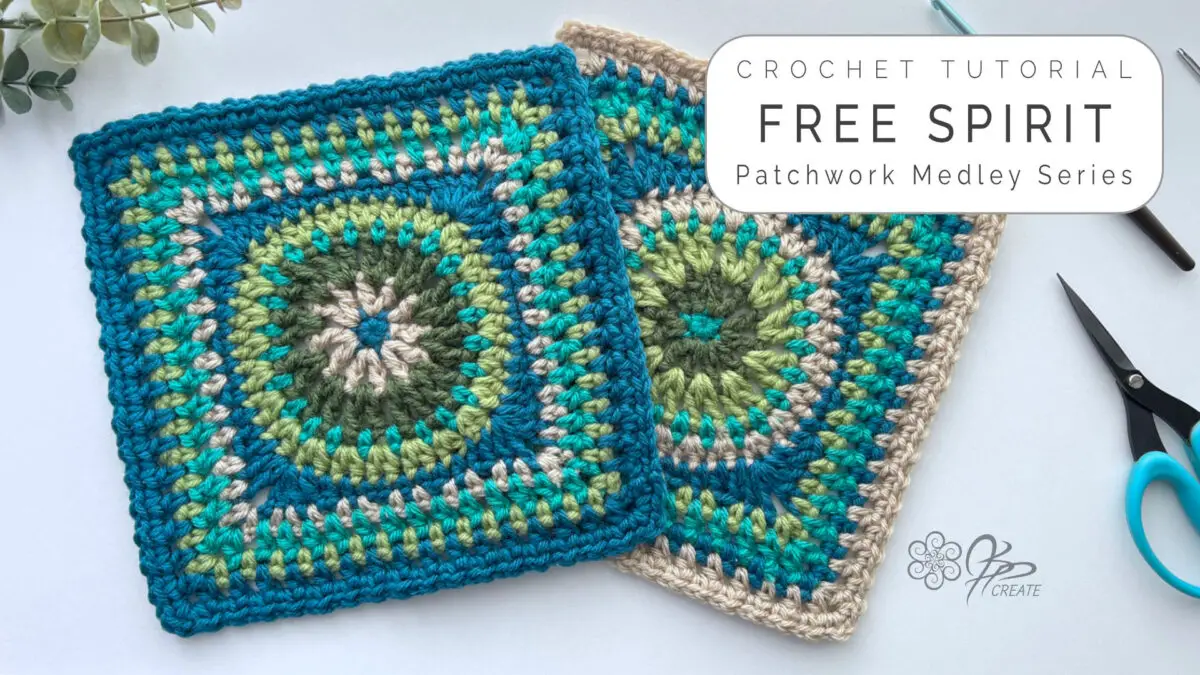
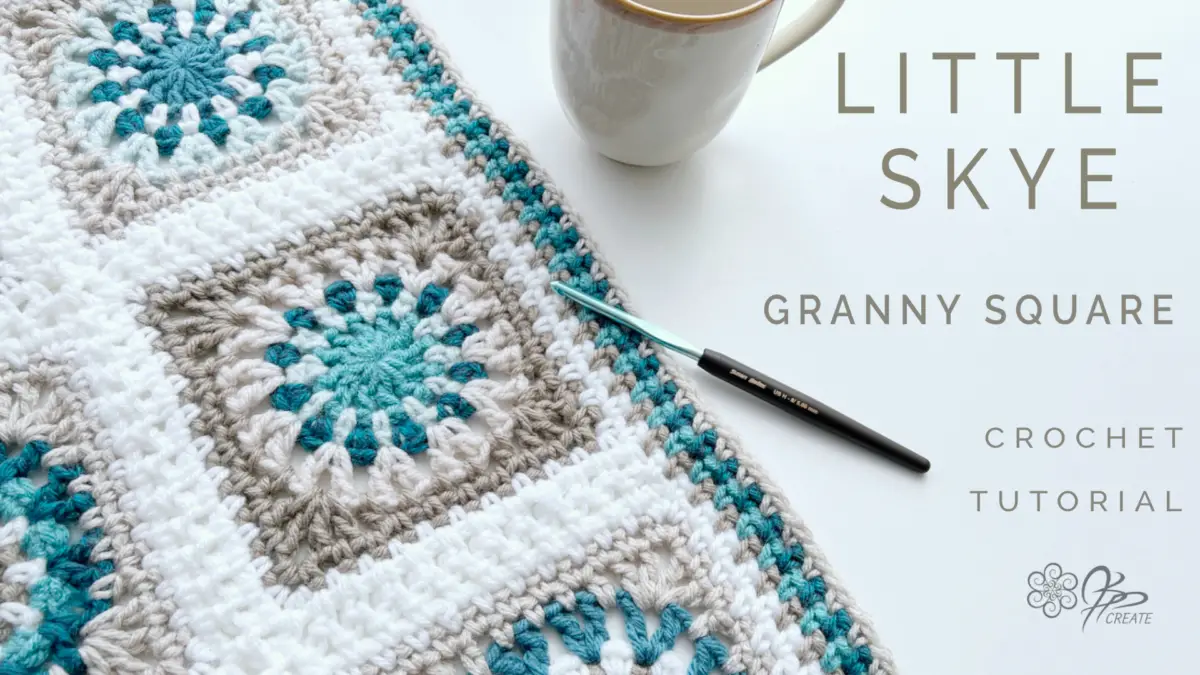
Wispy Willow Crochet Square For Patchwork Medley

Wispy Willow Crochet Square

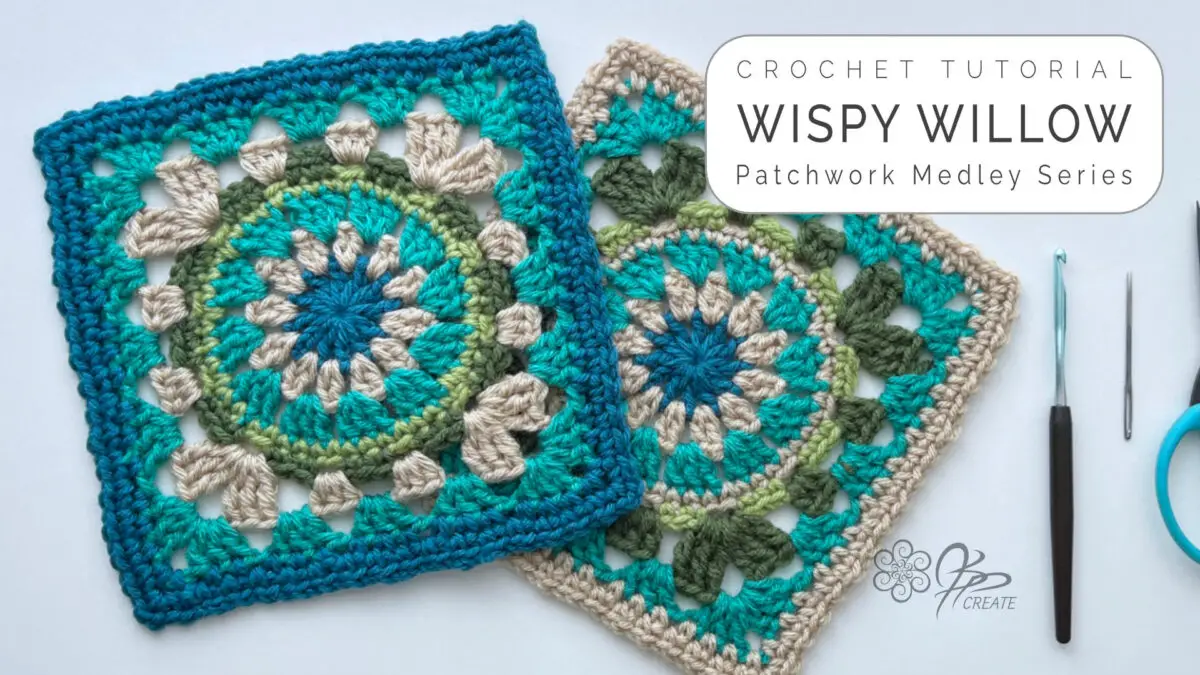
Welcome to the Wispy Willow Crochet Square Tutorial for the Patchwork Medley Blanket. This is the fourth video in the Patchwork Medley Blanket Series. Last week, I put up a poll in my YouTube community posts to see which square you’d like to see next, and the winner was the Wispy Willow Square—so that’s what I’ll be working on today! I’d say it’s one of my favourites, but honestly, I love them all.

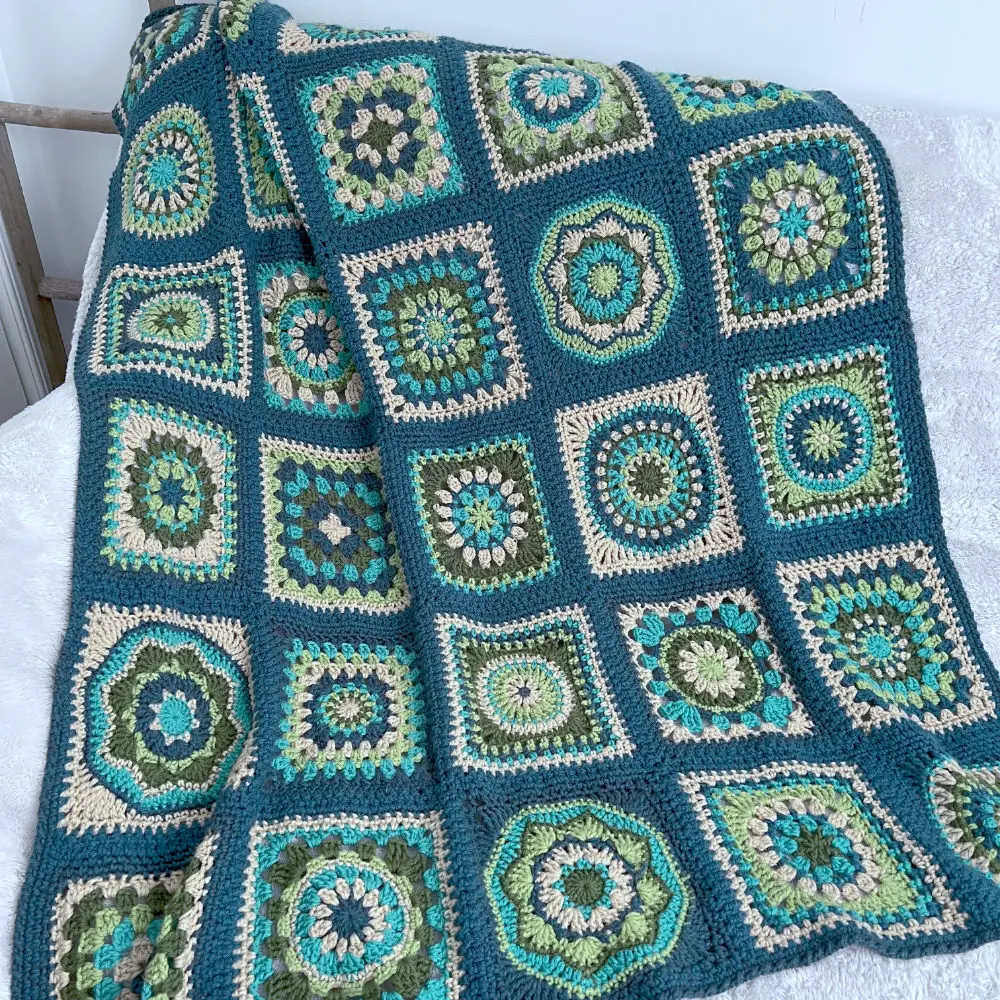
This series came about because so many of you asked how to combine my different Granny Square designs into one cohesive blanket. I’ve selected six of my favourites, added a brand-new one, and adjusted them all to fit together beautifully. Once all seven squares are complete, I’ll walk you through my JAYGO method to join them seamlessly for a cozy, stylish finish.

A little backstory on this square—I’ve always had a soft spot for Willow trees, and I usually name my squares based on what feels right in the moment. After 50 years of crocheting, I don’t always keep track of what’s already out there, so I didn’t realize there was already a well-known and stunning Willow Square. It was kindly brought to my attention, and I truly appreciated that! So, I’ve renamed mine the Wispy Willow Square. With so many beautiful granny squares in the world, coming up with unique names can be a challenge!

Find the 1st Square Here – Fusion Granny Square – Perfect Blend of Classic & Modern Crochet

Find the 2nd Square HereBig Skye Granny Square – Patchwork Medley Blanket

Find the 3rd Square HereCrochet Mandala Square for Patchwork Medley Blanket

Scroll Down and Crochet Along with me – The Wispy Willow Crochet Square Step By Step Video Tutorial is Below

You can find more captivating colour combinations for your squares over on my Instagram and Pinterest. I love sharing lots of pics of my colour experiments there!
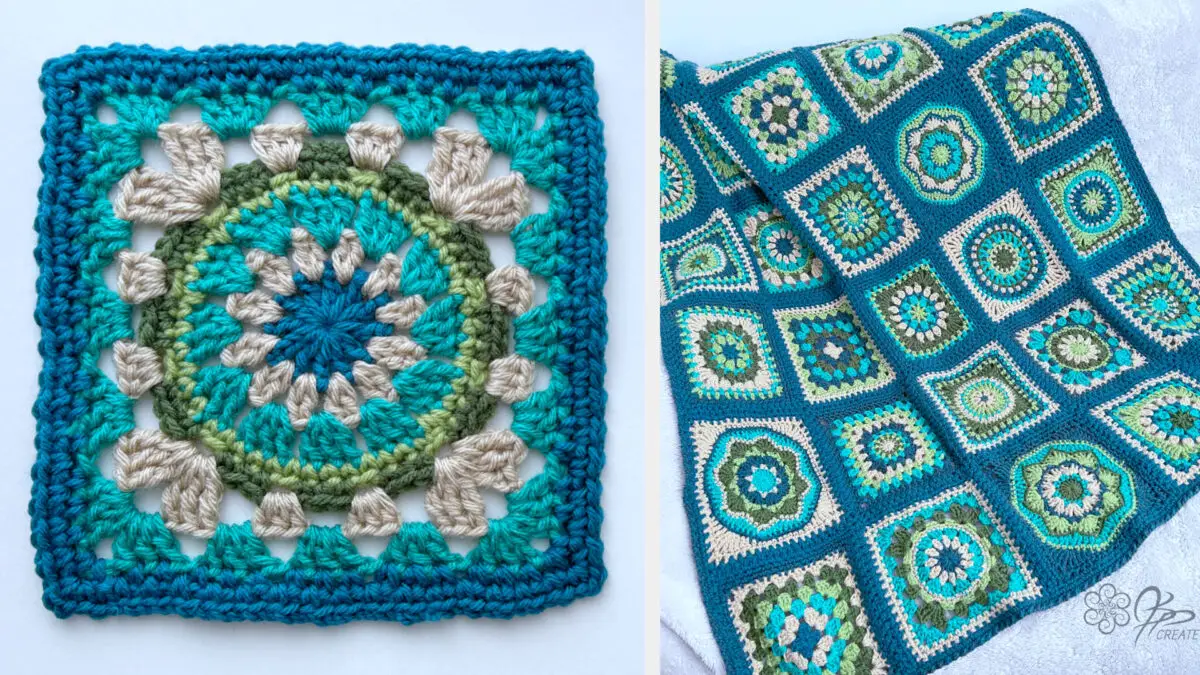
I can’t wait to see your version of the Wispy Willow Crochet Square—let’s get started!

Pattern Details

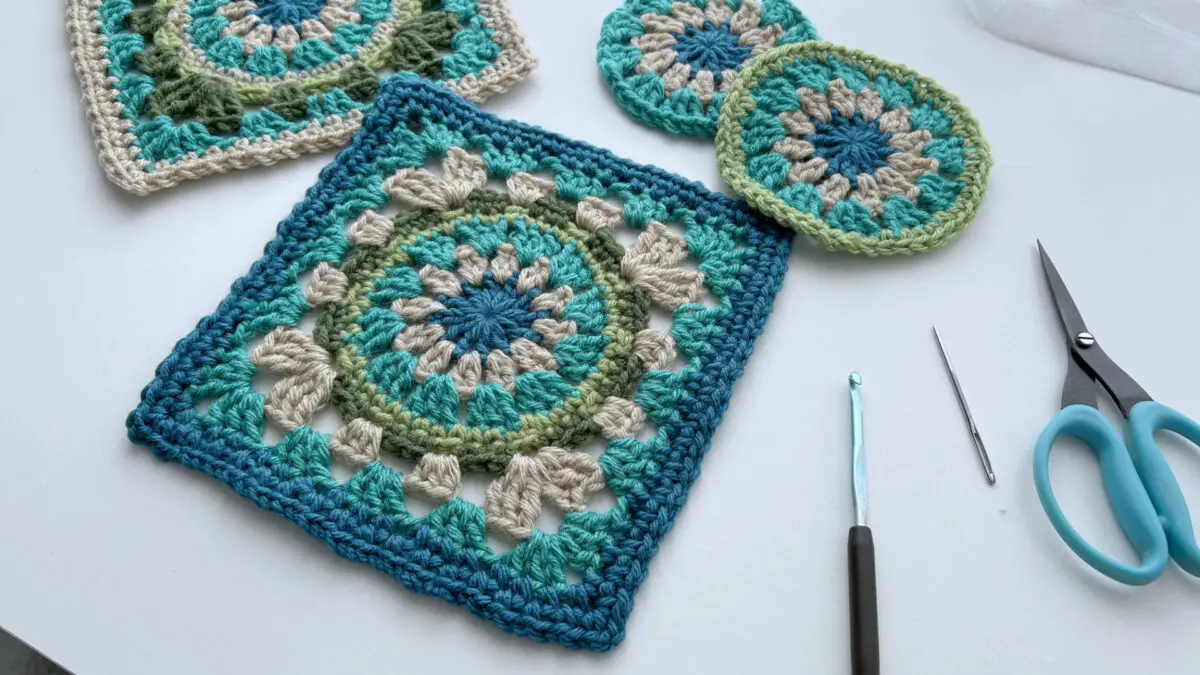
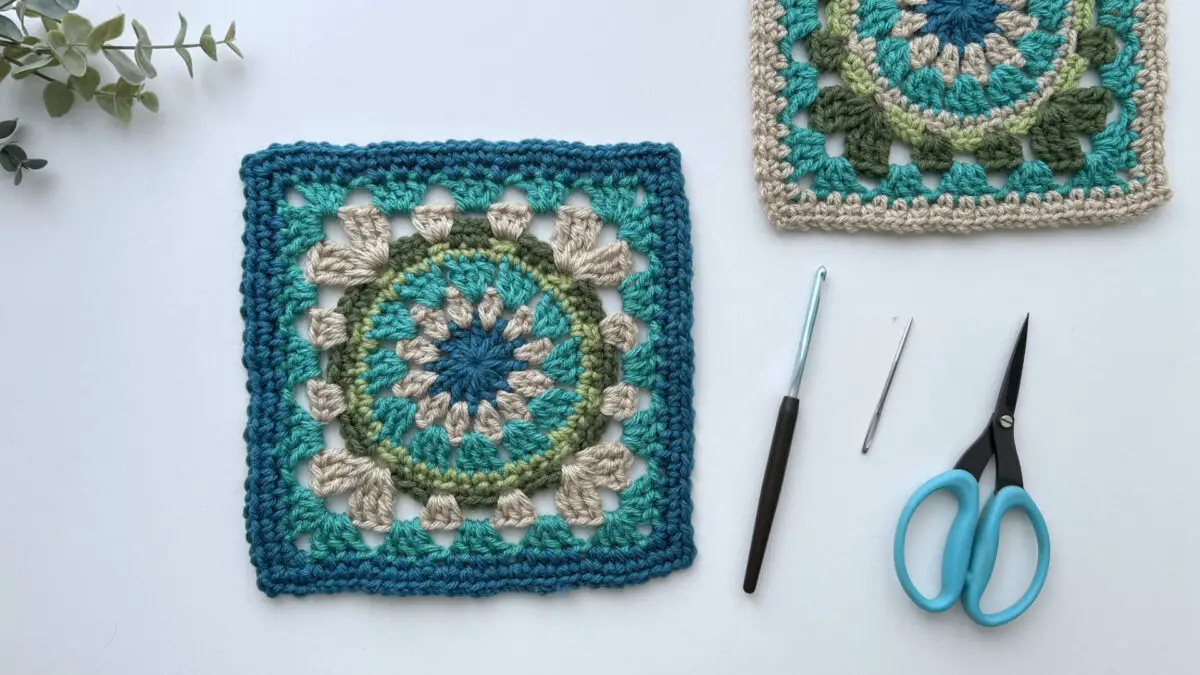
The Wispy Willow Crochet Square consists of 9 rounds, with the squaring round taking place at round 6. The final piece measures approximately 8 ½ inches ( 21.5 cm )

Materials You’ll Need

** affiliate links below **

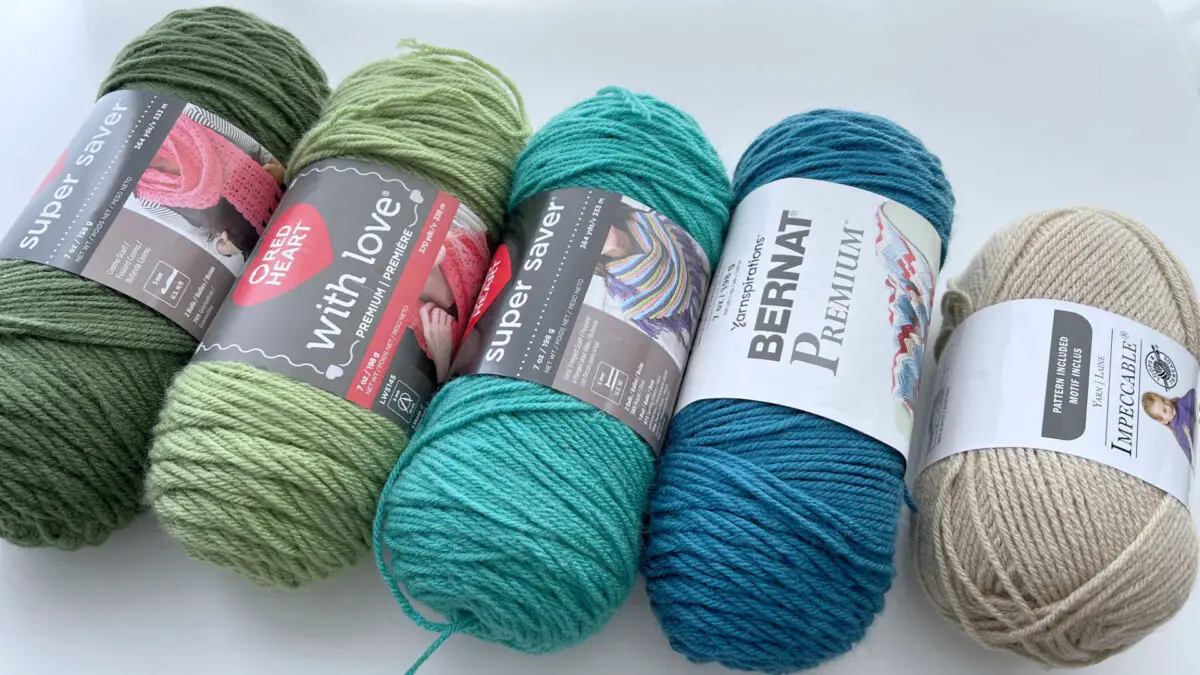
For this project, I’m using worsted weight yarn in five colours, but feel free to choose your own colour palette.

Here’s what I used for my version:

The Colours I’m using today for this Wispy Willow Crochet Square are the same colours I will use throughout the Patchwork Medley Blanket

One of my Favourite Places to order yarn online is Mary Maxim Yarns – they carry a nice variety of colours and brands at affordable prices, and they also offer great coupons to inspire you to keep coming back for more, because can you really have too much yarn?

Hook:  5.00 mm  US 8 / H
My Favourite Hook is the Susan Bates Ergonomic Silvalume

Wispy Willow Crochet Square

Other Supplies:

  • Scissors
  • Yarn needle for darning in ends

Gauge / Finished Size of the Wispy Willow Crochet Square

8.5 x 8.5 inches / 21.5 x 21.5 cm

Abbreviations:

ch – chain

st(s)– stitch(es)

sl st – slip stitch

sc – single crochet

hdc – half double crochet

dc – double crochet

tr – treble crochet

lp(s) – loop(s)

yo– yarn over

rnd – round

beg – beginning

prev – previous

sp – space

sk – skip

rep – repeat

dec – decrease

Cont – continue

Col – Colour

Wispy Willow Crochet Square

More Information on Hooks Sizes, Yarn Weights and Crochet Language
Hook Sizes see the Craft Yarn Council’s Page Here

For Standard Yarn Weight Information See this Page

A Handy PDF from Annie’s on the difference between UK and US Crochet Terms

A Nice Explanation from LoveCraft’s on The UK and US differences

Wispy Willow Crochet Square Instructions:

With First Col, Make a Magic Ring

OR alternative to Magic Ring is to Ch 4, sl st in first ch to form a ring

Rnd 1:  Ch 4 { counts as dc and ch-1 }, work into Ring, ( dc, ch 1 ) 11 times, sl st in 3rd ch of beg ch-4, fasten off 
{ 12 dc , 12 ch-1 space }

Rnd 2:  Join Next Col with a sl st in any ch-1 sp of prev rnd, ch 3 { counts as dc },  dc in same ch-1 sp, ch 1,  ( 2 dc in next ch-1 sp, ch 1 ) 11 times, sl st in 3rd ch of beg ch-3, fasten off.  { 24 dc, 12 ch-1 sp }

Rnd 3:  Join Next Col with a sl st in any ch-1 sp of prev rnd, ch 3 { counts as dc },  2 dc in same ch-1 sp, ch 1,  ( 3 dc in next ch-1 sp, ch 1 ) 11 times, sl st in 3rd ch of beg ch-3, fasten off.  { 36 dc, 12 ch-1 sp }

Rnd 4:  Join Next Col with a sc in any ch-1 sp of prev rnd, ( sc in each of next 3 sts, sc in next ch-1 sp ) 11 times, then sc in each of next 3 sts, sl st in first sc of rnd, fasten off.  { 48 sc }

Rnd 5:  Join Next Col with a sc in 2nd sc of prev rnd, sc in each of next 2 sts, ch 2, ( skip next st, sc in each of next 3 sts, ch 2 ) 11 times, sl st in first sc of rnd, fasten off.  { 36 sc, 12 ch-2 sp }

Rnd 6:  Join Next Col with a sl st in any ch-2 sp of prev rnd, ch 4 { counts as tr }, 2 tr in same ch-2 sp, * ( ch 2, 3 hdc in next ch-2 sp ) twice, ch 2,** ( 3 tr, ch 3, 3 tr ) in next ch-2 sp, rep from * two more times, then from * to ** once, 3 tr in same ch-2 sp as join, ch 3, sl st in 4th ch of beg ch-4, fasten off.  
{ 24 tr, 24 hdc, 12 ch-2 sp, 4 ch-3 sp } 

Rnd 7:  Join Next Col with a sl st in any corner ch-3 sp of prev rnd, ch 3 { counts as dc }, 2 dc in same ch-3 sp, * ( ch 1, 3 dc into next ch-2 sp ) three times, ch 1, ** ( 3 dc, ch 3, 3 dc ) into next ch-3 sp, rep from * 2 more times, then rep from * to ** once more, 3 dc into same ch-3 sp as join, ch 3, sl st in 3rd ch of beg ch-3, fasten off.  
{ 60 dc, 16 ch-1 sp, 4 ch-3 sp }

Rnd 8: Join Next Col with a sc in any corner ch-3 sp of prev rnd, * ch 1, sk next st, ( sc in next st, ch 1 ) twice, [ sk next ch-sp, ( sc in next st, ch 1 ) 3 times ] 4 times, ** ( sc, ch 2, sc ) in next corner ch-3 sp, rep from * 2 more times, then rep from * to ** once more, sc in same corner ch-3 sp as join, ch 2, sl st in first sc of rnd, DO NOT fasten off.  
{ 64 sc, 60 ch-1 sp, 4 ch-2 sp } 
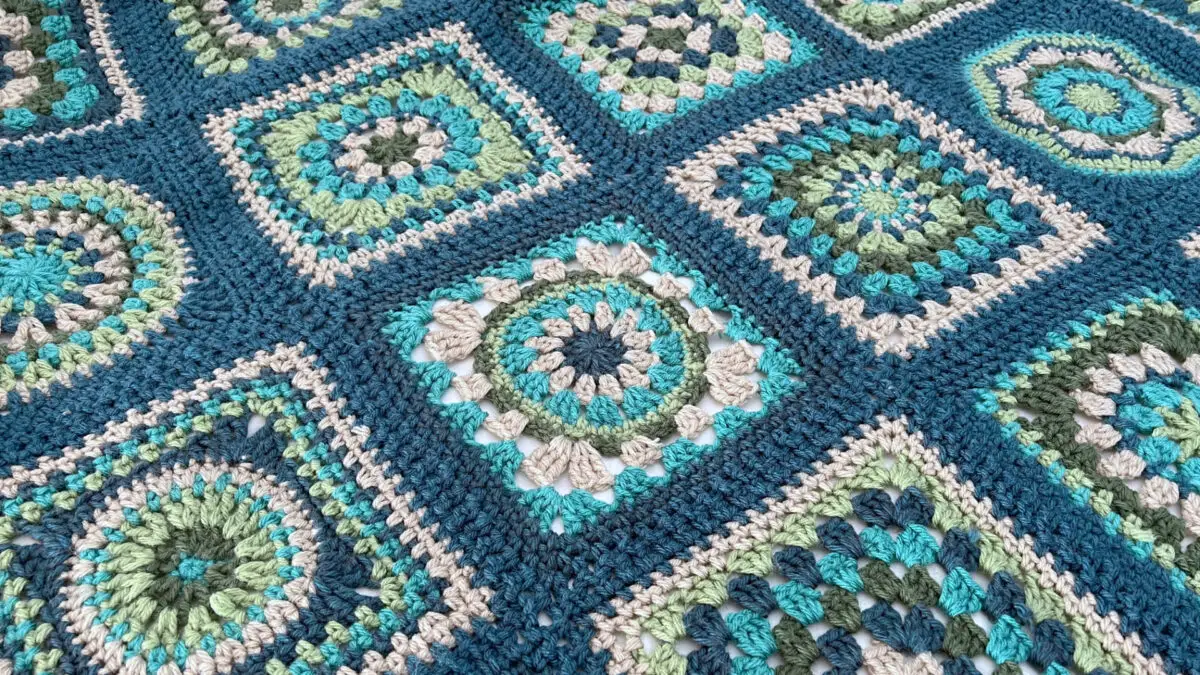
Rnd 9: Cont with Same Col, sl st in first ch-sp of prev rnd, ch 1, sc in same ch-sp, ch 1, ( sc in next ch-sp, ch 1 ) 14 times, ( sc, ch 2, sc ) in next ch-2 sp, ch 1, * ( sc in next ch-sp, ch 1 ) 15 times, ( sc, ch 2, sc ) in next ch-2 sp, ch 1, rep from * 2 more times, sl st in first sc of rnd, fasten off.  { 68 sc, 64 ch-1 sp, 4 ch-2 sp }

Finishing The Wispy Willow Crochet Square

  • Weave in any loose ends, block gently to size

This video tutorial will walk you through the Basics, step by step of the Wispy Willow Square

Crochet along with me in as I walk you through the Steps of the Wispy Willow Crochet Square

Check out my Shop where I regularly release new patterns using all my squares. 

All shop patterns include a symbol chart version of the square as well as various colour way diagrams

Thanks for joining me and getting creative. ~ Jane ~

“I found I could say things with colour and shapes that I couldn’t say any other way – things I had no words for.” – Georgia O’Keeffe
Scroll to Top