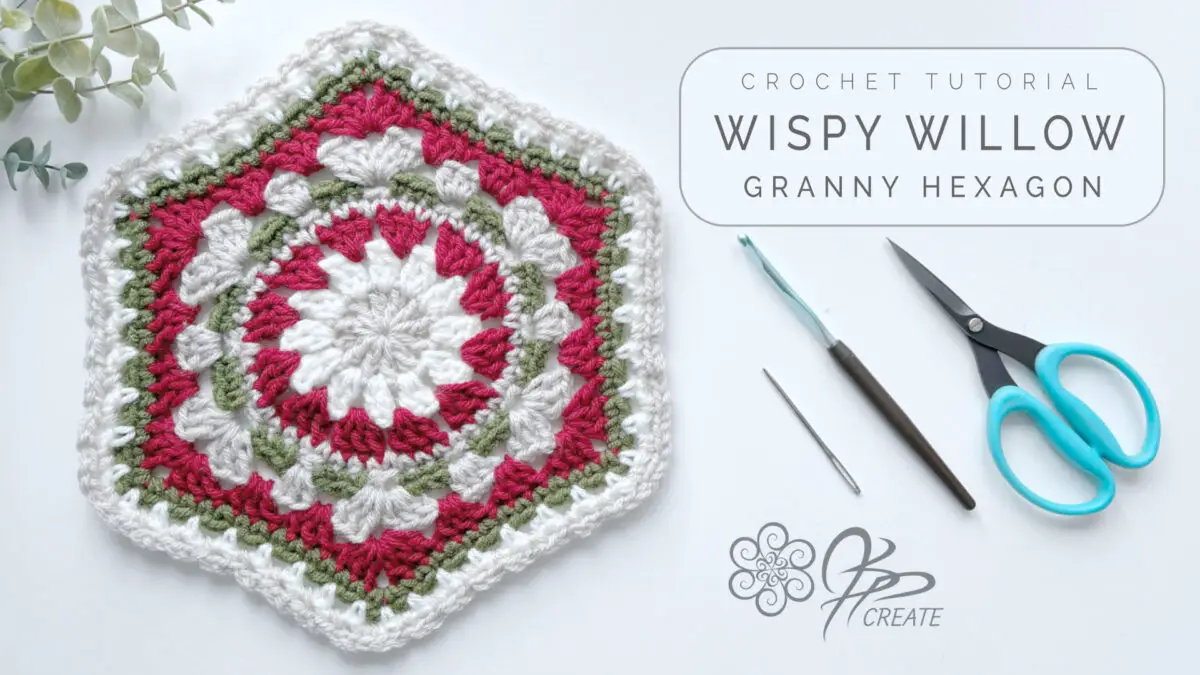
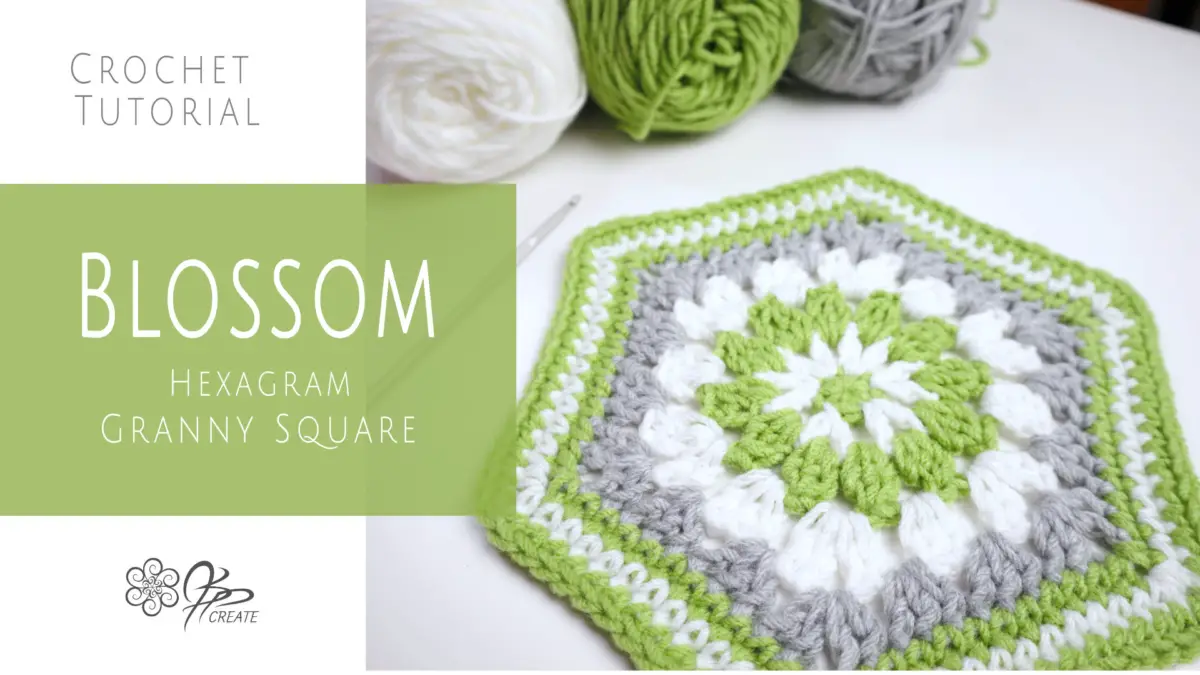
Today, I’m excited to introduce you to the Wispy Willow Hexagon which is a fresh take on my beloved Wispy Willow Square. In this tutorial, we’re going to turn it into a stunning hexagon, a transformation that opens up endless possibilities for your projects. Whether you’re creating seasonal decor or exploring new design ideas, this hexagon is versatile, elegant, and fun to make.
Below you will find the full written pattern for this square and the link to the full video walk through of this Hexagon over on my YouTube
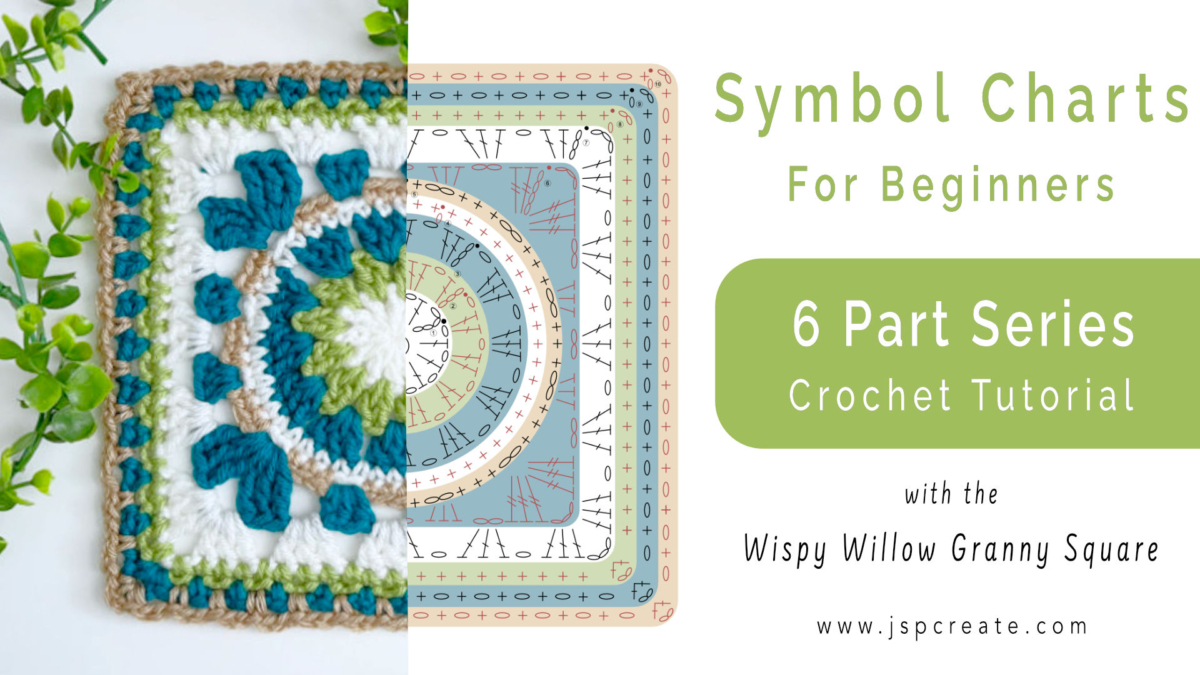
If you would like the ad-free pattern for the Wispy Willow Hexagon as a PDF, with Symbol Charts, Find it in my shop, HERE,
The Inspiration Behind the Wispy Willow Hexagon
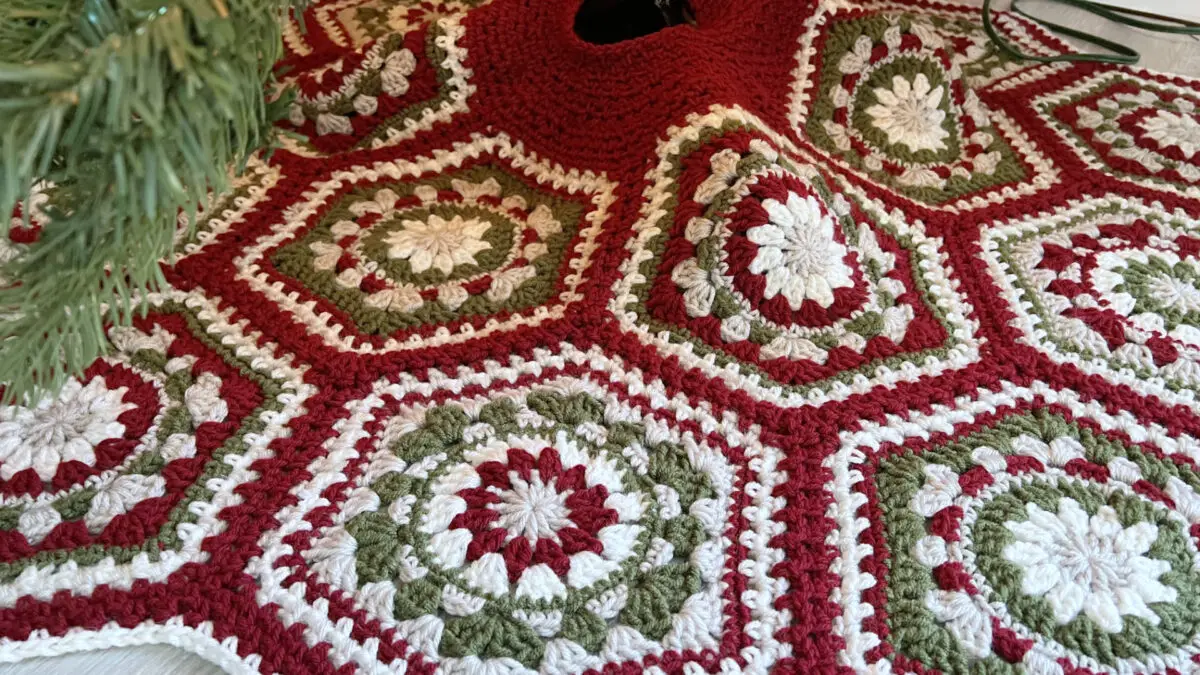
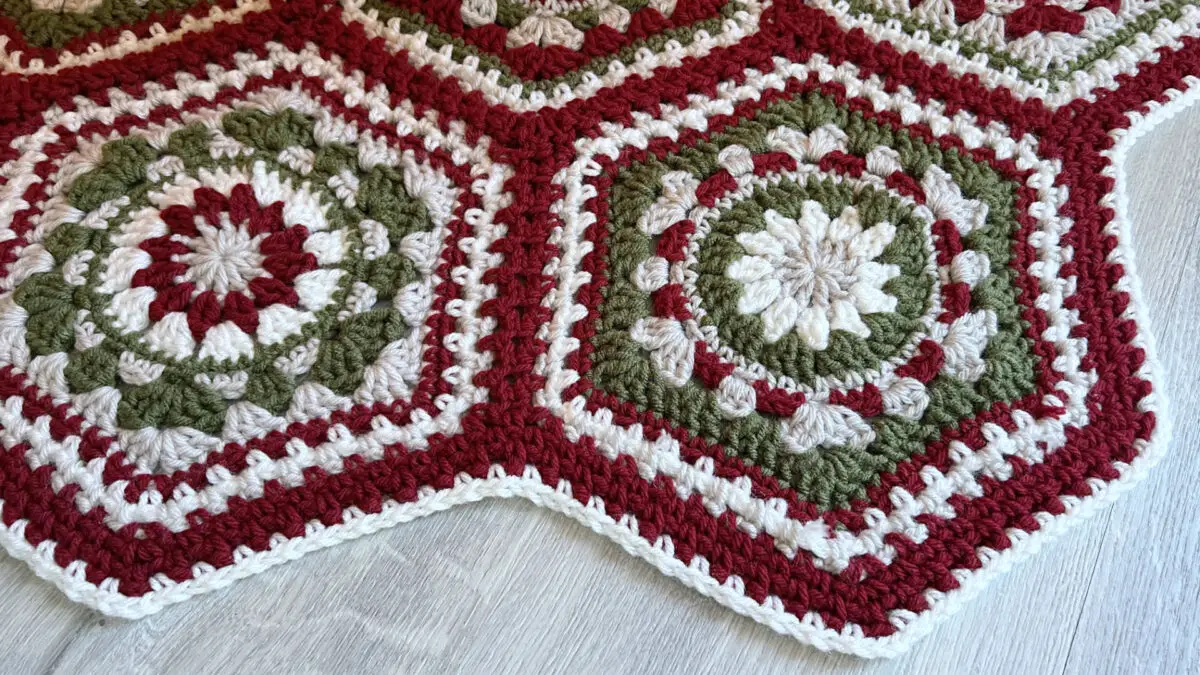
The idea for this hexagon stemmed from a personal project I’ve been wanting to tackle for years: crocheting a tree skirt. I envisioned something unique, and a hexagon seemed like the perfect shape to bring my vision to life. My very first crochet project was a hexagon shaped throw, so this shape is close to my heart. I wanted something circular, but I also liked my Willow Square done in the reds and greens. After experimenting with some granny square magic, the Wispy Willow Hexagon was born!
The tree skirt itself will be featured in a future tutorial, today we’ll focus on crafting the hexagon.
This pattern is not only great for festive projects but also perfect for blankets, cushions, or any creative venture you can dream up.
Pattern Details
This hexagon consists of 10 rounds, with the hexagon shaping round taking place at round 6. The final piece measures approximately 9 ½ inches ( 24 cm ) from edge to edge across the centre.
I’ll also demonstrate how to work in your ends as you go in the video tutorial. This little trick not only saves time but also keeps your work neat and tidy.
Materials You’ll Need
** affiliate links below **
For this project, I’m using worsted weight yarn in four colours, but feel free to choose your own colour palette. Combining different brands or using yarn from your stash is totally fine! Here’s what I used for my version:
The Colours I’m using today for this Wispy Willow Festive Colour Way
small amounts of 4 different colours of yarn
One of my Favourite Places to order yarn online is Mary Maxim Yarns – they carry a nice variety of colours and brands at affordable prices, and they also offer great coupons to inspire you to keep coming back for more, because can you really have too much yarn?
- A – Putty – Impeccable – Loops and Threads
- B – Winter White – Bernat Super Value
- C – Burgundy – Red Heart Super Saver
- D – Medium Thyme – Red Heart Super Saver
Hook: 5.00 mm US 8 / H
My Favourite Hook is the Susan Bates Ergonomic Silvalume
Other Supplies:
- Scissors
- Yarn needle for darning in ends
Finished Size of Wispy Willow Hexagon
9.5 inches / 24 cm – measured across center
Festive Colours and Beyond
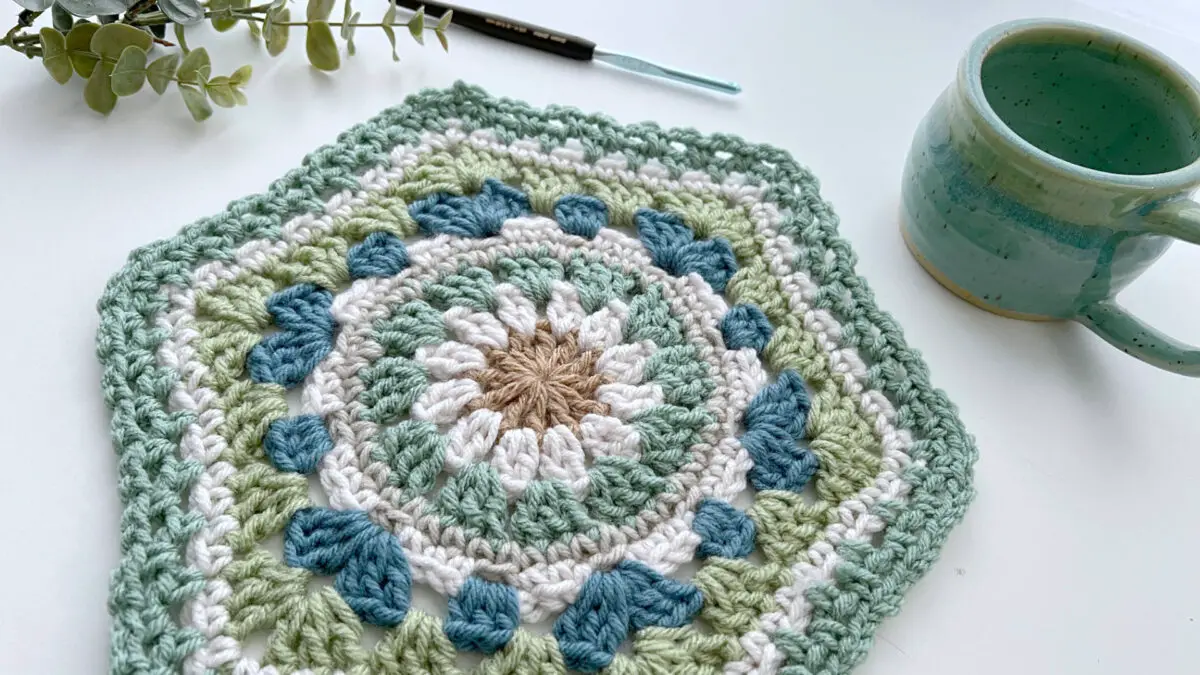
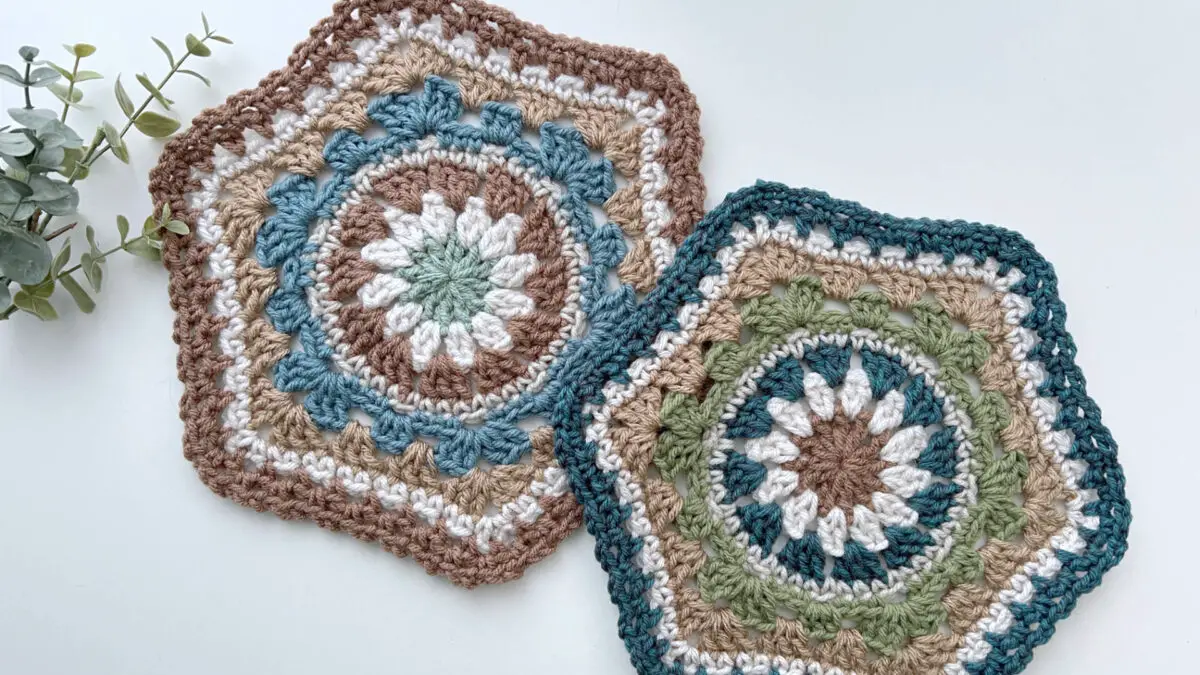
For this tutorial, I’ve chosen festive colours—ideal for the holiday season—but don’t feel limited by this palette. The Wispy Willow Hexagon looks stunning in virtually any colour combination. You could use soft pastels for a baby blanket, earthy tones for a cozy throw, or bold hues for a statement piece. I’m already imagining this hexagon in a rich, warm palette for a future blanket project!
Abbreviations:
ch – chain
st(s)– stitch(es)
sl st – slip stitch
sc – single crochet
hdc – half double crochet
dc – double crochet
lp(s) – loop(s)
yo– yarn over
rnd – round
beg – beginning
prev – previous
sp – space
sk – skip
rep – repeat
dec – decrease
Cont – continue
Col – Colour
More Information on Hooks Sizes, Yarn Weights and Crochet Language
Hook Sizes see the Craft Yarn Council’s Page Here
For Standard Yarn Weight Information See this Page
A Handy PDF from Annie’s on the difference between UK and US Crochet Terms
A Nice Explanation from LoveCraft’s on The UK and US differences
Let’s Get Started
In the tutorial, I’ll guide you through each step of creating the Wispy Willow Hexagon. From the foundational rounds to the shaping and finishing. Then you will want to make this one in all sorts of colour palettes.
The Wispy Willow Hexagon Instructions
Foundation: With Col A, Make a Magic Ring
alternative to a Magic Ring: Ch 4, sl st in first ch, to form a ring.
Rnd 1: Continue with Col A, ch 4 { counts as first dc and ch-1 sp }, ( dc, ch 1 ) 11 times into ring, sl st in 3rd ch of beg ch 3, fasten off. { 12 dc, 12 ch-1 sp }
Rnd 2: Join Col B with a sl st in any ch-1 sp of prev rnd, ch3 ( counts as first dc ), dc in same ch-1 sp as join, ch 1, ( 2 dc in next ch-1 sp, ch 1) 11 times, sl st in 3rd ch of beg ch-3, fasten off.
{ 24 dc, 12 ch-1 sp }
Rnd 3: Join Col C with a sl st in any ch-1 sp of prev rnd, ch 3 ( counts as first dc ), 2 more dc in same ch-1 sp as join, ch 1, ( 3 dc in next ch-1 sp, ch 1) 11 times, sl st in 3rd ch of beg ch-3, fasten off.
{ 36 dc, 12 ch-1 sp }
Rnd 4: Join Col A with a sc in any ch-1 sp of prev rnd, ( sc in each of next 3 sts, sc in next ch-1 sp ) 11 times, then sc in each of next 3 sts, sl st in first sc of rnd, fasten off.
{ 48 sc }
Rnd 5: Join Col D with a sc in 2nd sc of prev rnd, sc in each of next 2 sts, ( ch 2, sk next sc, sc in each of next 3 sts ) 11 times, ch 2, sl st in first sc of rnd, fasten off.
{ 36 sc, 12 ch-2 sp }
Rnd 6: Join Col A with a sl st in any ch-2 sp of prev rnd, ch 3 ( counts as first dc ), 2 dc in same ch-2 sp as join, * ch 1, 3 hdc in next ch-2 sp, ch 1, ( 3 dc, ch 2, 3 dc ) in next ch-2 sp (corner made), rep from * 4 more times, then ch 1, 3 hdc in next ch-2 sp, ch 1, 3 dc in same ch-2 sp as join, ch 2, sl st in 3rd ch of beg ch-3, fasten off.
{ 18 hdc, 36 dc, 12 ch-1 sp, 6 ch-2 sp }
Rnd 7: Join Col C with a sl st in any ch-2 sp of prev rnd, ch 3 ( counts as first dc ), 2 dc in same ch-2 sp as join, * ( 3 dc into next ch-1 sp ) twice, ( 3 dc, ch 2, 3 dc ) into next ch-2 sp, rep from * 4 more times, then ( 3 dc into next ch-1 sp ) twice, 3 dc into same ch-2 sp as join, ch 2, sl st in 3rd ch of beg ch-3, fasten off.
{ 72 dc, 4 ch-2 sp }
Rnd 8: Join Col D with a sc in any ch-2 sp of prev rnd, * sc in each of next 12 sts, ( sc, ch 2, sc into next ch-2 sp, rep from * 4 more times, then sc in each of next 12 sts, sc in same ch-2 sp as join, ch 2, sl st in first sc of rnd, fasten off.
{ 84 sc, 4 ch-2 sp }
Rnd 9: Join Col B with a sc in any ch-2 sp of prev rnd, * ( ch 1, sk next st, sc in next st ) 7 times, ch 1, sc in next ch-2 sp, rep from * 4 more times, then ( ch 1, sk next st, sc in next st ) 7 times, ch 1, sl st in first sc of rnd, fasten off.
{ 48 sc, 48 ch-1 sp }
Rnd 10: Join Col A with a sc in first ch-1 sp of prev rnd, ch 1, ( sc in next ch-1 sp, ch 1 ) around, sl st in first sc of rnd, fasten off.
{ 48 sc, 48 ch-1 sp }
Finishing The Wispy Willow Hexagon
- Weave in any loose ends, block gently to size
This video tutorial will walk you through the Basics, step by step of the Wispy Willow Hexagon
Stay tuned for future projects featuring this hexagon, including the much-anticipated tree skirt! For now, grab your hook, yarn, and let’s dive into the world of crochet magic.
Check out my Shop where I regularly release new patterns using all my squares.
All shop patterns include a symbol chart version of the square as well as various colour way diagrams
Thanks for joining me and getting creative. ~ Jane ~
“I found I could say things with colour and shapes that I couldn’t say any other way – things I had no words for.” – Georgia O’Keeffe

